How to Choose an Anchorage: Scope, Swing Room Plans
Anchoring is mostly math and judgment, with a small side order of humility. If you pick decent shelter, do the scope math using high-tide depth + bow height, confirm bottom and set, and then verify with two methods, you’ll sleep. If you skip any of those inputs, you’ll join the long tradition of sailors standing a 0200 anchor watch in their underwear, staring at the shoreline.
This article is built around a repeatable workflow: score the anchorage, calculate scope, confirm swing room, set and verify, then run an overnight routine with a Plan B. Use Breezada’s sea distance calculator when you’re comparing alternate anchorages and timing an exit route before dark—it’s also handy for fuel burn planning when the “quick move” becomes a 12–20 nm relocation.
Photo by Duncan McNab on Unsplash
Choosing an Anchorage: Shelter, Fetch, Traffic & Exit
Anchorage “scorecard”: shelter, depth, bottom, hazards
I pick anchorages with a simple scorecard, because “looks fine” has put plenty of boats on a lee shore. Start with depth at high tide: for most crews, 10–20 ft is the sweet spot—enough water for 2–8 ft U.S.-typical tide ranges, but not so deep you need a football field of rode. Then check bottom: charted sand (S) or mud (M) beats weed/grass for holding with modern scoop anchors.
Shelter is not a label on an app; it’s fetch and geography. A “protected” bay with 2–4 nm of open water upwind can build steep chop at 20–25 kt, which yanks on gear and ruins sets. Hazards are next: rocks, shoals, cables, and unlit pilings are the classic nighttime surprise, so I want a clear circle around me, not just a clear approach line.
Forecast reality check: gusts, veer/back, and sea state
A forecast of 15 kt often means 22–28 kt in gusts near headlands, squalls, or katabatic drainages. I plan anchorages assuming the wind can veer or back 90°–180° overnight, because it frequently does. If your plan only works with one wind direction, it’s not a plan; it’s a wish.
Also translate wind into sea state using fetch. Ten knots across 0.3 nm of water is annoyance; the same wind across 5 nm is a short, sharp chop that makes boats sail at anchor. When in doubt, favor shorelines that block the longest fetch sectors, not the prettiest view sectors.
The “leave fast” factor: approach, turning room, and bailout
Before you drop, decide how you’ll leave if it goes wrong at 0300. Can you motor out in darkness without threading 6–8 ft shoals on either side? Do you have turning room to get the bow downwind and retrieve without drifting sideways into the neighbor who anchored on 3:1 like it’s a mooring?
Traffic matters more than new crews expect. Ferries and fishing boats don’t care that you’re “anchored here first,” and you should never anchor in a marked channel or fairway—both etiquette and common sense. If I’m unsure about a bailout route, I’ll measure it with a sea route distance tool and sanity-check time-to-clear in knots vs miles, not vibes.
Practical tip: My beginner-friendly target is 10–20 ft at high tide, sand or firm mud, and a hazard-free swing circle that still works after a 180° wind shift.
Photo by Karl Callwood on Unsplash
Depth, Tide & Scope Math Beginners Get Wrong
Scope formula: depth at bow, not “sounder depth”
The most common anchoring mistake is using the depth sounder number as “depth,” then wondering why the boat drags at high water. The USCG’s rule of thumb is 7:1 scope, measured from the bow chock or bow roller to the seabed, not from the transducer. The beginner-proof formula is:
Rode length = (depth at high tide + bow height) × scope ratio
Bow height is usually 3–6 ft on 30–40 footers, but don’t guess—measure from your roller to the waterline at rest. If your tide range is 2–8 ft, your “scope” changes dramatically over the tide unless you plan for the rise.
Worked examples for 5:1, 7:1, 10:1 with tide
Here’s the provided example, and it’s a good one. If you have 15 ft of water at (or expected at) high tide and your bow roller is 4 ft above the waterline, then your depth at bow is 19 ft. At 7:1 scope, that’s (15 + 4) × 7 = 133 ft of rode.
Now look at what happens with scope choices that people casually toss around. In calm settled weather with good bottom, 5:1 can work—until it doesn’t, usually right when you’re asleep. Overnight, I treat 7:1 as my default if swing room allows, and 10:1 as the heavy-weather option when the anchorage is big and the consequences are serious.
| Scope ratio | Depth at bow (example) | Rode length | Typical use case |
|---|---|---|---|
| 5:1 | 19 ft | 95 ft | Settled midday lunch hook, good sand, plenty of margin |
| 7:1 (USCG rule of thumb) | 19 ft | 133 ft | Conservative overnight baseline for many small craft |
| 10:1 | 19 ft | 190 ft | Strong wind, surge, or questionable holding (if swing room allows) |
Under-keel clearance and why swell changes the number
Under-keel clearance is not just about not touching bottom; it’s about how the boat moves when the anchorage gets lumpy. A common planning target is 2–4 ft under the keel at low tide in sheltered water. If there’s swell, rolling, or prop-wash from traffic, add more because your boat will hobbyhorse and your sounder will lie to you in both directions.
Also remember: deeper water doesn’t automatically mean safer anchoring. At 30 ft, even 7:1 can mean over 240 ft of rode once you add bow height and tide rise, which increases swing radius and collision risk. When I can choose, I’d rather be in 12–18 ft with clean bottom and correct scope than in 35 ft with a heroic amount of chain and an optimistic plan.
Photo by Matt Palmer on Unsplash
Bottom Type & Holding: Charts, Visual Checks, Real-Time
Reading charted seabed data and local notes
Use charted seabed labels as your first filter: S (sand), M (mud), Sh (shell), Wd (weed), and the ugly combinations in between. A chart that shows sand in the center and weed around the edges is basically telling you where you should try first. Local pilot guides and harbor notes are worth their weight in beer money, because they’ll warn you about “thin mud over hard pan” or kelp beds—both notorious for set failures.
If I’m anchoring somewhere unfamiliar, I’ll look for three data points before committing: chart bottom type, recent local reports, and the day’s wind/current direction. If those disagree, I assume the worst and pick a more conservative spot.
Sand vs mud vs grass/weed: what changes for modern anchors
Modern scoop anchors—think Rocna/Mantus/Spade-class—generally love dense sand and firm mud because they can bury and develop real holding. Grass and weed are different; the anchor often “skates” on top or collects a salad that prevents penetration. Hard pan can be worse: you feel resistance, think you’re set, and then the whole thing breaks free when load increases.
Patchy weed is survivable if you anchor like you mean it. Look for lighter-colored “sand lanes” between darker weed patches, and don’t accept a half-hearted set. If the anchor doesn’t bite cleanly within a proper set attempt, it usually won’t improve later.
Quick bottom verification tools: polarized glasses, feel, snorkel
You don’t need a marine biology degree to confirm bottom. In clear water, polarized sunglasses plus the sun behind you can show sand streaks, weed clumps, and rocks in 10–20 ft. In murkier water, pay attention to how the rode behaves when you start to set: a steady increase in load feels different than skipping or popping free.
My favorite “decision trigger” is simple: if I can’t confirm bottom or I can’t get a confident set in one or two attempts, I stop wasting time. I’ll move 50–150 ft to a better patch and try again, rather than increasing power endlessly and polishing the same bad spot.
Photo by Josh McCausland on Unsplash
Rode, Scope Behavior & Snubbers: Chain vs Rope/Chain
All-chain vs mixed rode: what changes in practice
All-chain is wonderfully abrasion-resistant and behaves predictably on the bottom, but it transmits shock loads straight into your boat unless you add nylon. Rope/chain mixes add elasticity, but they introduce chafe points and splice integrity concerns. Either can work; what matters is sizing, technique, and whether your hardware is built to take the load.
Typical all-chain rode lengths on 30–45 ft cruisers are 150–300 ft, which lets you actually use 7:1 in 15–30 ft anchorages including tide. If you only have 120 ft of chain and you anchor in 25–30 ft, you’re mathematically forced into short scope, and you’ll feel it when the wind pipes up.
Snubbers, bridles, and chafe control (ABYC load paths)
If you run all-chain, a snubber is not optional for civilized sleep. A common setup is 10–20 ft of nylon, sized around 1/2–5/8 in for many 30–40 ft monohulls, with real chafe protection at the chocks or roller. Use a proper chain hook or soft shackle, and lead the line to strong cleats—not the windlass.
This is where standards matter. ABYC H-40 and ISO 15084 both emphasize strong points and load paths: backed cleats/bitts, good backing plates, and no sketchy angles that pry hardware upward. Your windlass is not a structural cleat, and it should never be the primary holding device.
Catenary reality: when it helps and when it doesn’t
People love talking about catenary, as if chain weight is a force field. In light air, chain sag does help reduce shock and keep the pull angle low. In 20–30 kt, the rode straightens and catenary mostly disappears; at that point, scope and a good set are what keep you off the rocks.
Chain strength is worth understanding, not because you plan to break it, but because it frames the loads involved. As typical reference points (check your chain’s spec sheet), 1/4 in G4/BBB might have ~2,600 lb WLL and ~7,600 lb break, while 5/16 in G4 might have ~3,900 lb WLL and ~11,000–12,000 lb break. Those are manufacturer-dependent numbers, but they underline why snubbers and proper cleats matter: peak loads can get spicy fast.
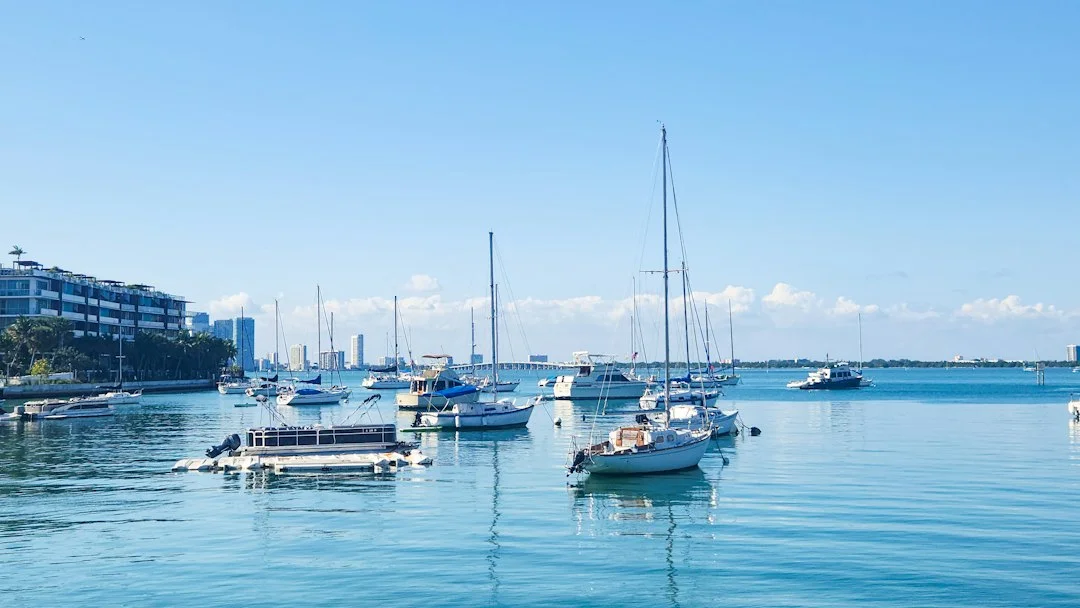
Photo by Zoshua Colah on Unsplash
Swing Room Geometry: Spacing, Wind Shifts & Current Reversals
Conservative swing radius: rode length + LOA
Swing room is where good anchoring etiquette and collision avoidance live. A conservative, usable estimate is:
Swing radius ≈ rode length (bow roller to anchor) + boat LOA
That’s a 360° planning number, not a promise of where you’ll sit all night. If you put out 140 ft of rode and you’re in a 38 ft monohull, your conservative radius is 178 ft. Your swing circle is twice that across—about 356 ft—which surprises people who anchor “just over there.”
Crowded anchorage tactics: set early, set predictably
In crowded anchorages, being predictable beats being clever. Get in early enough to pick a spot with a clean circle, and set with a normal scope so others can judge your swing. If you use short scope to “fit,” you may hold fine—until the wind shifts 120° and you become the stationary object everyone else rotates into.
Don’t anchor inside someone else’s swing circle, even if they look like they’re giving you room right now. And don’t assume everyone has the same scope; boats on 5:1 and boats on 10:1 are not playing the same geometry game. When I’m unsure, I’ll idle around and eyeball rode lengths, or politely ask—most skippers will answer if you’re not acting entitled.
Anchoring in wind shift and in current: what changes
Wind makes boats shear and yaw; current makes them line up like weather vanes. In a reversing current of 1–3 kt, boats can swap orientation quickly, and the “safe” spacing you had at slack can vanish. That’s why choosing an anchorage with a hazard-free circle in all directions is safer than relying on a fancy two-anchor rig as your first solution.
If wind shifts 90°–180° overnight, your anchor may have to reset from a new direction. A good modern anchor in sand or firm mud often will, assuming you used adequate scope and set it properly. A marginal set in weed usually won’t, and that’s when you see the slow slide toward the shoreline that everyone notices except the person dragging.
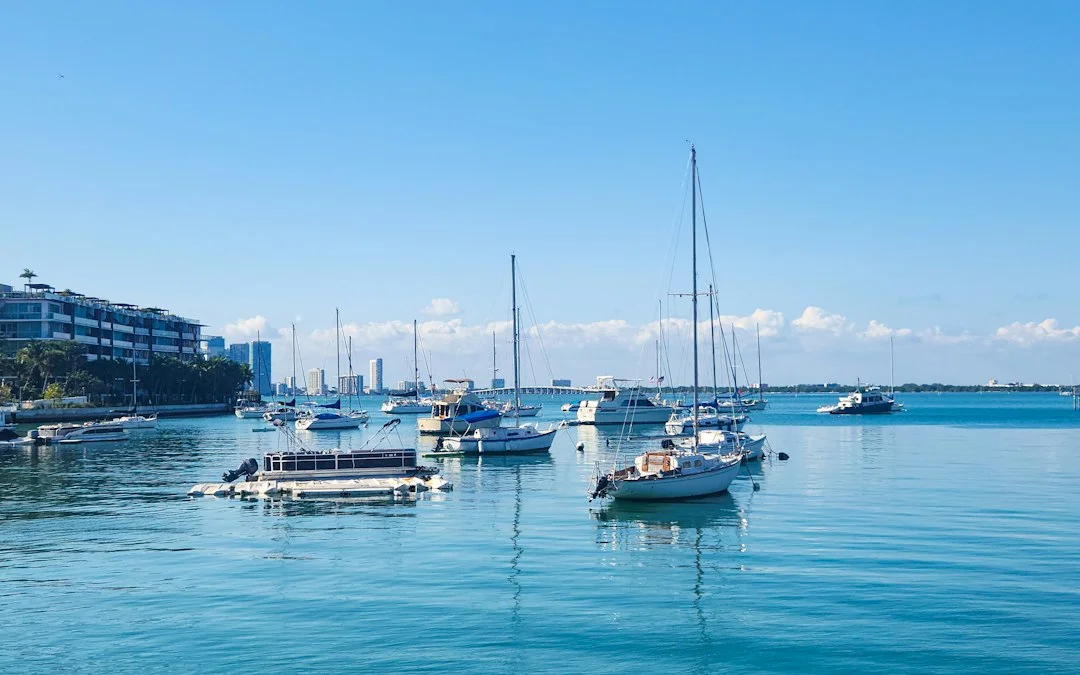
Photo by Zoshua Colah on Unsplash
Setting & Verifying the Anchor: Step-by-Step Drag Proofing
The drop: alignment, speed control, and not “throwing” the anchor
A clean set starts with boat control, not brute force. Approach slowly into the wind or current, stop the boat, and lower the anchor—don’t launch it like you’re feeding a sea monster. Pay out rode as the boat drifts back, keeping it from piling up on the anchor, and pause at partial scope to let the anchor orient.
In 10–20 ft depths, it’s easy to get complacent and rush. That’s exactly where people end up anchored on a heap of chain with a half-set anchor. Take the extra 60 seconds now; it beats taking 60 minutes later in the dark.
The set: incremental reverse power and confirmation cues
Once you’ve paid out to your initial scope, gently apply reverse to stretch the rode and start the set. Then increase reverse in steps, watching for the right cues: the bow should come up and “snub” steadily, the rode should align and stop skipping, and the boat should stop sliding as you add power. If you’re in 20 kt forecast, I like to set with a meaningful reverse load, not a polite nudge.
If it won’t bite, don’t argue with physics. Retrieve, clear any weed, and try again—ideally after moving 50–150 ft to better bottom. A “maybe” set is the seed of a dragging event.
Drag checks: transits, GPS trends, and seabed feedback
Use at least two independent methods. First: take visual transits—line up two shore objects and see if the line holds for 3–5 minutes as the boat settles. Second: watch GPS/plotter track behavior; a tight cluster around one point is normal, while a marching line is not. Anchor alarms help, but they’re not your first and only check.
Retrieval loads are the other half of this story. A well-buried anchor in strong wind/current can demand 500–1,500 lb to break out, and many mid-size windlasses are rated around 700–1,500 lb max pull—check your spec. ABYC H-41 and ABYC E-11 are there for a reason: use proper circuit protection, correct gypsy compatibility, and never use the windlass as a winch to drag the boat to the anchor.
Practical tip: My “reset trigger” is simple: if I can’t confirm a solid set within a few minutes—or the anchor skips once under increasing reverse—I re-anchor immediately. Hope is not ground tackle.
Backup Plans Without Panic: Second Anchors & Bailouts
Plan B decision tree: when to re-anchor vs leave
A backup plan isn’t drama; it’s seamanship. Pick thresholds while you’re still calm: wind exceeding forecast by 10+ kt, repeated anchor-alarm hits that aren’t GPS wander, or more than two failed sets on the same patch. If any of those occur, you either re-anchor in a better spot or you leave for a safer anchorage.
Before dark, I like to identify at least two alternates and check the nautical miles to each option. Knowing an alternate is 6 nm away versus 16 nm changes your decision when a squall line is building. Also pre-think your exit track to avoid shoals and traffic, because “we’ll figure it out later” is how boats end up pinned in a bad corner.
Two-anchor concepts: Bahamian moor and V-anchoring
Second anchors have real use cases—limited swing room, marginal bottom, or reversing current—but they bring tangles and complexity. A Bahamian moor places two anchors roughly 180° apart and is most useful in reversing current. V-anchoring typically spreads anchors 45°–60° apart to resist wind shifts, but it demands tidy procedures and enough room to manage two rodes without crossing your neighbors.
Secondary anchors aren’t cheap, but they’re less expensive than a towing bill and fiberglass repair. A typical backup anchor runs $200–$700 depending on size and type, and a simple trip line with buoy is often $20–$80. Spend the money once, then practice deploying it when conditions are easy, not when your pulse is 140 bpm.
Fouled anchor and emergency measures
Fouled anchors happen around debris, rock, and old moorings. A trip line and buoy can help you pull from the crown, but it can also become something else to tangle if you’re in current. If retrieval turns dangerous—close quarters, breaking seas, or risk to crew—there are times you buoy the rode, mark the position, and leave gear behind to save the boat.
Here’s the comparison I wish more skippers made before they needed it:
| Backup option | Best use-case | Setup complexity | Main failure modes |
|---|---|---|---|
| Single anchor + move | Bad bottom, poor set, wrong depth math | Low | Ego delay; moving too late; choosing another poor spot |
| V-anchor (45°–60°) | Wind shifts, limited yaw, open area | High | Rode tangles; unequal loading; difficult retrieval at night |
| Bahamian moor (180°) | Reversing current (1–3 kt), narrow river | High | Rode twist, anchors crossing, fouling during reversal |
| Tandem anchors (in line) | Extra holding in same direction | Medium | Poor deployment spacing; second anchor not setting; messy retrieval |
Anchor Alarms, Anchor Watch & Compliance (Lights/Signals)
Alarm radius: swing circle + GPS buffer
Anchor alarms work best when you set them with geometry, not guesswork. Start with expected swing radius:
Radius ≈ rode length + LOA
Then add a buffer for GPS wander and dynamic motion. A practical range is +75–150 ft beyond expected swing radius. If you’re sheering hard in gusts and your GPS wanders 15–40 ft, err toward 125–150 ft to reduce nuisance alarms while still catching real movement.
In tight anchorages, you can reduce the buffer, but only if you’ve validated your true swing and you’re watching trends. False alarms teach crews to ignore alarms, which is a fine way to miss the one that matters.
Overnight routine: checks, chafe, and weather updates
I do a short check after the boat settles and again after the first real wind shift. Look at the snubber for chafe at the chocks, confirm the chain hook is seated, and verify the anchor light is on. If conditions are building, I’ll also look at barometer trend and refreshed forecasts, because the “updated at 2200” forecast often tells you what the 1600 forecast missed.
If you’re relying on a windlass for retrieval, keep batteries healthy. Many 12V windlasses pull roughly 70–150A under load, and low voltage turns windlass work into slow, hot suffering. ABYC E-11 guidance on proper wire sizing and overcurrent protection is not theoretical when you’re trying to get unstuck quickly.
COLREGS Rule 30 and best-practice signals
Compliance is easy here: show the correct lights and shapes. Under COLREGS Rule 30, an anchored vessel displays an all-round white anchor light at night and in restricted visibility. The anchor ball by day is best practice and often locally expected or required, even if many boats skip it.
Finally, choose alarm tools with realistic failure modes in mind:
| Alarm type | Typical cost | Battery considerations | Common failure modes |
|---|---|---|---|
| Chartplotter alarm | Included/varies | Uses house bank; usually robust | Bad settings; GPS smoothing; crew silences alarm |
| Phone app | $10–$60 | Phone battery + sleep mode issues | App killed in background; weak GPS; dead phone at 0200 |
| Dedicated GPS alarm device | $150–$500 | Separate charging/AA packs vary | Poor mounting; weak antennas below decks; forgotten updates |
Frequently Asked Questions
How do I calculate rode length using high-tide depth and bow height if my sounder is calibrated to the transducer (not the waterline)?
Treat the sounder reading as “depth below transducer,” then convert it to depth at the bow roller. Add the transducer’s offset to the waterline (often ~1–2 ft, measure yours), then add predicted tide rise (commonly 2–8 ft range overall), then add bow height above the waterline (~3–6 ft typical). Use: Rode = (depth at high tide + bow height) × scope, measured from the bow roller/chock per the USCG 7:1 rule-of-thumb baseline.
If my swing radius is rode length + LOA, when should I add extra distance for a bridle/snubber length and for bow-to-anchor offset on catamarans?
Add bridle/snubber length when it meaningfully increases bow-to-anchor distance, especially with long bridles of 15–25 ft on cats. On catamarans, also account for bow-to-anchor offset if the bridle meets at a forward point that’s not the roller; for conservative planning, use rode paid out + LOA + (bridle length if forward). If you’re tight on room, assume worst-case geometry; it’s cheaper than gelcoat.
What anchor alarm radius is appropriate when GPS position wander is 15–40 ft and the boat is sheering in gusts—how do I tune the 75–150 ft buffer to reduce false alarms?
Start with radius = (rode length + LOA) + buffer. With 15–40 ft GPS wander and gusty sheering, a buffer of 125–150 ft usually reduces nuisance alarms while still flagging true dragging early. If you get repeated false alarms, don’t just increase the number blindly—first confirm your swing center is set correctly and that you’re not actually creeping due to a poor set.
For a 35–45 ft monohull on all-chain rode, how do 5:1 vs 7:1 scopes change horizontal load angle at the anchor in 20–30 kt winds (practical implications, not textbook catenary)?
In 20–30 kt, chain catenary largely straightens and the anchor “feels” a more direct pull. At 5:1, the pull angle tends to be steeper sooner as the boat surges, making marginal sets in weed or thin mud more likely to pop free. At 7:1, you keep the pull flatter longer and you reduce peak snatch loads, especially if you also use a 10–20 ft nylon snubber; in practice, that’s often the difference between holding and skating.
In reversing current (1–3 kt), when is a Bahamian moor safer than a single anchor, and what procedural steps reduce the risk of rode twist and fouling?
A Bahamian moor is most useful when current reverses predictably and you need to limit swinging in a narrow channel, especially with 1–3 kt reversals that make boats snap around at slack. To reduce twist, use two separate rodes, keep them well-organized during deployment, and avoid crossing them around the bow hardware; many crews rig chafe gear and clear fair leads before they start. It’s also wise to plan retrieval before dark—recovering one anchor while managing two rodes in current is where fouls multiply.
If you want one repeatable workflow to use every time: score the anchorage (shelter/fetch, depth at high tide, bottom, hazards, traffic, exit), calculate scope using high tide + bow height, confirm swing room using rode + LOA, then set hard and verify with transits plus GPS trend. After that, run an overnight routine with a tuned alarm and a Plan B you can execute without debate. Most dragging events trace back to avoidable inputs—bad depth math, poor bottom choice, an unverified set, or insufficient swing room—so discipline before the drop is the best safety gear you own.
About the Author
Related Articles
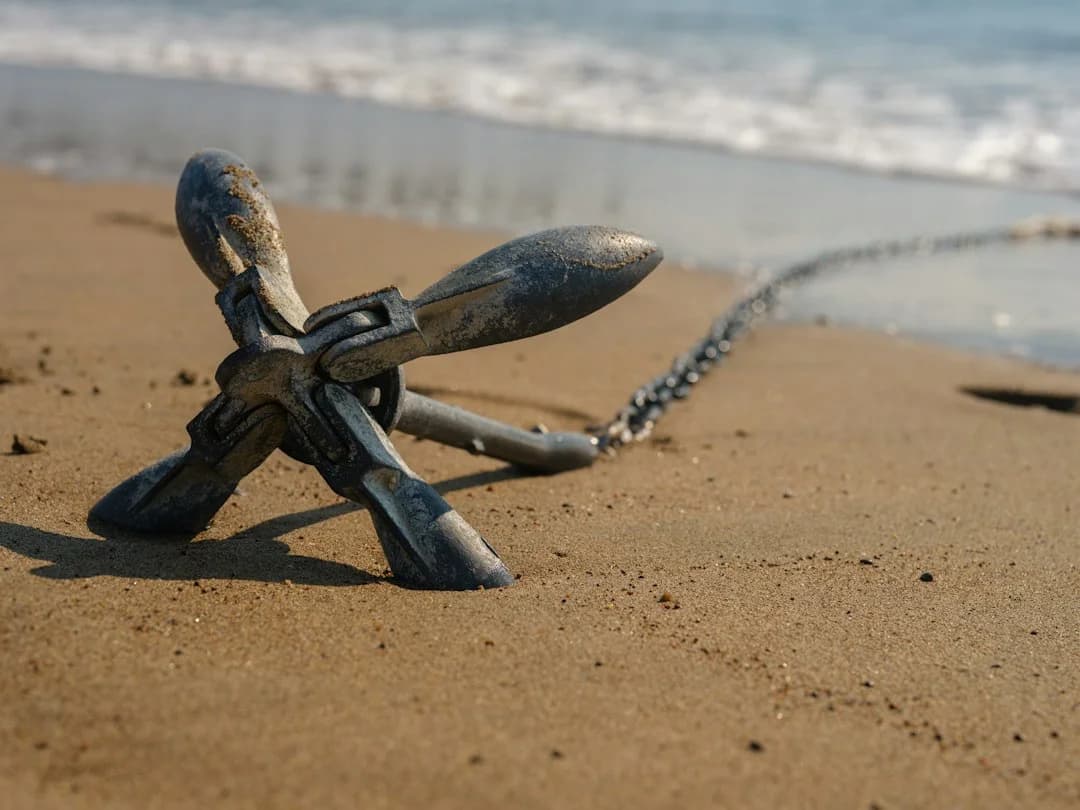
How to Stop a Boat From Rocking at Anchor Overnight
Learn how to stop a boat from rocking at anchor overnight with scope, snubbers, riding sails, and better alarm settings—sleep better tonight.
By Breezada Team

Bahamian Moor Guide: Tandem Anchors & Snubbers
Learn bahamian moor setup, tandem anchoring, and proper snubbers for crowded anchorages. Get step-by-step tips—read and rig it right.
By Breezada Team
Best Radar Reflector for Sailboat: Active vs Passive
Compare active vs passive radar reflectors for sailboats, mounting tips, and real-world results. Choose the best radar reflector—read now.
By Breezada Team
Sail Trim for Beginners: Main + Jib Cruising Guide
Learn sail trim for beginners with simple main + jib settings, telltales, twist, traveler & vang. Get quick wind-based trims—read now.
By Breezada Team