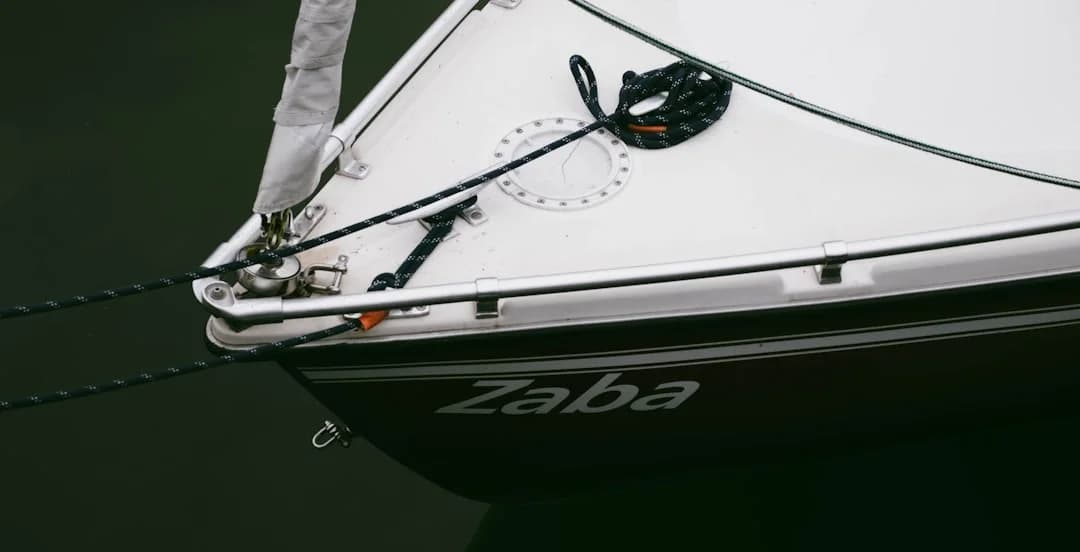
Med Mooring Lines & Lazy Lines: Buy, Rig, Prevent
Mediterranean stern-to berthing is deceptively simple: back in, hop off, tie up, and pretend you meant that last gust. The reality is a lazy line mooring setup is a load-and-chafe problem stretched over a very specific geometry: your stern sits 0.5–2.0 m off a hard quay, wakes turn into surge, and the weakest part of your system gets “audited” at 0300.
This article treats Med mooring like a skipper should: as a load path from water to cleat to deck structure. Buy the right line, rig it in the right order, keep slack out of the drink, and you’ll stop donating rope to the marina. For route and fuel planning before you even arrive, plan your route using a sea distance calculator is handy—because showing up late, tired, and under-caffeinated is how Med-moor dramas begin.
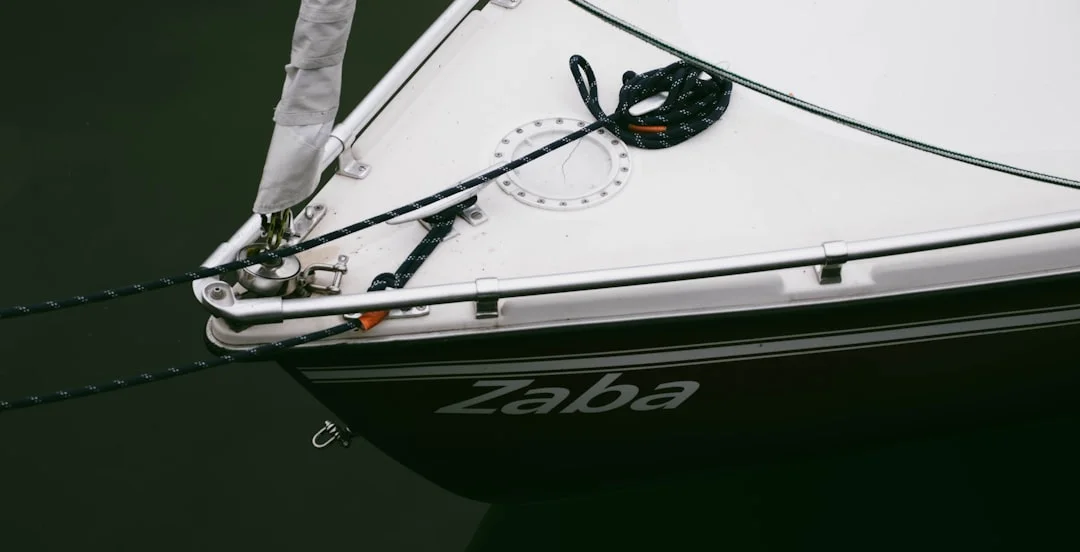
Photo by Andrey Volk on Unsplash
Mediterranean mooring & lazy lines: system and geometry
Terminology: lazy line, ground chain, pickup tail, berth line
In a typical Mediterranean stern-to berth, the marina provides a ground line—usually 10–14 mm short-link galvanized chain (G40/G43)—running 20–40 m from a mooring block to your slot. What you actually grab is a pickup tail, often 12–16 mm floating polypropylene, leading to a buoy or pickup ring near the quay. Your boat supplies the working lines: typically two stern lines to bollards or rings ashore and two bow/lazy connections from the pickup to your bow cleats or a bridle.
Sailors call everything “the lazy line,” but separating chain vs pickup tail matters for buying and failure prevention. Chain hates stainless-on-galvanized surprises, polypropylene hates heat-from-chafe, and your nylon docklines hate sharp fairleads. If you don’t name parts correctly, you’ll fix the wrong problem and still sleep badly.
Berth geometry: quay distance, surge, and fairlead angles
Most Med berths want your stern 0.5–2.0 m off the quay, close enough to step off but far enough to keep a wake from stuffing the sugar scoop. That narrow band drives line lengths: stern lines are commonly 8–15 m each, not because you like spaghetti, but because you need adjustment for quay height, crosswind, and surge. Short stern lines look tidy right up until the boat surges and turns tidy into “tight as a banjo string.”
Lead angles matter more than many skippers admit. If a lazy line enters a centerline bow roller at a nasty angle, it can saw on stainless, gelcoat, or the roller cheeks. A bow roller is designed for anchor rode loads near the centerline, not always for twin lazy lines leading outboard to bow cleats; sometimes a dedicated fairlead is kinder.
Where loads really go: from bow cleat to mooring block
Here’s the part people skip: in a surge, the mooring block is not “pulling on your line.” Your cleat is pulling on your deck, through bolts, backing plate, and laminate. That’s why I do a quick “load path audit” anytime I inherit a boat or a berth: cleat base → fasteners → backing plate → deck core. ABYC H-40 and ISO 15084 both emphasize strong points and load paths; you don’t need to memorize them, just respect what they’re warning you about.
Primary chafe zones are predictable: stern fairleads, bow rollers/fairleads, and the quay edge. The geometry decides where the rope moves under cyclic load, and movement plus pressure equals heat. Your buying decisions—diameter, material, chafe sleeves, thimbles—should follow that geometry, not a generic “bigger is better” instinct.
What to buy: materials and construction (nylon vs polyester vs polypropylene)
Stretch as a shock absorber: why nylon wins in surge
For Med mooring lines, polyamide (nylon) is the workhorse because it stretches usefully under load. In real berths with ferry wake and surge, nylon’s ~10–15% working elongation at moderate load reduces peak forces on cleats and deck structure. Polyester is tougher in some abrasion and UV scenarios, but it’s noticeably stiffer; that stiffness can turn a modest surge into a nasty snatch load.
A conservative approach is keeping expected peak loads under ~20–25% of published MBL, especially when berths are surge-prone. That’s not alarmist; it’s practical seamanship, because chafe, shock, and knots all steal strength. If you’re routinely loading lines higher than that fraction, the system is telling you something about geometry, tensioning, or protection.
UV, heat-from-chafe, and salt: what really ages lines
Mediterranean sun is not polite. In high-UV, high-chafe service, dock lines often last ~2–5 seasons, depending on protection and how much they move. Salt crystals stiffen fibers and make covers feel “crunchy,” but the silent killer is heat glazing from micro-slips over stainless or concrete. Polypropylene is especially vulnerable here; it floats (nice for pickup tails) but it doesn’t love abrasion or heat.
If you want longevity, spend money on chafe protection and correct lead angles before you spend it on fancy rope. A €40 chafe sleeve placed correctly often outperforms a €200 set of premium lines led over a burr. And yes, I’ve watched a nearly new line fuzz to near-failure overnight because a roller had a tiny sharp spot.
3-strand vs double braid: handling, inspection, and splicing
3-strand nylon remains my default for Med mooring: easy to inspect, easy to splice, and it shows damage early. Double braid nylon handles beautifully and stows neatly, but it can hide core damage under an intact cover until the day it doesn’t. If you choose double braid, commit to regular inspection and don’t assume “looks fine” means “is fine.”
At high-load points, prefer eye splices over knots. Many common knots can cost ~40–50% strength, and they create hard spots that chafe faster. If you must connect to chain, use a thimble in the eye; chain plus rope without a thimble is a slow-motion saw, and the chain always wins.
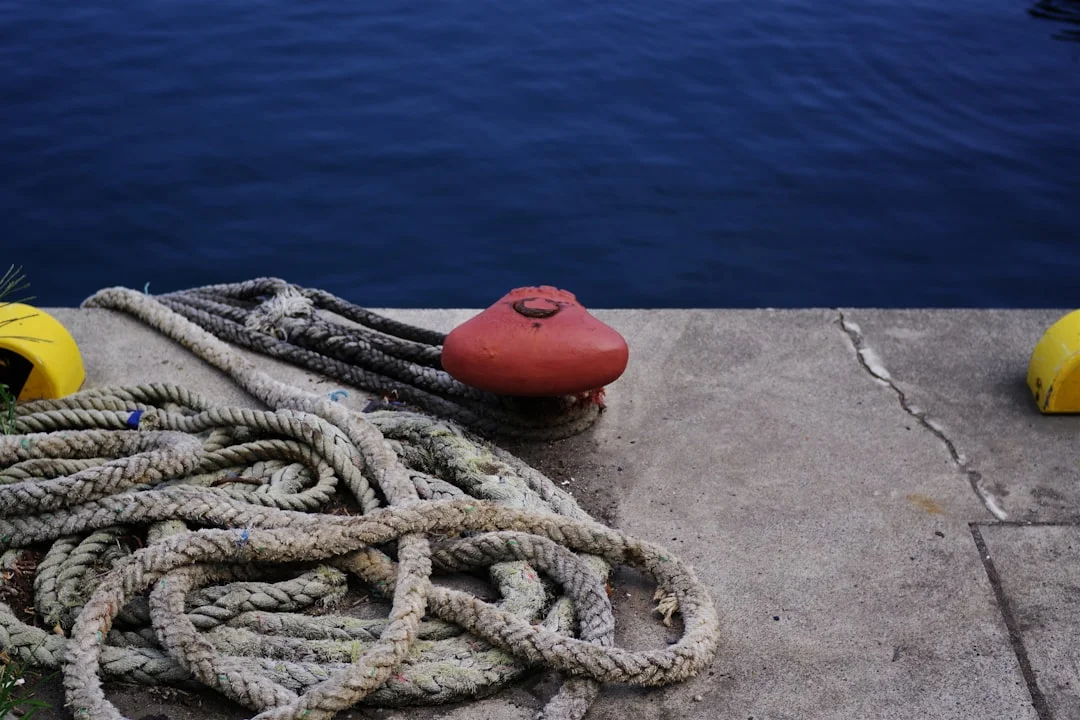
Photo by Naoki Suzuki on Unsplash
Diameters & lengths: a practical buying guide by LOA
Stern lines: length, diameter, and adjustment range
Stern lines in Med stern-to work harder than most cruisers expect. You’re trying to hold the boat off a hard quay, manage yaw, and still allow for the daily “accordion” of surge. For a 10–15 m boat, stern lines are commonly 10–15 m each, and I like having at least 2 longer lines (15–20 m) aboard for high quays, wide leads, or when the only usable bollard is in a different time zone.
Diameter is about both strength and hand-feel. Too thin cuts hands and chafes quickly; too thick is a pain to handle and doesn’t automatically solve poor geometry. For most monohulls, the supplier rule-of-thumb is a solid starting point—and then you upsize for windage, cats, and exposed marinas.
Bow/lazy connections: direct to cleats vs bridle
You can run the pickup tail to each bow cleat (two independent lazy connections), or you can rig a bow bridle and connect the pickup to the bridle’s center. A bridle can reduce yaw and noise by splitting load angles, and it often avoids sawing over a centerline roller. On many boats, bridle legs of roughly 2–4 m each give enough separation to keep leads fair without putting hardware in awkward places.
Pickup tail length matters: typically 3–6 m from ring/buoy to the boat is the workable range, depending on freeboard and where your cleats sit. Too short and you risk losing the pickup when a wake snatches it away; too long and it increases slack-in-water time, which is how props get “gift wrapped.”
How many spares to carry for high quays and odd bollards
A “minimum kit” gets you tied up; a “cruising kit” gets you tied up when the berth is weird, the wind shifts, and the dockhand shrugs. I like one spare line per critical function: one spare stern line, one spare bow/lazy connection, plus a sacrificial quay-protector line you don’t mind scuffing. Add a couple of spare shackles in 10–12 mm sizes, because chandlers close precisely when you need them.
Before you commit to lengths, sanity-check your typical passages and marina choices with a tool to check the nautical miles for your planned route. It sounds unrelated, but it affects arrival timing and conditions; the difference between arriving at slack afternoon and arriving at peak ferry-wake hour is often the difference between a quiet berth and a chafe factory.
Practical LOA sizing cheat sheet (nylon docklines):
| Boat LOA | Typical nylon diameter | When to upsize | Typical stern line length (each) |
|---|---|---|---|
| 10–12 m | 12 mm | high freeboard, exposed quay | 10–15 m |
| 12–14 m | 14 mm | gusty crosswinds, heavy displacement | 10–15 m |
| 14–16 m | 16 mm | surge-prone marina, high windage | 12–15 m (carry 15–20 m spares) |
| 16–18 m | 18 mm | cats, tall rigs, wide beam | 12–18 m (carry 20 m spares) |
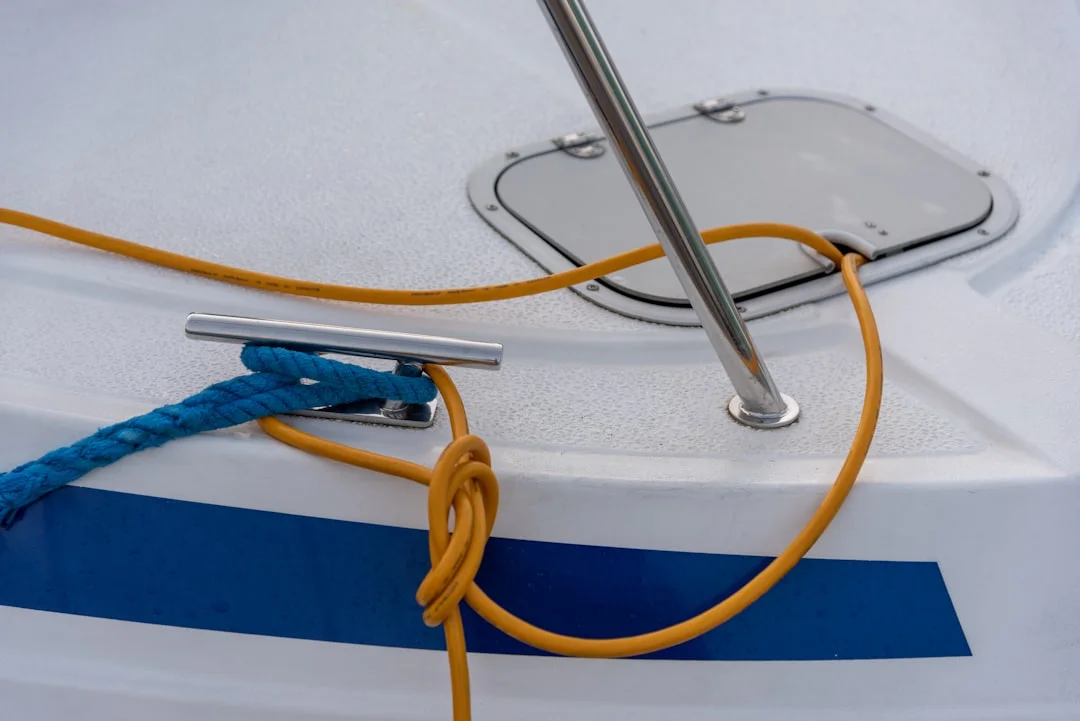
Photo by Gunnar Ridderström on Unsplash
Costed Med-moor shopping list: build your kit efficiently
A Med-moor kit doesn’t have to be expensive, but it does need to be complete. Spend where it prevents failure—correct diameter nylon, proper splices, chafe gear, and a couple of snubbers—and keep the rest simple. Also: many marinas have rules about modifying their pickup tails; ask before you replace or extend anything, because arguing on a quay rarely improves your docking geometry.
| Item | Typical EU price range | Notes (what matters) |
|---|---|---|
| 3-strand nylon dock line (12 mm), per meter | €2.50–€4.50/m | Great for 10–12 m LOA; easy to inspect and splice |
| 3-strand nylon dock line (14–16 mm), per meter | €3.50–€7.50/m | Common Med sizes; choose diameter based on LOA and windage |
| Double-braid nylon dock line (14–16 mm), per meter | €5.50–€11.00/m | Handles well; inspect carefully for hidden core damage |
| Pre-spliced dock line (14 mm × 10 m) | €35–€80 each | Convenience vs DIY splice; check thimble quality if included |
| Chafe protection sleeve (0.5–1.0 m) | €10–€45 | Tubular webbing, leather, or purpose-made sleeves; secure against migration |
| Rubber mooring snubber (12–16 mm lines) | €12–€40 | Simple, effective; best on boat-owned nylon lines |
| Heavy-duty compensator/snubber | €35–€120 | Useful for surge; don’t use to “fix” bad lead angles |
| Stainless thimble (12–16 mm) | €6–€25 | Use where rope meets chain/shackle; reduces sawing |
| Galvanized shackle (10–12 mm) | €5–€20 | Preferred with galvanized chain; carry 2–4 spares |
| Splice service (per eye splice) | €15–€60 | Money well spent for high-load eyes |
| Pickup tail replacement (12–16 mm polypropylene, 5 m) | €20–€70 | Only if marina allows; floating helps pickup but watch chafe |
| Cleat upgrade + backing hardware (per cleat) | €60–€200 | If your load path audit finds weak cleats, fix that before buying fancier rope |
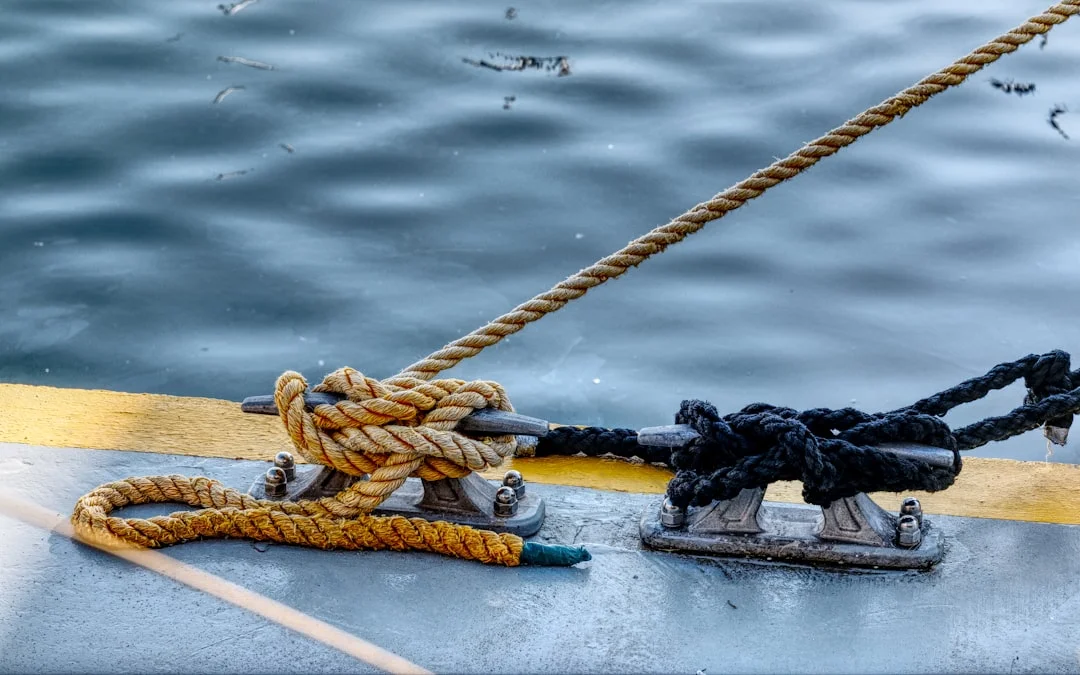
Photo by Ilker Ozmen on Unsplash
How to rig a lazy line mooring setup: arrival to final tension
Pre-rig on deck: staging lines to avoid tangles and prop wrap
Before you enter the fairway, set the boat up like you mean to succeed. Flake two stern lines so they’ll run cleanly, and rig them to stern cleats with enough tail for adjustment; 10–15 m lines disappear quickly when the quay is tall or the bollard is offset. Prepare two bow/lazy connections or your bridle, and make sure shackles are already moused or seized—because dropping hardware overboard is a traditional way to meet your neighbors.
Brief the crew on one rule: keep slack out of the water. A floating pickup tail looks friendly right up until it wraps a prop, and then it becomes an engine-off swimming lesson. This is also where I like to confirm the next leg’s plan using calculate the distance between ports before you cast off—not because the calculator rigs lines, but because better timing reduces the chaos factor on arrival.
Pickup sequence: controlling slack and keeping line forward of the beam
Back into the slot, stop the boat with control, and get the stern lines ashore first. In most Med setups you’ll run two stern lines to quay bollards or rings, leaving the stern 0.5–2.0 m off the quay depending on wake and swim platform height. Once the stern is checked, pick up the lazy line with a boat hook; don’t freehand it like you’re landing a tuna.
As the pickup comes aboard, keep it outside the lifelines and forward of the beam until it’s secured. The goal is simple: never let the line drift under the boat where it can meet the prop. If the marina’s pickup tail is long and floating, control it with a turn around a bow cleat or a temporary cleat hitch before you start tidying.
Final set: tensioning, springs, and clearing quay hazards
With stern lines made fast, bring the lazy lines up to the bow and secure them properly. If you’re connecting rope to chain, use an eye splice with a thimble and the right shackle; don’t tie a knot to chain unless you enjoy replacing lines. Tension the bow connections to reduce surge travel, then re-check stern distance; in a surge-prone harbor, I’d rather be 1.2–1.8 m off than flirting at 0.5 m.
Add two springs if conditions justify it—one each side—to reduce yaw and stern-walking in crosswinds. Springs are underrated in Med berths; they stop the boat from hunting, which stops the lines from sawing. Finally, route everything on the quay so nobody trips over it, especially around shore power; many pedestals are 230 V/16 A or 230 V/32 A, and cables plus lines make a messy, risky braid.
Tip box (what I actually do):
Set stern lines first to establish 0.5–2.0 m clearance, then tension bow/lazy lines to limit surge, then add springs for yaw. If slack ever hits the water, stop “tidying” and start controlling.
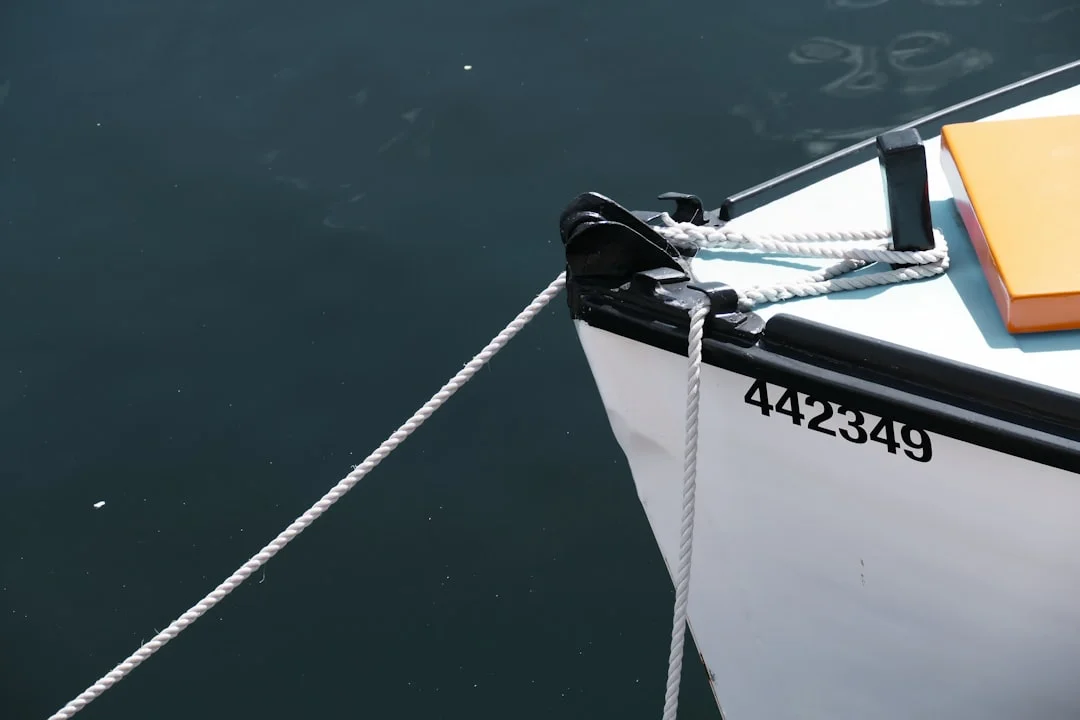
Photo by Vlad Kutepov on Unsplash
Load management: bridles, snubbers, springs, and chafe protection
Bridle geometry: splitting loads and reducing noise/yaw
A bow bridle is one of the simplest upgrades for a lazy line mooring setup, especially on boats where the centerline bow roller creates ugly lead angles. Two bridle legs—often 2–4 m—run from a central connection point to both bow cleats, splitting the load and reducing side-to-side hunting. Less yaw means less cyclic chafe at the stern fairleads, which is where most overnight failures start.
The bridle also reduces that irritating “chain snatch” noise when the lazy line loads and unloads. If you’re stern-to for a week, noise matters; it’s not just comfort, it’s a clue that loads are peaking. Make the bridle from the same nylon diameter you’d trust for your bow connections, and put thimbles in eyes if hardware is involved.
Snubbers and compensators: where they work (and where they don’t)
Nylon already stretches, but snubbers and compensators can reduce peak loads further when surge is short and sharp. Put them on boat-owned lines where you can inspect, adjust, and replace them, not on marina-owned pickup tails unless explicitly permitted. A simple rubber snubber in the 12–16 mm range can take the sting out of a wake; heavy-duty compensators are useful when the berth behaves like a giant yo-yo.
They are not a cure for bad lead angles. If the line is sawing over a stainless edge, a snubber may actually increase motion and heat in that wear zone. Fix the lead, deburr the hardware, then add elasticity where it helps.
Chafe protection placement: fairleads, bow roller, and quay edge
Chafe sleeves work when they’re in the right place and stay there. In Med berths, I typically use 0.5–1.0 m sleeves over stern fairlead zones and any spot that can touch the quay edge. Secure sleeves so they cannot migrate under cyclic loading; a sleeve that slides away is just extra laundry.
Inspect every contact surface for burrs. A 1–2 mm burr on a stainless fairlead or bow roller can destroy nylon fibers fast, especially in surge where the line micro-slips thousands of times overnight. Deburring and polishing is cheap prevention, and it’s the sort of maintenance that feels boring until it saves your transom.
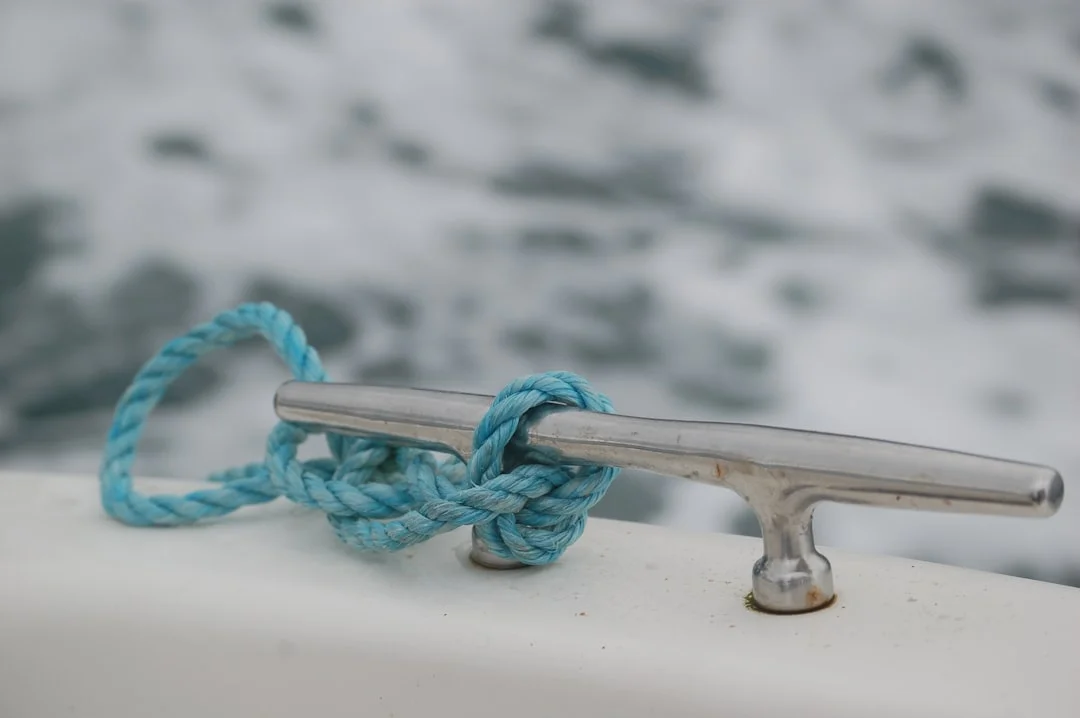
Photo by Neil Wallace on Unsplash
Common Med-moor failures: causes, warning signs, prevention
Chafe-through and heat glazing: why it happens overnight
The most common Med-moor failure I see is plain chafe-through at a fairlead, bow roller, or quay edge. It often happens “overnight” because the conditions changed: a swell wraps in, a ferry starts running, or wind shifts enough to make the boat hunt. The line doesn’t have to be undersized; it just has to be moving under load over a hot spot long enough.
Warning signs show early if you look: fuzzing, flattened spots, glazing, or a stiff, shiny patch that feels heat-set. If you see damage and think, “It’ll last one more night,” you’re probably volunteering for the midnight anchor drill. Add 0.5–1.0 m chafe sleeves, correct the lead angle, and consider a bridle or springs to reduce movement.
Hardware and corrosion: shackles, chain wear, galvanic traps
Lazy line chains are typically galvanized, and galvanized shackles are the natural partner. Mixing stainless shackles on galvanized chain can increase galvanic activity, especially if the zinc coating is already worn and the hardware stays wet. If you must use stainless, inspect more frequently, consider isolation strategies, and don’t assume “shiny” means “safe.”
Chain wear is its own issue: elongated links, worn crowns, and sharp edges where chain has worked in one direction for years. Remember the chain run can be 20–40 m, often shared across multiple berths, and your pickup tail splice is only as strong as its weakest worn link. If something looks suspect, tell the marina; you’re not being fussy, you’re being alive.
Prop entanglement and departure incidents: the preventable ones
Prop wrap is the failure that turns a normal departure into a farce. It usually happens because the pickup tail is floating and slack, and someone puts the engine in gear before the lazy line is controlled. The prevention is procedural: keep the pickup forward of the beam, keep slack out of the water, and temporarily secure the tail on the bow until it’s ready to be released.
A staged departure helps. Start the engine in neutral, confirm the lazy line is clear, then ease tension in a controlled order—often lazy lines first while stern lines hold you off. If you’re unsure of local setup, watch another boat leave, or ask the dockhand how their pickup tails behave. The sea is patient; your prop shaft seal is less philosophical.
Failure mode → weak point → single best fix:
| Failure mode | Usual weak point | Best prevention step |
|---|---|---|
| Chafe-through at stern fairlead | cyclic yaw + unprotected wear zone | springs + 0.5–1.0 m chafe sleeve |
| Cleat fastener pull-out | weak backing plate / cored deck issues | load path audit; upgrade cleat & backing |
| Pickup tail parts at splice | poor splice or abrasion at hardware | proper eye splice + thimble; inspect monthly |
| Prop entanglement on departure | slack floating tail near prop | control tail forward; never motor over a line |
Inspection, replacement intervals, and a standards-based checklist
Retire-or-rotate criteria for dock lines in Mediterranean use
In the Med, I don’t retire lines by birthday; I retire them by evidence. Typical service life is often ~2–5 seasons, but a line can be “old” and fine if protected, or “new” and dangerous if it has glazed damage. Demote suspect lines to low-load jobs like fender lashings, and keep your primary stern and bow connections pristine.
Inspect more when conditions change. A quick daily scan takes 30 seconds: check chafe sleeves haven’t migrated, check fairleads for new sharpness, and check that lines aren’t bar-tight. After a blow or a surge event, do a real inspection with hands and eyes; your fingertips notice glazing before your eyes do.
Strong points and deck hardware: ABYC/ISO concepts applied
ABYC H-40 and ISO 15084 boil down to a practical truth: mooring loads must be carried by strong points with proper installation and backing, and loads should enter hardware at sensible angles. If your cleat rocks, if bolts show corrosion, or if you see gelcoat cracking around the base, the structure is speaking. Listen before a surge translates that message into a loud bang.
Look under the deck if you can: backing plates should be substantial, washers shouldn’t be biting into soft laminate, and cored decks need proper compression sleeves. A lazy line mooring setup loads bow cleats in directions some production boats didn’t prioritize, especially if the lead angle pries upward. Fixing hardware is often cheaper than repairing a torn-out cleat and cracked deck.
Quick pre-nightfall checklist for surge and forecast changes
Before dark—especially when the forecast shifts—do a repeatable check. Confirm stern clearance is still in the 0.5–2.0 m band, confirm springs (if used) are doing something useful, and confirm chafe protection is actually on the wear zone. Check shore power routing too; 230 V/16 A cables lying under a loaded dock line is a bad combination.
Finally, do the “deburr and align” maintenance item as routine, not as a reaction. A 1–2 mm burr on a bow roller is trivial to remove and expensive to ignore. Keep a small file and emery cloth aboard; they’re lighter than your regret.
Frequently Asked Questions
For a 14–16 m monohull in a surge-prone Med marina, what minimum nylon line diameter and target working load fraction (<25% MBL) should I choose after accounting for a ~40–50% knot efficiency loss?
Start at 16 mm nylon (polyamide) for a 14–16 m monohull, and upsize to 18 mm if you have high windage, an exposed berth, or persistent surge. Keep expected peak loads under ~20–25% of published MBL, and avoid knots at primary attachment points because ~40–50% strength loss makes the effective margin much smaller; use eye splices instead.
How do I size a bow bridle for a lazy line mooring (leg length, attachment points, and shackle/thimble selection) to minimize sawing at the bow roller and reduce yaw?
Use two bridle legs typically 2–4 m each, attached to both bow cleats so the load is shared and the lead stays fair. Connect the lazy line pickup to the bridle’s center with an eye splice and a thimble, using an appropriately sized shackle (often 10–12 mm) to avoid rope-on-metal sawing. Keep the bridle geometry wide enough that it bypasses a problematic centerline roller rather than grinding through it.
What pickup-tail length (3–6 m typical) best balances freeboard reach versus prop-entanglement risk, and how should the tail be led and temporarily secured during departure?
A pickup tail of 3–6 m from ring/buoy to the boat is the practical range; choose the shortest length that still reliably reaches your bow cleat given your freeboard and lead. Lead it outside lifelines, keep it forward of the beam, and take a temporary turn on a bow cleat so slack never falls into the water. On departure, control the tail on deck until you are ready to release it—then let it run only when the prop is guaranteed clear.
When connecting a marina’s galvanized lazy-line chain to my gear, what are the corrosion risks of stainless shackles on galvanized chain, and what inspection/mitigation steps are recommended?
Stainless on galvanized can accelerate galvanic issues as the zinc coating wears, particularly in wet, salty environments where the connection stays submerged or damp. Prefer galvanized shackles on galvanized chain, and if stainless must be used, inspect more often for zinc loss, pitting, and sharp chain edges; consider isolation strategies where practical. Regardless of metal choice, check for chain wear and burrs that can cut into thimbles or rope eyes.
How can I identify and correct fairlead/bow-roller edge defects (e.g., a 1–2 mm burr) that cause rapid nylon fuzzing, and what chafe sleeve materials/lengths (0.5–1.0 m) perform best at that location?
Run a rag or your fingertips along the fairlead/roller edges; if it snags, you’ve found the culprit, and a 1–2 mm burr is enough to shred nylon under cyclic load. Deburr with a fine file and finish with emery cloth until the edge is smooth, then re-check after a surge event. Use 0.5–1.0 m chafe sleeves—tubular webbing, leather, or purpose-made synthetic sleeves—secured so they cannot migrate away from the wear zone.
Conclusion summary: Med stern-to is a load-path problem in fancy scenery. Choose nylon for controlled stretch, size diameters by LOA (upsizing for windage), buy enough length for real adjustment, rig with a disciplined pickup sequence, and prevent failures with chafe gear, correct leads, and strong-point inspections aligned with ABYC H-40 and ISO 15084 good practice.
About the Author
Related Articles
Best Radar Reflector for Sailboat: Active vs Passive
Compare active vs passive radar reflectors for sailboats, mounting tips, and real-world results. Choose the best radar reflector—read now.
By Breezada Team

Sail Trim for Beginners: Main + Jib Cruising Guide
Learn sail trim for beginners with simple main + jib settings, telltales, twist, traveler & vang. Get quick wind-based trims—read now.
By Breezada Team
Sailboat Bimini Guide: Dodger & Enclosure Choices
Learn how to choose a sailboat bimini, dodger & cockpit enclosure—materials, fit, costs, and DIY vs pro. Get the right setup today.
By Breezada Team
Code Zero vs Genoa: Jib & Spinnaker Guide
Compare Code Zero vs genoa, jib, and spinnaker by wind range and angle. Choose the right headsail for your boat—read the guide now.
By Breezada Team