Single-Handed Sailboat Docking: Line Methods & Drills
Single handed docking sailboat work isn’t about bravery at the helm or perfect Instagram landings. It’s about control—of speed, angle, and the moment you commit your first line—while keeping your feet on the boat until the boat is effectively stopped. If you can repeat that, you can dock alone in a crosswind, in current, and in the kind of 40–60 ft fairways marinas love to build for 30–40 ft slips.
Photo by Kristel Hayes on Unsplash
Single-Handed Docking Fundamentals: Control, Risk, Abort
Priorities: slow boat, predictable angle, first line plan
Your hierarchy as a single-hander is simple: boat speed control > position control > tie-up perfection. At 0.5–2.0 kt SOG, even a “dead slow” approach can carry real momentum, and at ~1.5 kt a 12,000 lb cruising boat will still hit like it means it. The goal is not to arrive pretty; it’s to arrive with a plan that lets you stop the boat with one line before you start fussing with the rest.
Line-first docking matters because leaving the helm early is where solo docking gets expensive. If the boat isn’t stopped and you step forward to play bow hero, you’ve traded steering and throttle for hope. A spring-led “stop line” lets you keep the boat controlled while you’re still in the cockpit, which is where your best tools live.
Decision points: when docking becomes an abort
Good single-hand docking is mostly good aborting. Build two gates: an approach gate (angle/speed/spacing that looks right) and an abort gate (limits that trigger a reset). Quantify your triggers: if you miss the first-line reach, if your angle is too steep to avoid hard contact, if closing speed isn’t “dead slow,” or if traffic creates a close-quarters situation in the fairway, you abort—no negotiating.
My standard abort sequence is boring on purpose: rudder centered → brief forward burst (1–3 seconds) to regain steerage → neutral → exit the fairway or circle. The point is to leave cleanly, not to “save it” at the last second with power near fiberglass and fingers.
Marina geometry: fairways, slip length, turning radius
Most marinas are built around a practical rule: fairways often run ~1.5–2.0× slip length, which commonly means ~40–60 ft fairways for 30–40 ft slips. That’s not generous when you add crosswind, prop walk, and neighbors who’ve treated dock boxes like a storage unit. Geometry should drive your method: finger pier vs alongside vs pilings, and floating vs fixed docks with tide.
Also: marina fairways still live under the Navigation Rules—safe speed, maintaining lookout, and avoiding close-quarters. You don’t get right-of-way because you’re single-handing; you get responsibility to slow down earlier. If it’s getting tight, your safest move is often to reset outside and come back when you can do it calmly.
Tip box (captain’s rule): If you’re thinking “I can probably make this,” you’re already late. Abort early while you still have room, steerage, and dignity.
Photo by Jeremy Bishop on Unsplash
Pre-Dock Setup: Fenders, Lines, Midship Spring Pre-Rig
Fender placement for finger piers vs pilings
If you dock alone, you don’t get a second chance to wish you’d set more fenders. On a typical 30–40 ft monohull, I like 3–5 fenders dock-side plus one roving fender near maximum beam—often an 8×20 in cylinder minimum, with a 10×26 in at the beam where contact tends to happen. The roving fender is the one you can shove into the problem spot while you’re still figuring out what the wind is doing.
Set height for the contact band, not the waterline. Floating docks often hit around 12–24 in above the waterline, while fixed docks can be higher depending on tide. If you expect a range, preset for the worst-case tide so you don’t end up with fenders politely hanging in midair while your topsides grind on a piling.
Line inventory and preset runs back to the cockpit
For 30–40 ft boats, 1/2 in (12–13 mm) double-braid nylon is common for dock lines, with typical breaking strength around ~7,000–9,000 lbf depending on brand and construction. Nylon’s stretch is your friend when gust loads spike, especially on a spring that’s doing the stopping. I carry dedicated lines rather than “whatever’s closest,” because re-rigging in a tight fairway is a great way to teach your prop about loose coils.
A dedicated midship spring is the workhorse: 25–35 ft for 30–35 ft boats, and 35–45 ft for 40–45 ft boats. Pre-lead it outside the lifelines to the cockpit, with the bitter end where you can grab it without leaving the helm. If you’re leading over toerails or across sharp edges, spend the $5–$20 on chafe sleeves now instead of replacing lines later.
Cockpit-first workflow: what must be reachable from the helm
“Cockpit-first” means your boat is rigged so the skipper can: steer, shift, throttle, fend, and place the first line without sprinting forward. Your boat hook should be ready, not buried; a telescoping 6–12 ft hook (many good ones are ~8–12 ft and ~1.5–3 lb) is long enough to save your shoulder and short enough to stow where it won’t trip you.
Gloves matter more solo than people admit, because you’ll be tempted to grab fast-moving line barehanded when something surprises you. Keep them within arm’s reach, same as a knife or line cutter. Most docking injuries are not dramatic; they’re little hand injuries that become big problems at the worst time.

Photo by Ian Keefe on Unsplash
Proven Line-First Docking Methods (No Bow Thruster)
Midship spring ‘stop line’ to freeze the boat
The cleanest single hand docking technique I know is the midship spring “stop line.” The concept is simple: approach so your midship cleat passes a dock cleat, drop your spring loop over, and use gentle forward power against the spring to hold the boat alongside. That turns the dock cleat into a pivot point, and it buys you time to tidy everything else.
Lead matters: midship cleat/strong point → outside lifelines → through a fairlead/chock (if fitted) → bitter end stays in cockpit. If you lead inside lifelines, it will snag when you’re busy, and it will always snag at the moment you can least afford it. Keep the line out of the water, controlled, and coiled so it can run without tangles.
Forward vs aft spring selection (stern spring line docking)
If wind or current wants to push your bow off, a forward spring (leading forward from the boat to a dock cleat ahead) can help hold the bow in while the stern settles. If conditions want to kick the stern out, an aft spring (stern spring line docking) can tame the stern and help you pivot the bow. The trick is choosing the spring that creates the pivot you need, not the pivot you wish you had.
In practice, the midship spring is often your first, because it’s reachable and stabilizing. Once the boat is held, you can add bow and stern lines as breast lines or additional springs. Think “stop first, then secure,” not the other way around.
Cleats, pilings, and rings: quick attachment options
For fast attachment, I prefer a large dropped loop or spliced eye you can place over a cleat with a boat hook. Some single-handers add a 6–10 ft docking pendant in 5/8 in (16 mm) line because it’s easier to handle with gloves and quicker to drop on pilings. Your permanent docking lines can stay 1/2 in, but the pendant gives you a big, friendly target.
Knot choice matters when you’re alone and rushed. Use a cleat hitch for dock cleats, round turn and two half hitches for rings or pilings, and a clove hitch on a piling only as a temporary move—back it up before you relax. A bowline remains the right answer for a fixed loop that won’t jam.
Before you try this in anger, run a failure-mode checklist: coil management, bitter end control, and prop awareness. A line in the water near the stern is a good way to practice unplanned engine maintenance.
Photo by Michael Henry on Unsplash
Docking Scenarios: Crosswind, Current, Tight Fairways, Back-In
Docking a sailboat in crosswind (onto vs off the dock)
Crosswind docking is where line-first methods pay rent. With wind onto the dock, use a shallower approach—typically 5–15°—because you don’t need much angle to arrive, and too much angle builds speed into contact. Plan to land gently on fenders and secure your first line before the wind pins you harder than you want.
With wind off the dock, you need more angle—often 15–30°—because you’re fighting drift away. This is where the midship spring “stop line” shines: get the spring on, then use a controlled forward idle against it to bring the boat alongside. It’s not elegant, but it’s repeatable, and repeatable beats heroic.
Docking in current single handed (SOG vs STW decisions)
Current makes people argue about SOG versus STW like it’s a philosophy class. For docking, what matters most is control relative to the dock, which usually means managing SOG carefully while preserving enough water flow over the rudder to steer. In strong current, that might mean slightly higher throttle in short bursts—but never continuous power near the dock.
Whenever you can, approach up-current so the boat naturally slows as you near your target. Plan your first line based on what the current is doing to your bow and stern, not what the wind sock says. If you misjudge it, abort early and reset; the fairway doesn’t get wider because you’re committed.
Backing into a slip: using prop walk deliberately
Backing into a slip without a bow thruster is mostly about knowing your prop walk. Many production 30–40 ft sailboats can swing the stern several feet sideways in the first 2–5 seconds of reverse, especially at low speed. Once you map which way your stern walks, you can use that initial kick to line up rather than fighting it with rudder alone.
Use short engine handling: 1–3 second throttle bursts, pause in neutral, reassess, and repeat. Continuous reverse power builds speed you can’t stop quickly and makes the boat “feel” like it’s not listening, which is often just momentum talking. In tight fairways—again, often 40–60 ft—backing in can be safer than trying to spin the boat around at the last second.
For each scenario, pick an abort route before entry: forward out, reverse out, or a circle outside the fairway. If you don’t decide early, you’ll decide late, and late decisions are the expensive ones.
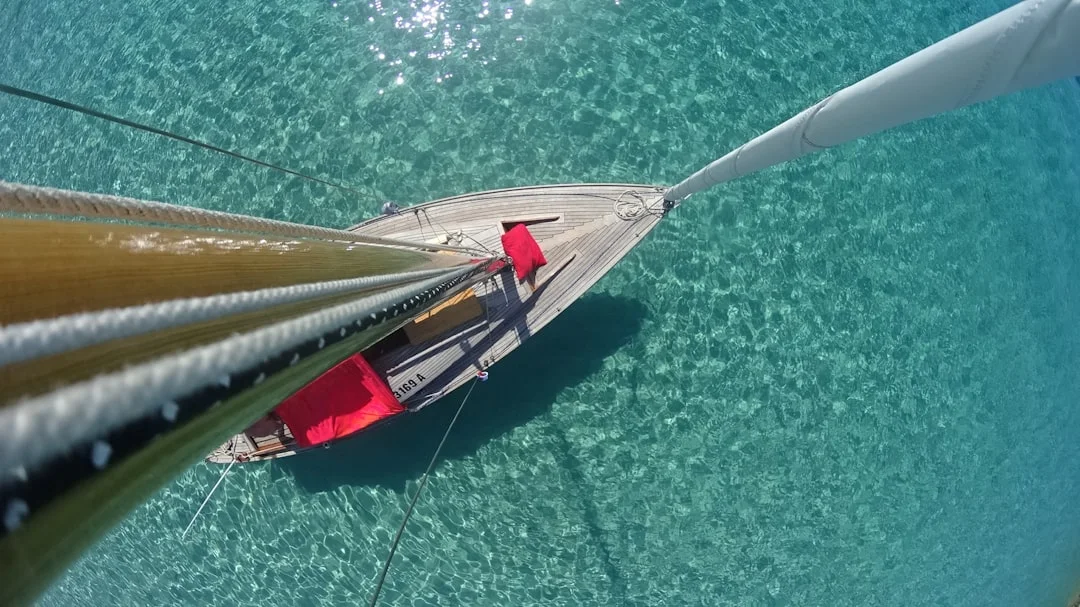
Photo by Franz Schmitt on Unsplash
Route Planning & Sea Distance: Pre-Arrival Docking Plan
Docking intelligence to collect before entering the marina
Most docking problems are born an hour earlier, when you arrived tired and unbriefed. Before you enter, collect a few facts: slip orientation to prevailing wind, fixed vs floating dock, cleats vs pilings vs rings, finger length (often 25–35 ft), and fairway width (commonly ~40–60 ft). Those numbers tell you whether you’ll turn in, back in, or request a different berth.
Call the marina and ask specific questions, not “is it easy?” Get the slip number, side-to, cleat spacing, and whether there’s a mid-pier cleat you can use for a spring. If they say “we’ve got pilings,” ask if they have rings and what height those rings sit at mid-tide.
Turning basins, fairway selection, and fallback docks
Pick your fairway like you pick an anchorage: with a Plan B. Identify a turning basin or a wider area where you can stop outside traffic and rig fenders without blocking the entrance. If the marina layout forces you into a narrow fairway first, consider staging just outside and waiting for a gap, rather than entering and hoping everyone cooperates.
This is also where Breezada’s sea distance calculator earns its keep. Use it to confirm run distance and ETA, then plan arrival timing to avoid the afternoon thermal spike or peak current change. If you know you’ll arrive at 6–7 kt under power and the last mile is no-wake, you can build a realistic schedule and avoid rushing the final approach.
Arrival timing: wind/current windows and traffic
Aim for daylight when possible, and pick a window when wind and current aren’t both trying to embarrass you. Many harbors have predictable current turns; arriving 30–60 minutes off the worst part can turn a wrestling match into a routine stop. Also, traffic is real: weekends and fuel docks are chaotic, and marina fairways aren’t designed for three boats meeting in the middle.
Use Breezada’s sea distance calculator again when you revise plans underway. A 20-minute delay to let a squall line pass is cheaper than a gelcoat repair and a bruised rib. If you feel yourself “needing” to dock right now, that’s a good sign to idle in open water, breathe, and reset your plan.
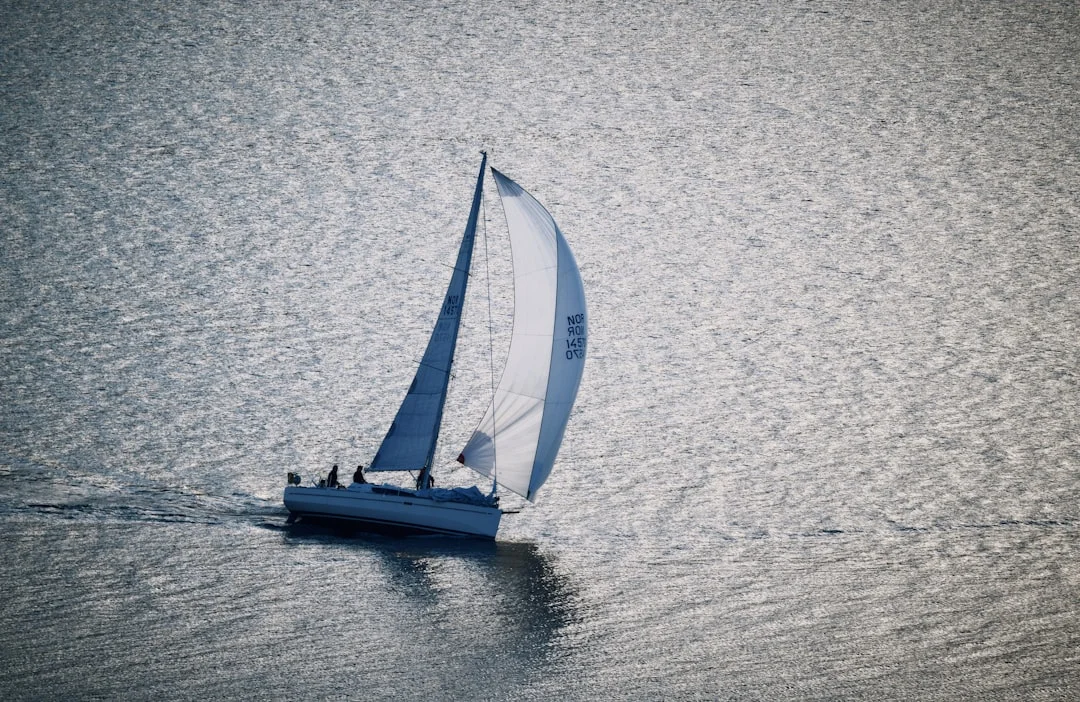
Photo by Vidar Nordli-Mathisen on Unsplash
Practice Drills: Reps, Benchmarks, and Progression
Deliberate practice structure (10–20 reps) and logging
Docking is a skill, not a personality trait. The best training sessions I’ve run are 10–20 repetitions of approach/abort, each taking 2–5 minutes, for a total of ~30–60 minutes. After that, fatigue starts making your decisions worse, and you’ll practice bad habits.
Log the variables like you mean it: wind speed/direction, estimated current, approach angle, SOG at contact, time to first line on, and how the boat behaved in reverse. You’re building your own boat-handling manual, not reading someone else’s. Even a small notebook entry beats the human memory, which is famously optimistic.
Spring-to-stop drill (midship spring mastery)
This drill builds the core skill: stop the boat with a midship spring and hold it there. Set fenders, approach at ~0.5–1.5 kt SOG, drop the spring loop onto a cleat, then use idle forward against the spring to bring the boat alongside. Your benchmark: stop within ~1–2 ft of the dock using spring tension and hold position for ~30 seconds without leaving the helm.
Start in calm conditions with plenty of room. Then gradually tighten the limits: smaller target cleats, shorter fingers, and mild crosswind. If you can do this drill cleanly, the rest of docking becomes line management, not crisis management.
Crosswind drill and ‘abort is success’ drill
For crosswind, set a conservative limit and stick to it. Practice “wind off the dock” at a manageable breeze first, then add difficulty. The point is not to prove toughness; it’s to prove repeatability with measured limits.
Then practice aborts deliberately. Do 10 clean aborts in a row: approach, recognize you’re outside your gate, execute the abort sequence, reset, and try again. If you can’t abort smoothly, you can’t dock safely when something unexpected happens, which it will.
Finally, add a related skill: single handed mooring pickup basics. Keep speed dead slow, boat hook ready, and keep all pickup lines out of the prop arc. A fouled prop at a mooring is a bad day; a fouled prop alone is worse.
Gear, Hardware, Costs: What Actually Improves Outcomes
Line sizing, spring lengths, and spliced eyes
The biggest improvement per dollar is usually dedicated springs with spliced eyes. Splices drop faster on cleats and are easier to place with a hook than a floppy bowline in a hurry. For most cruising boats, line selection is conservative: nylon double-braid in diameters that feel slightly overbuilt, because gust loads and bad angles show up unannounced.
Here’s a practical sizing baseline that matches what you’ll see on docks every day:
| LOA (ft) | Dock line diameter (nylon double-braid) | Common spring length (ft) |
|---|---|---|
| 26–32 | 3/8–1/2 in | 20–30 |
| 33–40 | 1/2–5/8 in | 25–40 |
| 41–50 | 5/8–3/4 in | 35–50 |
Midship cleat/strong point upgrades (ABYC/ISO-aligned)
A midship cleat is only useful if it’s actually a strong point. ABYC H-40 and ISO 15084 both push you toward proper load paths, adequate backing, and hardware that matches real docking loads and lead angles. In plain language: a cleat through-bolted into thin fiberglass with tiny washers is not a “strong point,” it’s an appointment with a repair yard.
If your midship cleat is undersized or poorly backed, upgrading to a 6–8 in stainless cleat with a proper backing plate is money well spent. Hardware often runs $40–$140, and installed cost commonly lands around $150–$500 depending on access and whether the interior needs trim removal. Check fasteners for corrosion and make sure the lead to the fairlead doesn’t saw across a stanchion base.
Chafe control, snubbers, and fender optimization
Pre-led springs rub more because they’re rigged earlier and loaded longer. Chafe sleeves at fairleads/chocks and toerails are cheap insurance at $5–$20 per sleeve section, and they extend line life dramatically. Add rubber snubbers ($10–$35) if your dock is exposed or you see lines “guitar stringing” in gusts; nylon stretches, but snubbers can reduce shock and noise.
Fenders are not glamorous, but they are cheaper than gelcoat. If you routinely land in pilings, add a larger 10×26 in cylinder and consider a ball fender for tight corners. Fender covers ($15–$40) reduce scuffs, though they also collect grit if you ignore them all season—boats love irony.
Typical spend to upgrade the parts that actually matter looks like this:
| Item | Typical cost (USD) |
|---|---|
| 1/2 in × 25–35 ft double-braid nylon dock line | $25–$60 each |
| 5/8 in × 35–50 ft double-braid nylon dock line | $50–$120 each |
| Premium pre-spliced eye upgrade | +$10–$25 |
| Chafe gear sleeves | $5–$20 per piece ($20–$60 multi-pack) |
| Cylindrical fender 8×20 in | $20–$45 each |
| Cylindrical fender 10×26 in | $35–$80 each |
| Telescoping boat hook (8–12 ft) | $35–$120 |
| Gloves | $20–$60 |
| Midship cleat upgrade | $40–$140 hardware; $150–$500 installed |
| Snubber | $10–$35 each |
Safety, Standards, and Failure Modes (ABYC/ISO/USCG)
Strong points, leads, and hardware integrity
Single-handed docking loads are often higher than crewed docking loads, because you’re more likely to hold the boat on one working spring while you secure the rest. That makes strong points non-negotiable. Use ABYC H-40 and ISO 15084 as your sanity check: cleats and chocks should be properly backed, through-bolted, and aligned so the line lead doesn’t pry hardware sideways.
Nylon’s stretch—often several percent at working load—absorbs shock, but it also stores energy. Don’t stand in recoil zones, and don’t overtighten springs like you’re trying to bend the dock. If you’re routinely loading one line hard, it’s a hint your approach speed is too high or your first-line geometry is wrong.
Movement on deck alone: handholds and timing
Going forward alone is sometimes necessary, but it should happen only after the boat is stable and stopped. ABYC H-41 is relevant here: handholds and rails are not decoration, and you should be able to move without doing a high-wire act. If your boat lacks secure handholds where you actually step during docking, fix that before you “train harder.”
Wear a PFD when conditions demand it. USCG 33 CFR 175 sets the framework for carriage requirements, and while it doesn’t force adults to wear one everywhere, solo docking in wind/current is exactly where a conservative skipper stops arguing with statistics. If you go over between boat and dock, your day turns bad fast.
Common single-handed accidents—and how to prevent them
The big three are predictable: stepping off a moving boat, hands caught in loops, and prop fouls. Institute a no-jump rule: if the boat isn’t stopped, you don’t step. Use a hands-flat rule when handling loaded lines—never wrap line around your hand, and keep fingers away from cleats and horns under strain.
Prop-foul prevention is unsexy but vital: keep bitter ends coiled, never toss loops near the stern, confirm neutral before handling loose line near the water, and stay aware of where the prop arc is when you’re tempted to “just drop this for a second.” One fouled spring line can turn a normal docking into a drift problem in seconds.
The best docking remains the one you can abort cleanly. The second-best docking is the one where nothing breaks and nobody bleeds, even if your neighbor pretends not to watch.
Tip box (hard truth): A perfect landing is optional. Keeping your body on the boat until it’s under control is not.
Frequently Asked Questions
For a 34–38 ft sailboat, what dedicated midship spring length (ft) reliably reaches a dock cleat/piling from a midship cleat in 40–60 ft fairways without re-rigging?
Carry a dedicated midship spring in the 25–40 ft range, with ~35 ft being the most reliably “fits most slips” length for 34–38 ft boats. That length usually reaches a dock cleat or piling from a midship cleat even when the finger is short (~25–35 ft) and you need to place the loop early. If your marina uses pilings set well off the dock face, lean toward 40 ft.
How do I rig a midship spring so the bitter end stays in the cockpit and the line lead stays outside the lifelines without chafe at the fairlead/chock?
Lead from the midship cleat/strong point, run the line outside the lifelines, and pass it through a fairlead/chock if fitted so it can’t jump onto stanchion bases. Keep the bitter end coiled in the cockpit, ready to pay out, with a spliced eye or large loop at the working end for quick placement. Add chafe gear ($5–$20) at the fairlead/chock and any toerail contact points before you ever load the line.
In a crosswind pushing me off the dock, should my first line be a midship spring, a stern spring, or a bow line—and what pivot should I expect as I motor against the spring?
In wind pushing you off the dock, your first line is typically a midship spring “stop line” because it’s reachable from the cockpit and stabilizes the boat immediately. Motoring gently ahead against that spring will usually pivot the boat so the bow comes in and the boat lies alongside, assuming the spring leads slightly forward to a dock cleat. A stern spring can work too, but it often requires more movement aft and is easier to mislead into chafe points when you’re alone.
How can I measure and log my boat’s prop walk direction and lateral stern set during the first 2–5 seconds of reverse at idle vs 1,200–1,800 rpm?
In open water with room, point the bow at a fixed reference (a piling or range) and go to neutral, then shift to reverse at idle for 2–5 seconds, back to neutral, and note which way the stern “kicks” and how fast it starts moving sideways. Repeat at ~1,200–1,800 rpm for the same time window, again returning to neutral, and record the difference in lateral set and heading change. Log conditions (wind/current), because even 0.5–1.0 kt of current can fool you into blaming prop walk for what’s really drift.
On a fixed dock with tidal range, what line-lead strategy (springs vs breast lines, lead angles, and chafe points) prevents the boat from hanging as the tide drops?
On fixed docks, favor longer springs and avoid overly tight breast lines that trap the boat vertically. Lead bow and stern lines at moderate angles so the boat can rise and fall; if you must use breast lines, leave enough scope for tide and check them before you walk away. Protect all high-load chafe points—especially at chocks/fairleads and where lines cross toerails—because as the tide shifts, line angles change and chafe accelerates.
Conclusion summary: A cockpit-first single-handed docking system is repeatable: pre-rig fenders and lines, choose a line-first stop (usually a midship spring), control speed and angle with short throttle bursts and neutral pauses, and treat aborts as part of the plan. Back it up with standards-based hardware checks (ABYC H-40, ISO 15084, ABYC H-41), measurable drills, and scenario playbooks for wind and current. Do that, and docking alone becomes low-drama—still worth paying attention to, but no longer worth losing sleep over.
About the Author
Related Articles
How to Stop a Boat From Rocking at Anchor Overnight
Learn how to stop a boat from rocking at anchor overnight with scope, snubbers, riding sails, and better alarm settings—sleep better tonight.
By Breezada Team

Bahamian Moor Guide: Tandem Anchors & Snubbers
Learn bahamian moor setup, tandem anchoring, and proper snubbers for crowded anchorages. Get step-by-step tips—read and rig it right.
By Breezada Team
Best Radar Reflector for Sailboat: Active vs Passive
Compare active vs passive radar reflectors for sailboats, mounting tips, and real-world results. Choose the best radar reflector—read now.
By Breezada Team

Sail Trim for Beginners: Main + Jib Cruising Guide
Learn sail trim for beginners with simple main + jib settings, telltales, twist, traveler & vang. Get quick wind-based trims—read now.
By Breezada Team