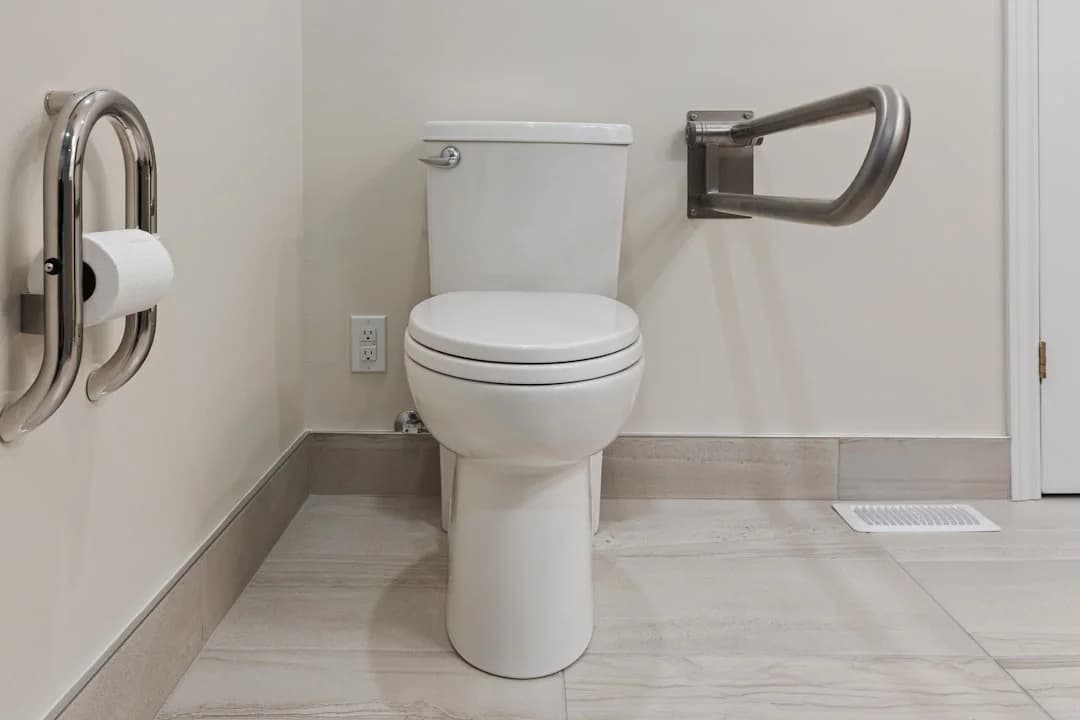
Marine Toilet Troubleshooting: Flush, Leaks, Valves
Marine toilet troubleshooting gets easy the moment you stop guessing and start treating the head like a system: intake, bowl, discharge, tank, and vent. Most “the toilet is broken” complaints trace back to a short list of parts—one-way valves, vented loops, hose joints, and wiring—rather than the bowl itself. The trick is matching symptoms to components, then running quick tests that separate pressure problems from vacuum problems, and plumbing faults from electrical ones.
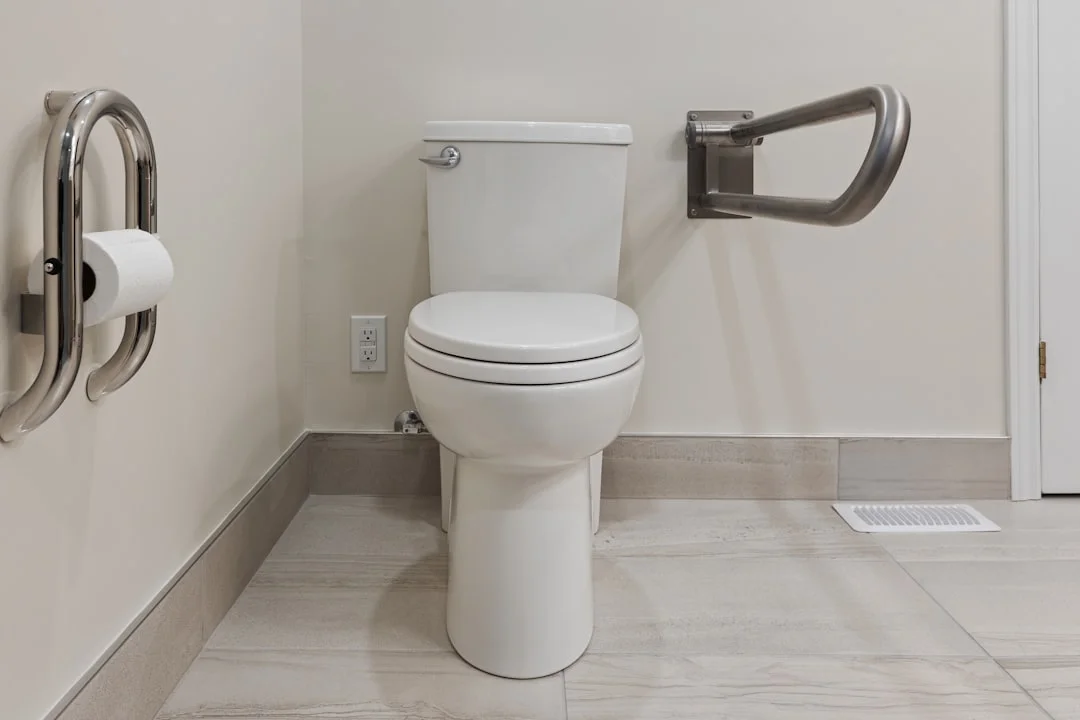
Photo by Point3D Commercial Imaging Ltd. on Unsplash
System Overview by Toilet Type: Manual, Electric, Vacuum
Manual heads are simple on paper: a piston or diaphragm pump pulls flush water from the intake (often 3/4 in (19 mm) or 1 in (25 mm) hose), rinses the bowl, then pushes waste out the discharge (typically 1-1/2 in (38 mm)) to the holding tank. Because the pump is your arm, symptoms show up as “pump feel”: hard upstroke, no resistance, squealing seals, or a bowl that refills after you thought you won. When a manual head misbehaves, you’re usually chasing air leaks, worn seals, or a tired one-way valve.
Electric macerating toilets swap your biceps for motor torque and wiring quality. They commonly pull 15–30 A at 12 V during the flush cycle, and that number matters because voltage drop turns “strong motor” into “sad blender noise.” Electric heads also hide clogs differently: the motor can run but fail to move volume if the macerator is jammed or the discharge is restricted. The system still uses the same plumbing basics—intake, discharge, holding tank, vent—but electrical diagnostics become part of your tool kit.
Vacuum systems (VacuFlush-style) work on a different principle: the bowl opens into a vacuum line (often 1-1/2 in (38 mm)) and the vacuum generator moves the waste. Instead of pump feel or motor bog, you diagnose by vacuum behavior—cycle timing and leak rate. If the vacuum pump runs every 1–5 minutes without flushing, something is leaking vacuum, and duckbill valves are the usual suspects. Vacuum heads can feel “fine” at the bowl while the system quietly cycles itself to death in the background.
Across all three types, the failure hotspots repeat. On the inlet side: seacock, strainer, and anti-siphon/vented loop. On the discharge side: joker valve (manual) or duckbill valves (vacuum), discharge hose, holding tank, and vent line. And right at the toilet: base gasket, pump-to-bowl O-ring, inlet/discharge elbows, bowl seal, and piston shaft seal—the places that drip only when you flush, which is why they love embarrassing you during guests’ first weekend aboard.
Fast Triage & Safety: 5-Minute Checks Before Disassembly
First rule: prevent flooding before you “just take a quick look.” Verify the intake seacock is accessible and operable, and know exactly what happens if a hose pops off below the waterline. ABYC H-27 is blunt about serviceable seacocks for good reason: the ocean doesn’t care that you’re mid-repair. If your intake or discharge connections are below the waterline, look for two all‑316 stainless clamps per barb as common ABYC-aligned practice, and don’t accept a rusty single clamp as “good enough.”
Next, confirm your valve positions and where water can siphon from. A failed vented loop can let seawater creep into the bowl continuously, especially when heeled or trimmed stern-down. A practical rule-of-thumb is placing the vented loop 6–8 in (150–200 mm) above the vessel’s heeled waterline, not the pretty brochure waterline at the dock. If you don’t know where your heeled waterline is, assume it’s higher than you want it to be.
Run quick observation tests before you touch tools. Watch the bowl water level for 10–15 minutes after flushing: does it slowly rise (backflow or siphon), slowly drop (bowl seal leak), or stay put (good)? Listen to the system: manual pump squeal points to dry seals; electric heads that “click” a breaker point to overload; vacuum systems that cycle every 1–5 minutes are telling you they can’t hold vacuum. These are free clues—take them.
Then isolate intake vs discharge using a simple sequence. Close the intake seacock and flush or pump: if the bowl still refills, it’s not intake siphon. Where legal and possible (and with common sense), close the discharge path (Y-valve or downstream shutoff) briefly and test: if pumping becomes instantly hard or the motor labors, you’ve confirmed the toilet can build pressure and the restriction is downstream. This beats random part replacement, which is the marine sanitation industry’s favorite retirement plan.
Tip box: The clean workflow that saves hours
Close the intake seacock first, then test bowl behavior. If backfill continues, suspect discharge-side backflow (joker/duckbill) or a misrouted discharge. Only after that do you start pulling hoses or rebuilding pumps.
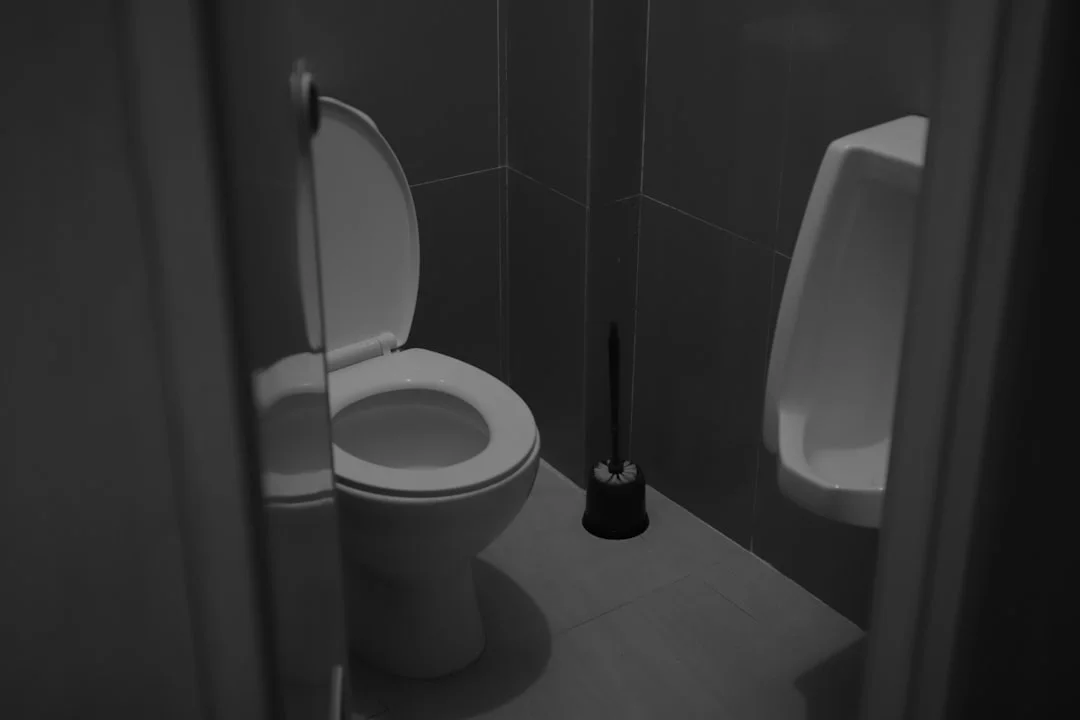
Photo by apan upen on Unsplash
Flush Problems: Won’t Flush, Weak Flush, Hard to Pump, Motor Stalls
Flush symptoms nearly always split into two families: intake-side starvation (no water in, air leaks, siphon issues) and discharge-side restriction (can’t push out, clogged lines, tank vent blockage). The key is using measurable cues: pump feel on manuals, voltage and amps on electrics, and cycle timing on vacuum systems. If you can describe what happens in 5 seconds—hard, soft, bogging, cycling—you can usually name the component family.
Manual Head: Hard-to-Pump vs No-Prime Symptoms
A hard upstroke often means you’re fighting discharge pressure: a clogged 1-1/2 in (38 mm) discharge hose, a blocked holding tank vent, or a joker valve stuck shut. A no-resistance pump that won’t prime usually points to intake air leaks, a dried-out piston seal, or an intake strainer clogged with the usual science experiment. If the pump squeals, it’s often dry or swollen seals—especially after sitting—so a little lubrication (manufacturer-approved) can confirm whether you’re dealing with friction versus a hard blockage.
Pay attention to whether the bowl clears slowly or not at all. Slow clearing with normal pump resistance often indicates partial restriction downstream, like scale buildup or a soft hose that’s collapsing on bends. If you pump 10–15 strokes and the bowl still won’t clear, don’t keep pumping like it’s a cardio program—find the restriction before you blow a hose joint. Also note the “wet foot” clue: if you see seepage at the base only during hard pumping, the system is building pressure and the weakest seal is tattling.
Electric Macerator: Voltage Drop, Amp Draw, and Blockage Clues
Electric macerating heads that “sound strong” can still be failing because they’re starving for voltage. These units commonly draw 15–30 A at 12 V under load, so even a little resistance at a corroded crimp or undersized wire can drop voltage enough to kill torque. Measure voltage at the motor while flushing, not at the battery, because the wiring run and connections are where the problem lives. If the motor bogs and the breaker trips, you’re looking at overload: jammed macerator, seized pump, or a downstream blockage building pressure.
If the motor runs at normal pitch but you get weak flow, suspect the plumbing after the unit. A strong-running motor with poor discharge often means a clogged discharge line, a kinked hose, or a holding tank vent that’s blocked and building backpressure. Also check for a restricted intake—especially if the unit uses raw water with a 3/4 in (19 mm) feed—because poor rinse water can look like a weak flush even when waste discharge is fine. Electrical heads are honest if you measure; they lie if you only listen.
Vacuum Toilets: Vacuum Loss vs Bowl Mechanics
Vacuum systems are diagnosed by how well they hold vacuum and how often the pump cycles. If your vacuum pump runs every 1–5 minutes with no flushing, you have a vacuum leak—often duckbill valves, sometimes a bowl seal, sometimes a cracked fitting or loose clamp. If the pump never cycles and the system won’t flush, suspect a vacuum switch, a sensor issue, or no power to the vacuum generator. When a vacuum head “burps” or flushes weakly, think restriction in the vacuum line (1-1/2 in / 38 mm) or failing duckbills that can’t maintain one-way flow.
Cycle-time logic is your friend. Time the interval between pump cycles with a phone timer: 60 seconds is very different from 10 minutes, and it points to leak severity. A bowl seal leak often shows as vacuum loss at the bowl with a slight hiss or slow seep, while duckbills tend to cause repeated cycling and sometimes a rhythmic “thunk” as they flutter. If you’re chasing vacuum leaks, start where the system moves—valves and seals—before you blame the vacuum pump itself.
Photo by Egor Khomiakov on Unsplash
Joker Valve & Backflow Prevention: Symptoms and Confirmation Tests
The joker valve is a simple one-way valve on many manual heads, typically on the 1-1/2 in discharge. Its job is to reduce backflow into the bowl after you pump, especially when the discharge hose holds a column of liquid. It is not a cure for siphoning from the intake side, and it won’t save you from a poorly installed vented loop. Think of it as a check valve for discharge “bounce-back,” not a magic plug.
Symptom timing matters. If the bowl refills minutes to hours after pumping, and especially if it refills more after a heel, wake, or tank pressure event, that’s classic joker valve behavior. If the bowl refills continuously or when you leave the boat stern-down, that’s more consistent with siphoning, usually tied to a vented loop installed too low or a vented loop valve that’s clogged. Backflow happens after pressure events; siphon can happen quietly and continuously when conditions line up.
You can confirm a joker valve problem without immediate surgery. Do a timed bowl-level check: pump dry (as practical), mark the bowl level with tape, and watch it for 30–60 minutes. A simple dye test also works: add food coloring to the bowl rinse water, pump out, and see if tinted water returns—tinted return suggests discharge-side backflow. Another low-tech trick is to feel the discharge hose: if you can sense subtle movement or “relaxation” after pumping, the hose column is pushing back and the joker valve may be leaking.
When you replace the joker valve, most mistakes are self-inflicted. The valve must be oriented correctly, and the lips must be clean—one grain of debris can keep it from sealing. Don’t reuse a distorted hose end if it’s been clamped for years; cut back to fresh material so the new valve isn’t fighting an oval hose mouth. Joker valves typically cost $20–$60, and it’s money well spent if it stops the “haunted bowl” that refills overnight.
Photo by Will Francis - AI & Marketing on Unsplash
Leak Diagnosis: Base Leaks, Pump Seepage, Hose Permeation vs Drips
Leaks are easiest to fix when you stop guessing where the water came from. Sanitation leaks come in three flavors: clean intake water, sewage-side seepage, and “not actually a leak” (rinse splash, condensation, or a wet deckhead dripping down). The fastest path is to dry everything, run one controlled flush, then inspect in a strict order from high points to low points. If you flush three times while “looking around,” you’ll turn a teaspoon leak into a wet mystery.
Pinpointing the Leak: Paper Towel, Dry Cardboard, and Dye Methods
Start dry and stay disciplined. Wipe all joints, the base, and the pump body, then place paper towels or dry cardboard under the pump and around the base. Run one flush cycle—one—and wait 2–3 minutes to see where wetness first appears. The first wet spot is usually the source; everything else is gravity doing what it does.
Use dye strategically, not everywhere at once. A few drops of food coloring in the flush water can help distinguish intake-side leaks from discharge-side seepage, especially around the base gasket and pump-to-bowl O-ring. If you suspect sewage-side leaks, don’t taste-test anything (yes, it has happened); rely on location, color, and odor. Common leak points worth naming and checking first: base gasket, pump-to-bowl O-ring, inlet elbow, discharge elbow, bowl seal, and piston shaft seal.
Pressure-related leaks can fool you. If the holding tank vent is blocked, the tank can’t breathe and pressure spikes during flushing or pump-out. That pressure finds the weakest seal—often the base gasket or a hose joint—and you end up replacing a toilet part when the real culprit is a 5/8 in (16 mm) vent line clogged with sludge or insect nests. If leaks only appear during vigorous pumping or only during pump-out, think “pressure event,” not “random bad luck.”
Hose, Barb, and Clamp Interfaces: Getting a True Seal
Sanitation hose connections fail because of poor insertion and bad clamp placement more than because clamps are “not tight enough.” On 1-1/2 in hose, cut the end square and heat the last ~1–2 in with hot water or a heat gun used carefully, then push fully to the barb shoulder. If you stop halfway, the clamp will distort the hose on the barb ridges and create a weeping path that smells like regret. Full insertion to the shoulder is what the barb was designed for.
Clamp technique matters, especially below the waterline. Use two all‑316 stainless clamps on below-waterline connections, with the bands positioned behind the barb ridge, not on top of it. Offset the screw housings 180 degrees so one doesn’t weaken the other’s compression path. Over-tightening can oval the hose and create leaks, so tighten firmly, then recheck after 24 hours because warmed hose relaxes.
Hose permeation isn’t a drip, but it gets blamed on leaks constantly. If the area is dry yet smells consistently, suspect permeated sanitation hose rather than a joint. Premium odor-resistant 1-1/2 in sanitation hose runs $8–$20 per foot, so it’s a costly diagnosis to get wrong. Before you replace 20 feet, confirm the smell is coming from the hose wall, not a hidden weep at an elbow or a sweating vent fitting.
Photo by Raimond Klavins on Unsplash
Odor & Venting: Diagnosing Tank, Hoses, and Raw-Water Scaling
Odor is information, not a personality flaw of your boat. The three big sources are: a holding tank that can’t vent properly, sanitation hose permeation, and standing sewage in the bowl or pump due to a leaking seal or backflow valve. If you treat every smell with more chemical, you’ll just create a different smell—usually “blue lagoon with undertones of defeat.” Diagnose first, deodorize second.
A blocked or undersized holding tank vent is a repeat offender. The typical vent line is 5/8 in (16 mm) ID, and anything smaller or partially clogged restricts airflow and encourages anaerobic funk. Poor venting also shows up as slow pump-out, tank “burping,” and pressure-related seepage at seals and hose joints during flushing. ISO 8099 emphasizes proper venting for system health; real boats emphasize it because nobody enjoys a tank that pressurizes and finds a weak link.
To check hose permeation, do the hot rag test. Wipe a warm, damp rag along a suspect hose run, then smell the rag away from the bilge. If the rag stinks after touching the hose wall, that’s permeation, and no amount of scrubbing the outside will fix it. Confirm by sniffing along the run and comparing areas: elbows and low spots often trap effluent and make localized odor worse.
Raw-water flush systems add scaling and biology to the mix. Seawater brings minerals that build scale in discharge passages and joker valves, and it brings organisms that die and rot in warm hoses. Freshwater-flush conversions can reduce odor and scaling, but they add plumbing and electrical points of failure: typically a 12 V solenoid drawing ~0.5–2 A, plus backflow prevention to protect potable water. If you tie into your drinking water, ABYC H-23 guidance on potable system protection is not optional in spirit or in hygiene.

Photo by Adrian Lee on Unsplash
Rebuild vs Replace: Costed Decision Matrix and Downtime Risk
Rebuilding versus replacing is rarely about the sticker price of the toilet. It’s about access, hose condition, and how much you value not tearing the head apart again in 6 weeks. Manual pumps often justify a rebuild every 3–7 years, but only if the rest of the system—hoses, venting, and mounting base—is still sound. If the hose is permeated and the tank vent is wrong, a shiny new pump will just move the same problems around faster.
When a Rebuild Makes Sense (and When It Doesn’t)
A rebuild makes sense when the bowl and base are solid, parts are readily available, and the failure is clearly a wear item: seals, O-rings, valves, and the joker valve. Typical manual rebuild kits run $60–$160, and a joker valve is often $20–$60, so you can restore function for less than a full unit swap. If you’re cruising remotely, rebuildability matters more than brand loyalty, because shipping a complete toilet to an island is a special kind of comedy.
Replacement makes sense when the unit is cracked, corroded, or the mounting base is flexing and won’t seal. It also makes sense when you’re chasing repeated backflow and odor and the hoses are old—because you’ll be pulling hoses anyway, and that’s most of the misery. Standard complete manual heads run $180–$450, while premium manual units are often $450–$1,100, but the install time and hose work dominate the final bill.
Hidden Costs: Hoses, Access Time, and Secondary Failures
Labor and access drive the real decision. Marine labor commonly runs $120–$180/hr, and head jobs range 2–6 hours on a good day, longer when hose runs disappear behind cabinetry designed by someone who hated plumbers. If you’re replacing 10–25 ft of 1-1/2 in sanitation hose at $8–$20/ft, that can exceed the toilet cost quickly. Add clamps, vented loop service, and maybe a Y-valve correction, and your “simple swap” becomes a project.
Here’s the decision matrix I actually use on boats, with the costs that usually surprise owners:
| Decision path | Typical parts cost (USD) | Typical labor time | Hose cost impact | Expected service life | Risk factors / gotchas |
|---|---|---|---|---|---|
| Rebuild manual pump only | $60–$160 (kit) + $20–$60 (joker) | 2–4 hrs | Low if hoses are sound | 3–7 years (usage dependent) | Won’t fix permeated hose or bad venting; cracked bases still leak |
| Replace complete manual head (standard) | $180–$450 | 3–6 hrs | Moderate–high if hose ends won’t reseal | 5–10 years (varies by build) | Old hoses often won’t reseal on new barbs; access can double hours |
| Upgrade to premium manual head | $450–$1,100 | 3–6 hrs | Moderate–high | 7–15 years with rebuilds | Needs solid mounting and good plumbing; still hates blocked vents |
| Replace electric macerator toilet | $500–$1,500 | 3–6 hrs | Moderate–high | 5–10 years | Wiring upgrades may be required for 15–30 A loads |
| Vacuum system retrofit/major repair | $900–$2,500+ | 4–10 hrs | Moderate | 7–15 years | Leak chasing can be time-heavy; duckbills and seals become routine items |
Standards, Compliance, and Maintenance Planning (Plus Route Readiness)
A malfunctioning head isn’t just unpleasant—it can become a compliance issue fast. USCG rules under 33 CFR 159 govern Marine Sanitation Devices, and most cruising sailboats use a Type III MSD (holding tank). Minimum capacity requirements in 33 CFR 159.7 are 9 gal (34.1 L) for boats 26–40 ft, and 12 gal (45.4 L) for boats over 40 ft. If your system leaks, backflows, or is mis-valved, you risk an illegal discharge or an overflow into the bilge, which is somehow worse.
Compliance Touchpoints: USCG Type III, Y-Valves, and Overboard Risk
If you have a Y-valve, treat it like a loaded firearm in No Discharge Zones. Make sure it’s secured to the holding tank position where required, and verify the discharge routing actually matches your intent. ABYC H-27 matters here because seacocks and through-hulls need to be operable and properly installed, not just “present.” If you can’t close a discharge seacock, you don’t have a system—you have a future story you won’t enjoy telling.
Electrical compliance shows up with electric heads. ABYC E-11 is the right reference mindset for diagnosing voltage drop and protecting circuits for 15–30 A loads. If your toilet wiring is undersized, connections are corroded, or your breaker is incorrect, you’ll get weak flushes and nuisance trips, and you’ll eventually cook something expensive. Troubleshooting isn’t separate from compliance; it’s usually the same job.
Route Planning: Capacity, Pump-Out Spacing, and Spares
Route readiness is sanitation readiness, especially on longer hops. Estimate your pump-out spacing using tank size, crew count, and realistic usage, then sanity-check it with your cruising plan. Calculate the distance between ports first so you can estimate days underway and whether you’ll hit a pump-out before capacity becomes a problem. It’s also useful for estimating your fuel needs based on the voyage distance, because a surprise pump-out detour is never a “quick stop.”
Here’s a practical planning table using typical capacities and conservative daily usage assumptions. Your mileage will vary, but not as much as people hope.
| Tank size | Crew | Conservative usage (gal/day) | Approx. days to full | Practical pump-out interval (buffered) |
|---|---|---|---|---|
| 9 gal (34.1 L) | 2 | 3 gal/day | ~3 days | Every 2 days |
| 9 gal (34.1 L) | 4 | 6 gal/day | ~1.5 days | Daily |
| 12 gal (45.4 L) | 2 | 3 gal/day | ~4 days | Every 3 days |
| 12 gal (45.4 L) | 4 | 6 gal/day | ~2 days | Every 1–2 days |
| 20 gal | 2 | 3 gal/day | ~6–7 days | Every 5 days |
| 20 gal | 4 | 6 gal/day | ~3–4 days | Every 3 days |
Carry spares that match your failure modes, not your optimism. For manual heads: joker valve, seal kit, and two all‑316 clamps in the sizes you actually have onboard. For vacuum: duckbill valve set ($40–$120) and a bowl seal if your model uses one. For electric: spare fuse/breaker of correct rating, a few heat-shrink terminals, and a plan to measure voltage at the motor under load.
Use a nautical miles and ETA check for your planned route again when you plan longer legs where pump-outs are uncertain. If you’re 80–150 nm between reliable pump-out ports, the head becomes part of passage planning, not a dockside inconvenience. That’s when proactive vent cleaning, valve service, and hose inspection pay off.
Frequently Asked Questions
On a manual head with 1-1/2 in discharge, how fast should bowl backflow occur to implicate the joker valve (minutes vs hours), and what test isolates it from siphoning caused by a low vented loop?
Backflow from a failing joker valve commonly shows up minutes to hours after pumping, often after a heel, wake, or tank pressure change. To isolate from siphoning, close the intake seacock after flushing; if the bowl still refills, it’s not intake siphon, and the joker valve/discharge side becomes the prime suspect. If the bowl refills continuously with the intake open and stops with the intake closed, focus on the vented loop height (6–8 in / 150–200 mm above heeled waterline) and the anti-siphon valve’s cleanliness.
For a 12 V electric macerating toilet drawing 15–30 A, what voltage-at-motor under load indicates unacceptable voltage drop per ABYC E-11 practices, and where are the most common high-resistance points?
A practical red flag is seeing the motor voltage sag much below about 11.0 V under load on a nominal 12 V system, because torque drops fast and current rises, creating a vicious cycle. ABYC E-11 voltage-drop targets depend on circuit type, but for troubleshooting, big load sag at the motor almost always means excessive resistance in the circuit. The usual high-resistance points are: corroded crimp terminals at the motor, a tired breaker/fuse holder, undersized wiring on long runs, and a bad negative return connection at the bus bar or battery.
In a VacuFlush-style system, how do you pinpoint whether 1–5 minute vacuum pump cycling is caused by duckbill valves versus a leaking bowl seal or vacuum switch plumbing?
If the pump cycles every 1–5 minutes with no flush, start by listening and feeling near the bowl and vacuum generator. A leaking bowl seal often gives a faint hiss at the bowl and may allow slow bowl-level changes, while duckbill leakage tends to be silent at the bowl but shows repeated cycling and sometimes waste odor near the generator. You can clamp-off (temporarily, without damage) a section of 1-1/2 in (38 mm) vacuum line to isolate zones; if cycling stops when the bowl line is isolated, suspect bowl seal or bowl plumbing, and if it continues, suspect duckbills or generator fittings.
What vent line ID and routing errors (e.g., reducing below 5/8 in, low spots holding effluent) most often cause holding-tank overpressure and seepage at toilet seals or hose joints?
The common baseline is a 5/8 in (16 mm) vent line, and reductions below that are frequent troublemakers, especially if fittings step down internally. Routing errors include low spots that trap effluent, long horizontal runs that accumulate sludge, and vent fittings clogged by screens, mud dauber nests, or salt crystals. Those restrictions slow pump-out, worsen anaerobic odor, and can create pressure events that force seepage at the weakest seal—often the base gasket, elbow joints, or clamp lines.
When replacing 1-1/2 in sanitation hose, what installation technique (heat-softening 1–2 in, full barb insertion to shoulder, clamp placement) most reduces clamp-line weeping and odor permeation over time?
Cut the hose end square, then heat-soften the last ~1–2 in so it fully seats to the barb shoulder without splitting or stopping short. Use quality fittings and place clamps behind the barb ridge, not on top of it, with two all‑316 stainless clamps on below-waterline connections and screw housings offset. Recheck clamp tension after 24 hours because warmed hose relaxes, and avoid over-tightening that can oval the hose and create the very weep path you’re trying to prevent.
About the Author
Related Articles

Sail Trim for Beginners: Main + Jib Cruising Guide
Learn sail trim for beginners with simple main + jib settings, telltales, twist, traveler & vang. Get quick wind-based trims—read now.
By Breezada Team

Sailboat Bimini Guide: Dodger & Enclosure Choices
Learn how to choose a sailboat bimini, dodger & cockpit enclosure—materials, fit, costs, and DIY vs pro. Get the right setup today.
By Breezada Team
Code Zero vs Genoa: Jib & Spinnaker Guide
Compare Code Zero vs genoa, jib, and spinnaker by wind range and angle. Choose the right headsail for your boat—read the guide now.
By Breezada Team
Starlink Mini on a Boat: Plans, Power & Offshore Use
Learn Starlink Mini on a boat—plans, power draw, and offshore performance. Compare Roam vs Mobile Priority and get setup tips. Read now.
By Breezada Team