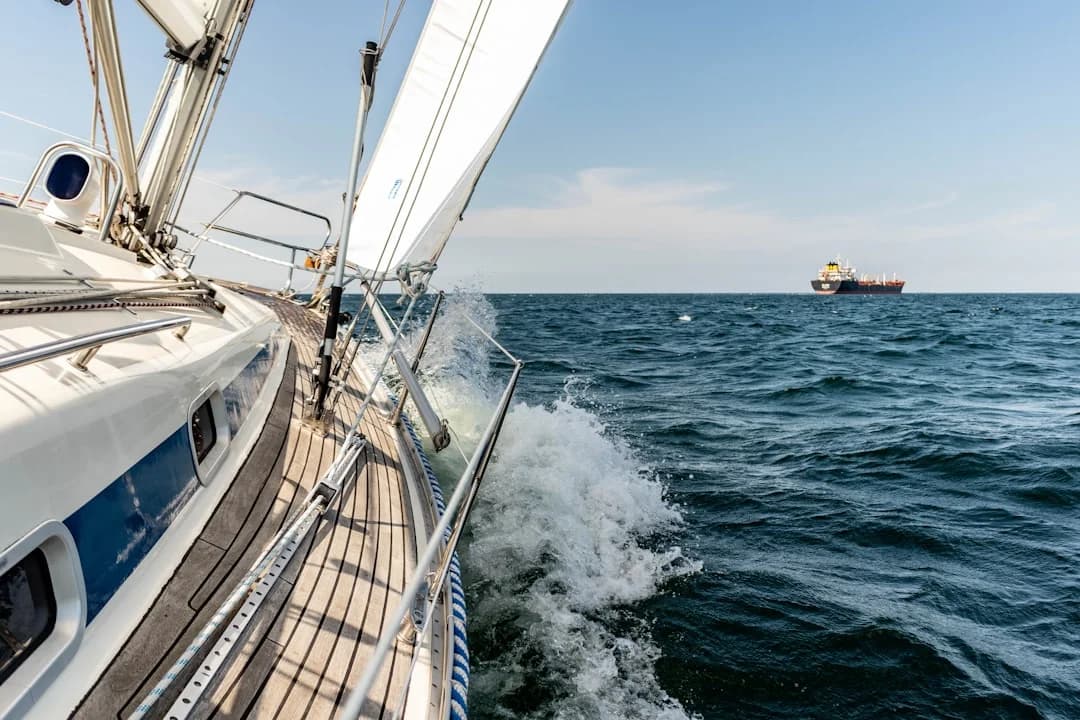
Starlink Mini on a Boat: Plans, Power, Offshore Use
Starlink Mini has finally made “good enough internet” on a small cruising boat feel normal—at least when you respect the limits of physics, rigging, and service terms that change without asking your permission. What matters afloat isn’t the marketing Mbps peak; it’s dropout frequency, latency stability, and whether your power system can feed ~60 W peaks without a reset right when you hit “Join meeting.”
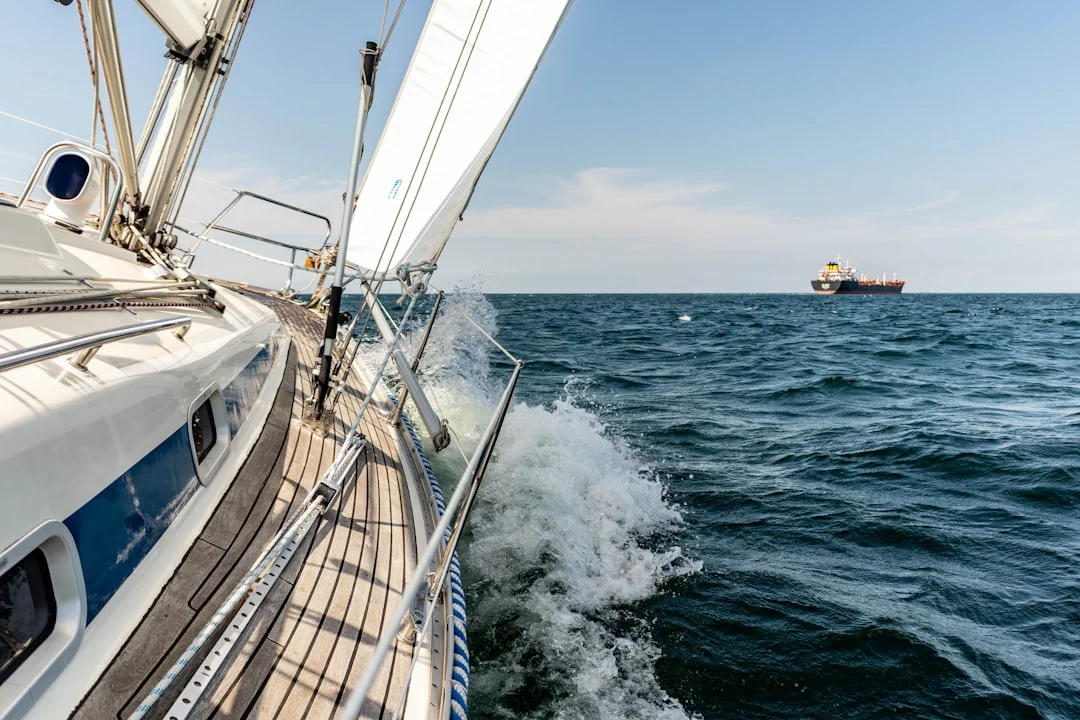
Photo by Michael Held on Unsplash
Starlink Mini on a Boat: What It Is (and Isn’t)
Mini vs Standard (Gen 3) vs Flat High Performance: where each fits
Starlink Mini is the portable, lower-draw option that makes sense when stowage, setup time, and power budget matter more than absolute robustness. Typical hardware pricing lands around $599–$799, depending on region and promotions, which is not “cheap,” but it’s not the $2,500–$2,900 hit of Flat High Performance (FHP) either. Standard (Gen 3) kits often run $349–$499 and can be an excellent value if you have the space and don’t need the Mini’s pack-and-go routine.
All three are phased-array antennas, meaning they electronically steer the beam without a moving gimbal like old-school radome VSAT. The catch is that motion tolerance isn’t identical: FHP is purpose-built for harsher motion and higher sustained throughput under load, while Mini and Standard are more sensitive to geometry changes from heel and shading. Think “works well” vs “keeps working when the boat’s being rude.”
Boating use cases: weekend coastal, liveaboard, passagemaker
For a weekend coastal boat, Mini’s biggest virtue is that you can stow it, deploy it, and not redesign your whole stern for it. For a coastal liveaboard, it’s a practical primary link when paired with LTE/5G and a decent router, and it won’t hammer the batteries like bigger systems. For passagemaking, Mini can be usable—depending on plan and region—but you should be honest about risk: offshore motion, horizon masking, and service tier priority become the whole game.
If you’re counting on stable video calls, plan for redundancy and accept that “internet at sea” still means occasional dead air. I’ve had perfect calls at anchor with 25–60 ms latency, then watched a tack introduce 2–5 second dropouts because the mast decided to be a wall. The ocean doesn’t care about your calendar invite.
What “marine internet” really means: RF, motion, and sky view
Marine internet is mostly a geometry problem wearing a networking hat. You need clean line-of-sight to satellites over a wide slice of sky; a mast, boom, or radar can block enough of that view to cause repeated interruptions. Add heel, and the antenna “sees” a different sky than it did at the dock, especially at 15–25° of sustained heel.
Also, “waterproof” needs adult supervision. IP ratings under IEC 60529 matter: an IP67 device can survive temporary immersion, but connectors and cable entries often aren’t as robust as the antenna body. On boats, the failure point is usually corrosion at the plug, not the clever electronics.
Practical tip: Before spending $2,900 on hardware, do one boring test: log dropouts on each heading for 30 minutes. If the bad minutes line up with a mast shadow, you have a mounting problem, not a satellite problem.

Photo by Karla Car on Unsplash
Coastal vs Offshore Performance: Coverage, Speed, Latency, Dropouts
Coastal realities: marina congestion vs open-water horizons
Coastally, the Starlink link is often fine, but marinas can be a mess for other reasons. Network congestion in popular anchorages and harbors can reduce throughput, especially at evening peak hours when everyone aboard is streaming. Meanwhile, your onboard Wi‑Fi is fighting metal rigging, neighboring access points, and a forest of poorly configured routers radiating on the same channels.
It’s also worth framing the alternative: coastal LTE/5G in many places will do 10–150 Mbps down and 5–50 Mbps up, which can beat a congested satellite cell on a Friday night. That’s why serious “work aboard” setups treat Starlink as one WAN, not the only WAN. If you want to sanity-check routes and likely service areas, calculate the distance between ports to estimate how far you’ll be from known good cell coverage and whether a satellite plan needs to carry the load.
Offshore realities: motion, heel angle, and horizon masking
Offshore, the physics change. You lose shoreline towers, so Starlink becomes primary—but your boat starts moving like a boat, not a floating patio. With Mini and Standard, sustained heel around 20° plus quick roll can create repeatable dropouts if the antenna’s effective view is blocked or skewed, especially during tacks when the mast passes between antenna and satellite.
Horizon masking is another quiet killer. In long-period swell, you can temporarily “hide” a slice of sky behind the horizon line as the boat pitches, even with a clear deck. FHP tends to ride these dynamics better, partly because it’s designed for harsher motion environments and higher utilization without falling over when conditions get sporty.
Weather and sea state: rain fade, spray, and thermal throttling
Heavy rain can reduce throughput—classic rain fade—though it usually shows up as reduced speed and increased packet loss rather than a clean disconnect. Offshore, spray can mimic the same attenuation when saltwater films the antenna face, especially in 25–35 knots with quartering seas throwing it upward. A quick rinse with fresh water at the next calm moment can do more than any software tweak.
Heat matters too. Electronics sealed against weather can throttle when mounted on a dark hardtop in full sun, particularly in the tropics where deck temps easily exceed 50°C (122°F). If your unit is mounted in a hot, stagnant spot, the “mysterious afternoon slowdown” often isn’t the satellites—it’s thermal management.
Mitigation checklist: placement, stabilization expectations, and onboard practices
Start with placement: the clearest sky view you can get, with minimal rig shading through 360° and especially in your common offshore headings. Then focus on the boring stuff: cable integrity, strain relief, and keeping connectors out of standing water. On the network side, use QoS to protect voice packets and set realistic expectations: a 2-second dropout is invisible on a speed test and disastrous on a call.
Finally, keep radar in mind. Don’t mount the antenna in the radar’s main beam, and follow radar manufacturer separation guidance as closely as your boat allows. If you can’t, do a sea trial with radar transmitting and watch for increased packet loss or dropouts; “seems fine” at the dock doesn’t always hold at 20 knots in a sloppy chop.

Photo by Markos Mant on Unsplash
Starlink Data Plans for Boaters: Roam vs Mobile Priority at Sea
Roam/Regional: best fit, limits, and “nearshore” realities
Roam/Regional is the plan many cruisers start with because it’s priced like a human decision: typically $150–$200/month in many markets. It can be excellent for inland and coastal use—particularly if your expectations are “reliable messaging and decent browsing” rather than “broadcast studio.” The practical limitation is that priority is lower, so congestion can hit hard in popular areas, and offshore eligibility may be restricted by region and current terms.
Nearshore is also a fuzzy word that changes with geofencing rules and regulatory constraints. Before you depart, check what the plan actually allows in your operating area, not what a forum post claimed last season. If you’re using a sea-distance tool to plan your route to plan legs, mark the point where you’ll be 20–40 nautical miles off and verify your plan behavior there, not just in the marina.
Mobile Priority: what you’re paying for (and when it matters)
Mobile Priority is what you buy when you need predictable access, offshore eligibility, and better behavior under load. Pricing is the sting: roughly $250/month (50 GB) on the low end up to about $5,000/month (5 TB) for heavy users in many regions. That cost isn’t about raw speed; it’s about priority handling and service class when everyone else is also trying to talk to the sky.
Data caps and post-cap behavior vary by region and terms, but the lived experience is consistent: after you burn through high-speed allotment, you’re more likely to see deprioritization when the network is busy. For passagemakers with crew working remotely, that predictability is often worth more than the extra hardware cost.
How to choose by cruising pattern and criticality (work vs leisure)
If you’re mostly coastal and can tolerate interruptions, Roam/Regional plus LTE/5G backup is usually the best balance. If you’re crossing open water where cellular is gone and you must keep comms stable for work, weather routing, or crew coordination, Mobile Priority starts to look like cheap insurance. The right choice depends on how many hours you’ll be offshore, how far, and how allergic you are to “Sorry, you froze again.”
Here’s the clean comparison that boaters actually need:
| Plan type | Allowed areas (typical) | Network priority | Typical monthly cost | Best-fit scenarios |
|---|---|---|---|---|
| Roam/Regional | Inland + coastal; offshore eligibility varies by region/terms | Lower / deprioritized in congestion | $150–$200 | Weekend cruising, coastal liveaboard with LTE/5G fallback |
| Mobile Priority | Offshore-capable where offered; designed for mobility | Higher / prioritized | $250 (50 GB) to ~$5,000 (5 TB) | Offshore passages, remote work at sea, predictable performance needs |

Photo by Daniel Stenholm on Unsplash
Power Draw & Energy Budgeting: Mini on 12V/24V Systems
Watts to amp-hours: how to budget realistically at anchor
Mini’s real-world planning range is about 20–40 W average, with ~60 W peaks that matter more than people think. If you run it 24/7, you’re looking at 0.5–1.0 kWh/day, which translates to roughly 40–80 Ah/day on a 12V system before conversion losses. That’s not catastrophic, but it’s not free either; it’s often in the same class as a fridge that’s working hard.
On a 12V boat, steady draw often lands around ~2–5 A, with transients up to ~6–8 A depending on conversion method and cable losses. On 24V, the numbers are nicer: 40 W ≈ 1.7 A ideal, and about 1.9–2.0 A once you include 10–15% conversion losses. If you’re budgeting solar, those numbers decide whether your panels keep up or your engine becomes an internet generator.
DC conversion vs inverter: efficiency, heat, and failure points
You can feed Starlink via an inverter and the supplied AC adapter, or via a regulated DC solution (DC-DC converter and, where applicable, PoE/injection). Inverters work, but you’re stacking losses and adding another box that can fail, buzz, or throw RF noise into your nav electronics. Even with a good pure sine inverter, you’ll often lose 10–15% to conversion, and you’re keeping a 300–600 W inverter energized for a 40 W load.
A regulated DC-DC converter is usually cleaner and more efficient, with fewer failure points and less idle draw. Budget $25–$120 for a basic marine-grade 60–120 W converter, or $60–$250 if you need a PoE-capable 100–200 W unit. The money you save in daily amp-hours isn’t always huge, but the reliability gain offshore often is.
Sizing converters and wiring: voltage drop, fusing, headroom
Peaks drive design. If you expect 40 W continuous and 60 W peaks, size your converter with 25–50% headroom, meaning 60–80 W minimum, and more if it lives in a hot locker. Undersize it and you’ll get nuisance resets that look like “Starlink being weird,” usually when the unit is working hardest.
Wire it like you plan to keep the boat. Aim for ≤3% voltage drop for electronics, and remember that ABYC E-11 and ISO 10133 calculations use round-trip length, not “as the crow flies.” Put overcurrent protection near the source—many installs planning for 6–8 A peaks on 12V will start around a 10 A fuse/breaker as a concept, then finalize based on conductor ampacity and run length per ABYC/ISO tables.
Support the cable, protect it through bulkheads, and label it like you’ll be troubleshooting it at 0200 in a seaway. Adhesive-lined heatshrink, chafe guards, and strain relief are cheap compared to trying to find a DC intermittent fault offshore. If you want one more practical planning tool: estimate your fuel needs based on the voyage distance to estimate passage length, then multiply by your Ah/day to see if your charging plan matches reality.

Photo by Jeremy Bishop on Unsplash
Practical tip: Put Starlink on its own fused circuit and keep the router on its own, too. When one trips, you’ll know which one lied to you.
Installation & Mounting: Sailboat vs Powerboat Best Practices
Finding a clear sky view: rig shading, heel, and deck layout
The core rule is simple: clear sky view beats convenient mounting, every time. On sailboats, the mast is the main offender, and shading gets worse when you’re heeled and the antenna is lower than the boom or spreaders. If you mount it on the cabin top because it looks tidy, expect repeatable dropouts on certain headings, especially when sailing close-hauled.
Common sailboat locations include a stern pole, an arch, the pushpit rail, or (carefully) a high spot with a clear view forward. Each has tradeoffs: stern mounts often minimize mast shadow on many points of sail, but they can be more exposed to boarding seas. Cabin-top mounts are easier for cable runs but suffer more from rig shading unless you’re on a smaller rig or motor-sailing upright.
Cable routing and waterproofing: glands, drip loops, and corrosion control
Your antenna may survive spray, but connectors hate boats. Use proper cable glands, make drip loops, and avoid routing where water can run along the cable into a deck penetration. Budget $30–$150 for glands, sealant, tinned wire, heatshrink, and proper fusing materials; it’s the cheapest part of doing the job right.
Use 316 stainless for exposed fasteners and consider isolation pads or nylon washers where you’re marrying stainless hardware to aluminum arches or spars. A little anti-seize in the right places helps—used sparingly, because the goal is serviceability, not a permanent sculpture. Under IEC 60529 logic, remember that IP ratings usually describe the enclosure, not the entire system of cable entries and connectors you just installed.
Radar/EMI and deck safety: keeping crew and electronics safe
Keep the Starlink antenna out of the radar’s main beam. Radar manufacturers often specify vertical and horizontal separation; on smaller boats, you’ll compromise, so you must test and verify underway. If you see packet loss spikes that correlate with radar transmitting, don’t argue with the data—move something.
Also think like a skipper, not a gadget installer. Don’t block handholds, don’t create trip hazards, and don’t mount sharp-edged brackets where crew slide past in a hurry, in line with common-sense safety guidance (and the spirit of ABYC H-41 handhold thinking). A professional install typically costs $300–$1,500, which can be money well spent if your cable run involves a headliner, a wet locker, and your patience.

Photo by Lazarescu Alexandra on Unsplash
Electrical, Surge & Lightning Mitigation: ABYC/ISO Guidance
DC integration basics: protection, workmanship, and labeling
Treat Starlink like any other critical electronic load, and follow ABYC E-11 (and ISO 10133 internationally) for conductor sizing, overcurrent protection placement, and support. Fuse or breaker should be near the source, terminations should be crimped correctly, sealed with adhesive-lined heatshrink, and supported so vibration doesn’t turn copper into confetti. Label the circuit so the next person doesn’t pull the wrong fuse and blame the autopilot.
If any part of the install is in spaces with ignition-protection requirements or other constraints, respect USCG expectations under 33 CFR 183 and basic marine electrical good practice. The internet is not worth a fuel-vapor event. Also, keep DC negatives and bonding strategy deliberate; random “grounds” are how boats grow strange corrosion stories.
Surge paths and lightning: realistic mitigation on cruising boats
No system is lightning-proof, and anyone who tells you otherwise is selling something. ABYC TE-4 is about reducing damage likelihood and improving survivability, not promising miracles. The best you can do is manage cable routing, minimize loop area, and avoid running sensitive data/power lines parallel to big conductors for long distances.
You can add surge protection or lightning arrestors in the $50–$250 range, and it’s reasonable to do so where cables enter the cabin. Keep expectations sane: you’re trying to prevent small surges and nearby strikes from turning electronics into scrap, not to defeat a direct strike to the masthead. Carrying spare cables, a spare DC converter, and the tools to re-terminate a connection is often more valuable than one more black box.
When shore power/inverters enter the picture (AC-side safety)
If you power the system from AC—shore power or inverter—follow ABYC E-11 and ISO 13297 logic for AC installations, including proper protective devices (RCD/GFCI where applicable) and moisture management. Salt air and AC outlets are an ugly combination, and many “mystery faults” are just damp connections. If the inverter is part of the chain, remember it becomes a single point of failure for comms.
The cleanest approach is usually DC-native power for Starlink and your network gear, leaving the inverter off unless you actually need AC. It’s quieter electrically, and it reduces the number of ways a small issue becomes a big one.
Onboard Network Design: Dual-WAN, Failover, and Call Stability
Recommended architecture: Starlink + LTE/5G failover (or bonding)
Reliability afloat comes from redundancy and automation. Use a dual-WAN router that can health-check both links and fail over automatically, rather than manually swapping hotspots like it’s 2012. Keep Starlink on its own fused circuit, and power the router from a stable DC feed in a dry, ventilated location.
LTE/5G remains a strong coastal backup—often 10–150 Mbps down and 5–50 Mbps up in marinas when the cell network isn’t saturated. In many popular harbors, LTE can outperform a congested satellite cell at night, so “failover” isn’t only for emergencies; it’s sometimes the best link in the moment.
Wi‑Fi below decks: access point placement and interference control
A lot of “Starlink problems” are actually Wi‑Fi problems. Cored decks, metal tanks, engine rooms, and foil-backed insulation all eat signal, especially on 5 GHz. If your router is buried behind the electrical panel next to a bundle of DC cabling, expect weak coverage and intermittent devices.
A simple fix is a proper access point mounted thoughtfully, with the router below decks and the AP placed to cover the living space. Keep it away from noisy DC gear and don’t assume one box can cover three cabins and a cockpit through fiberglass, teak, and stainless. Boats are RF-hostile by design; that’s why they last.
Quality for work: QoS, Wi‑Fi calling, VPN, and segmentation
For calls, prioritize latency and jitter, not raw bandwidth. Set QoS rules to protect voice/video and deprioritize big downloads when you’re working. If you use a VPN, test it on both WANs and confirm your router handles failover without forcing a full reconnect every time you get a 2–5 second Starlink micro-outage.
For shared boats, segment your network: a “work” SSID/VLAN and a guest/entertainment SSID keep someone’s 40 GB software update from ruining your call. Keep firmware updated on router and AP, and do it before you leave the dock—offshore is not the time to discover your admin password is “admin.”
Total Cost of Ownership: Mini vs Standard vs Flat High Performance
First-year cost model by cruising style
The first-year number isn’t just hardware plus plan. Add mounts ($40–$250), DC conversion ($25–$250 depending on complexity), glands and wiring materials ($30–$150), and possibly professional labor ($300–$1,500). Then the plan cost dominates quickly: $150–$200/month for Roam/Regional vs Mobile Priority tiers starting around $250/month and climbing steeply with data.
A weekend cruiser can often keep first-year costs sensible by DIY mounting, Roam/Regional, and a basic LTE backup. A coastal liveaboard tends to spend more on network quality—dual-WAN router, a real access point, and proper DC power—because small daily annoyances add up. A passagemaker’s budget often pivots on Mobile Priority data, not hardware, especially over multi-month seasons.
When upgrading to Flat High Performance makes economic sense
FHP becomes rational when your boat motion and use-case punish Mini. If you’re offshore often, carrying multiple remote workers, or you’re tired of heading-based dropouts you can’t mount your way out of, the hardware cost can be cheaper than lost work time. FHP’s design intent is higher throughput under load and better motion tolerance, which you’ll notice most when conditions are marginal, not when you’re tied to the pier.
It also becomes a safety and operations decision for some boats. Weather routing downloads, medical consult calls, and coordinating arrivals don’t require 200 Mbps, but they do require a link that doesn’t drop every time you roll. That’s where priority service and more capable hardware earn their keep.
Spare parts and downtime planning offshore
Offshore, downtime planning is seamanship. Carry spare fuses, spare glands, a spare DC converter if your setup is nonstandard, and the tools to re-terminate wiring. A $15 crimper and adhesive heatshrink can save a week of frustration in a place where shipping costs more than the part.
If you’re comparing against legacy yacht VSAT, the value proposition is still stark: older systems often run $2,000–$10,000+/month with $10,000–$50,000+ hardware. Starlink’s pain is mostly about consistency and terms, not about the ability to get online at all.
| Category | Mini | Standard (Gen 3) | Flat High Performance (FHP) |
|---|---|---|---|
| Hardware cost (typical) | $599–$799 | $349–$499 | $2,500–$2,900 |
| Typical plan pairing | Roam/Regional; Mobile Priority when offshore is required | Roam/Regional; Mobile Priority when offshore is required | Mobile Priority most common for offshore work |
| Power planning (avg/peak) | 20–40 W / ~60 W | Similar class; often higher than Mini in practice | Higher draw than Mini; plan more headroom |
| Install complexity | Low–medium; portable or simple mounts | Medium; larger footprint | Medium–high; more “permanent” install mindset |
| Best-use scenario | Coastal cruising, occasional offshore with realistic expectations | Budget coastal install with space to mount | Offshore-heavy, mission-critical comms, higher motion tolerance needs |
Frequently Asked Questions
For a 12V boat with a 10 m (33 ft) round-trip DC run, what conductor size typically meets a ≤3% voltage drop target for a 6–8 A peak Starlink Mini load (per ABYC E-11/ISO 10133 tables)?
As a practical starting point, 10 AWG (≈ 5.3 mm²) is commonly what gets you into the ≤3% voltage drop neighborhood for 6–8 A over 10 m round-trip, with margin for heat and real-world connections. Exact sizing depends on installation method, bundling, temperature, and the specific ABYC E-11/ISO 10133 tables you’re using, so verify with a proper voltage-drop calculation before you buy wire. If you’re close, upsizing one gauge is usually cheaper than chasing resets later.
If powering Starlink Mini via inverter + AC adapter vs a regulated DC-DC converter, how much additional Wh/day should you budget at 24/7 runtime assuming 10–15% conversion losses (and why do peaks matter)?
At 40 W average for 24 hours, consumption is 960 Wh/day at the load. If inverter + brick adds 10–15% losses versus a cleaner DC-DC approach, budget roughly +100 to +150 Wh/day extra (960 × 0.10–0.15), not counting inverter idle draw, which can add more. Peaks matter because even brief ~60 W transients can cause undersized inverters/converters to sag or trip, creating resets that feel like “random dropouts.”
At what heel/roll conditions does mast or arch shadowing most commonly create repeatable dropouts, and how can you validate the cause using heading-based dropout logs?
Repeatable shading problems show up most often with sustained heel around 15–25°, combined with a consistent heading where the mast, spreaders, or arch sits between antenna and satellite view. Validate it by logging outages and correlating them to heading and point of sail: if dropouts cluster on one tack or one compass sector and disappear on the opposite tack, you’ve likely found a shadow. Do a controlled test: hold a heading for 15–30 minutes, then repeat on the reciprocal, ideally in similar sea state.
How should a dual-WAN router be configured (health checks, failover thresholds, QoS) to keep a VPN video call stable when Starlink experiences 2–5 second micro-outages?
Use frequent health checks (such as DNS/ICMP to multiple reliable targets) with a short detection window, but avoid “flapping” by requiring failures for a few seconds before failing over. Set failback to be conservative—wait 30–120 seconds of stability before returning to Starlink—so you don’t bounce mid-call. Apply QoS to prioritize voice/video and VPN traffic, and consider keeping the VPN pinned to the more stable WAN during critical calls if your router supports policy-based routing.
What surge/lightning mitigation steps are most realistic for a Starlink topside install (bonding, cable routing, arrestors), and where do ABYC TE-4 recommendations typically apply on sailboats?
The realistic steps are: route cables away from lightning down-conductors and high-current paths, minimize loop area, protect deck penetrations from water intrusion, and add a surge protector/arrestor where the cable enters the cabin ($50–$250 typical). ABYC TE-4 guidance is most applicable in how you think about mast-mounted systems, bonding strategy, and strike current paths on sailboats—aiming to reduce side flashes and collateral damage, not to guarantee survival. The most “cruiser-proof” move is also carrying spares and making the system serviceable when something gets cooked.
Coastal-to-offshore decision path (the one that saves money): pick the plan first (Roam/Regional vs Mobile Priority), mount for a clean sky view, design power for ~60 W peaks and realistic Ah/day, then add dual-WAN redundancy if you need work-grade reliability. Before you trust it offshore, run a sea trial: measure speed/latency, log dropouts by heading, test failover during a call, then re-check every topside fitting for corrosion, chafe, and water paths after a few days underway.
About the Author
Related Articles
Boat Courtesy Flag & Q Flag Etiquette for Yachts
Learn boat courtesy flag and Q flag etiquette for yachts—what to fly, where to hoist it, and common mistakes. Get the checklist before landfall.
By Breezada Team

French Canals Boat Trip Guide Beyond Canal du Midi
Plan a french canals boat trip beyond the Midi with routes, costs, licenses & lock tips. Compare regions and map your itinerary—start now.
By Breezada Team

Marine Toilet Smells: Eliminate Odors in Hoses & Vents
Stop marine toilet smells fast—diagnose hoses, vents, joker valves, and cleaning routines. Follow this guide and fix odors for good today.
By Breezada Team

Anchor Light Rules for Sailboats & Best LED Options
Learn anchor light rules (COLREGS/USCG) and choose the best LED anchor light. Avoid common mistakes—use our quick checklist today.
By Breezada Team