
Sail Size Calculator Guide: Main, Jib & Genoa Fit
A sail size calculator is a good first pass, not a final answer. The calculator gives you triangle geometry from rig numbers; the boat gives you hardware clearances, track limits, sheeting angles, and a reality check in 18 knots and chop. The goal isn’t “more square feet.” The goal is a sail plan that balances helm, points reliably, reefs cleanly, and doesn’t turn your autopilot into a smoking crater.

Photo by Tim Gouw on Unsplash
Sail Size Basics: What You’re Really Sizing
P, E, I, J: the rig numbers your loft expects
When you punch numbers into a sail size calculator, you’re really feeding it four baseline rig dimensions: P, E, I, and J. P is mainsail luff length (hoist) and E is the mainsail foot length (boom). I is foretriangle height and J is foretriangle base length, and together they define the “triangle” most headsail math starts with.
A loft expects these numbers because they’re consistent across boats and align with how rigs are drawn and measured. Standards like ISO 8666 exist so “principal dimensions” and displacement inputs are comparable when you’re looking at ratios like SA/D. Still, consistency doesn’t mean accuracy; if you measure to the wrong reference point by 2 inches, you can buy a sail that’s perfect on paper and miserable on the hoist.
LP%, luff/foot, and why “% genoa” isn’t sail area
A “135% genoa” is not 135% of the foretriangle area. It’s 135% LP, and LP% = (LP/J) × 100, where LP is the perpendicular distance from luff to clew. 100% means LP = J, 150% means LP = 1.50 × J, and most overlapping inventory conversations center on 100%, 135%, 150%, with many race declarations topping out at 155%.
LP% tells you overlap and sheeting geometry more than raw power. Two “135%” sails can behave differently because of clew height, leech shape, and where your lead cars can actually go. If your genoa track ends early, that theoretical LP becomes a practical lesson in why sailors keep blocks and barber haulers aboard.
Roach, headboards, and batten plans (main only)
The main is where “triangle area” gets most misleading, because the roach adds real area outside the P×E/2 triangle. A bigger headboard, a square-top profile, and full battens can add horsepower without changing P or E. That’s great until you realize your backstay, leech, and batten compression loads didn’t get the memo.
When you see loft terms like luff length, foot length, leech length, clew height, tack angle, roach, and batten length, they’re describing how the sail will fit and behave, not just how big it is. Record your measurements to ±1/2 in (≈13 mm) and write down hardware offsets like tack pin height and sheave-to-black-band distances. Calculators get you close; the boat decides whether “close” is good enough.
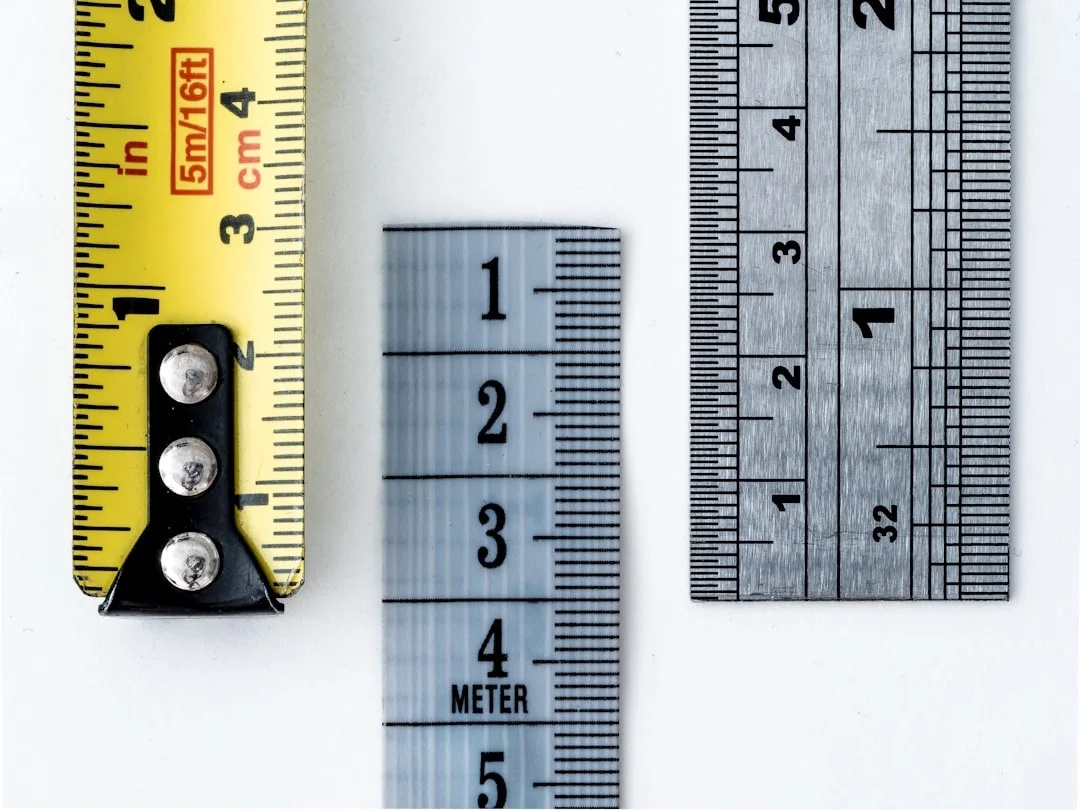
Photo by William Warby on Unsplash
Sail Size Calculator Walkthrough (P/E/I/J to Area)
How to measure P, E, I, J on the boat (reference points)
Start with clean reference points, because most sail-size mistakes are “right number, wrong endpoints.” P is typically measured from the main tack to the main halyard sheave (or black band limit), while E is from the aft face of the mast to the outer limit band on the boom. I is measured from the sheerline/deck reference at the mast to the headsail halyard sheave, and J runs from the forward face of the mast to the intersection of the headstay with the deck.
On furlers, record the tack pin height above deck and drum height, because those can steal 2–6 inches of usable luff before you even start. Also note head swivel clearance, because a sail that “fits” can still be unhoistable if the swivel hits the top terminal early. Photograph the mast bands, sheaves, and tack area; a 30-second photo often saves a week of email.
Compute main + headsail area (and handle units)
Most sail area calculators use triangle estimates. The foretriangle (headsail) area is commonly estimated as:
- Area (ft²) = I (ft) × J (ft) ÷ 2
And the mainsail (non-roach) area as:
- Area (ft²) = P (ft) × E (ft) ÷ 2
Be disciplined about units. If you measure in inches, convert to feet before you multiply, and keep the quote consistent with the loft’s unit system. The conversion you’ll see often is 1 m² = 10.7639 ft², and mixing m² and ft² is a classic way to “save money” by ordering the wrong sail.
Add real-world corrections: furling gear, black bands, roach
Why does your calculator area disagree with the loft’s finished-area number? Because the loft is accounting for roach, hollow leeches, luff tape, UV covers, and build details. A high-roach main can add noticeable area beyond P×E/2, while a hollow leech on a headsail can subtract area and still be faster in breeze.
Sanity-check your output against the real world. For many 30–40 ft cruising boats, typical upwind total (main + genoa) often lands in the ~500–900 ft² range depending on overlap and rig. If your calculator says 1,200 ft² on a 34-footer, you probably measured to the wrong spot—or you’ve discovered the racing program you didn’t know you owned.
Practical tip: When you measure, write the dimension and the reference points: “I = 44' 6" (main halyard sheave to deck at mast)” beats “I = 44.5” every time.

Photo by Vidar Nordli-Mathisen on Unsplash
Mainsail Sizing: Roach, Reefs, Cloth, and Handling
Roach and battens: adding area without changing P/E
If you want more mainsail without changing rig dimensions, roach is the lever. A fuller roach supported by 4–6 battens (often full-length in modern cruisers) increases effective area and helps the leech stand up to twist control. It also increases the chances you’ll fight friction through lazy jacks and stack packs, especially when the sail is a few seasons old and the sliders aren’t as polite.
Full battens reduce flogging and help shape life, but they push load into batten pockets and hardware. Expect batten replacement costs around $80–$250 for a fiberglass set, and $300–$1,200 for composite/carbon sets. If you’re sizing up roach, look hard at your backstay clearance and mast bend; the leech will find any sharp spreader tip like it was born there.
Reef geometry that actually reduces load (not just canvas)
Reefs are not an afterthought; they are part of sail sizing. A common cruising rule-of-thumb is the first reef at ~12–15% of luff length, and a second reef at ~22–30%, depending on how hard you want the step-down to be. A reef that’s too shallow doesn’t reduce heeling moment enough; a reef that’s too deep can wreck slot balance if your headsail isn’t sized to match.
Don’t focus only on “area reduced.” Focus on where the new clew lands relative to the boom, vang, and sheeting. Reef loads are real loads, and ABYC H-41 is a good reminder to think about sail-handling gear and load paths like an adult. If your reef tack is held by a decorative padeye and hope, your sail plan is technically “lightweight.”
Cloth weight and construction choices for your use-case
For cruising woven Dacron mains, you’ll commonly see ~6.0–9.0 oz/yd² depending on boat size and displacement. Heavier cloth holds shape longer and tolerates flogging better, but it’s harder to hoist and doesn’t love light air. Construction matters too: crosscut Dacron is cost-effective and durable; tri-radial layouts place yarns more intelligently and often hold shape longer for similar cloth quality.
Reef add-ons can be economical, but don’t pretend they’re free. Adding a reef typically runs $250–$600 per reef with hardware, and that’s before you upgrade reef line clutches or blocks. Document track type, slide type, and black band limits to ±1/2 in (≈13 mm); an extra inch of luff can mean a wrinkled head or a sail that won’t tension properly.
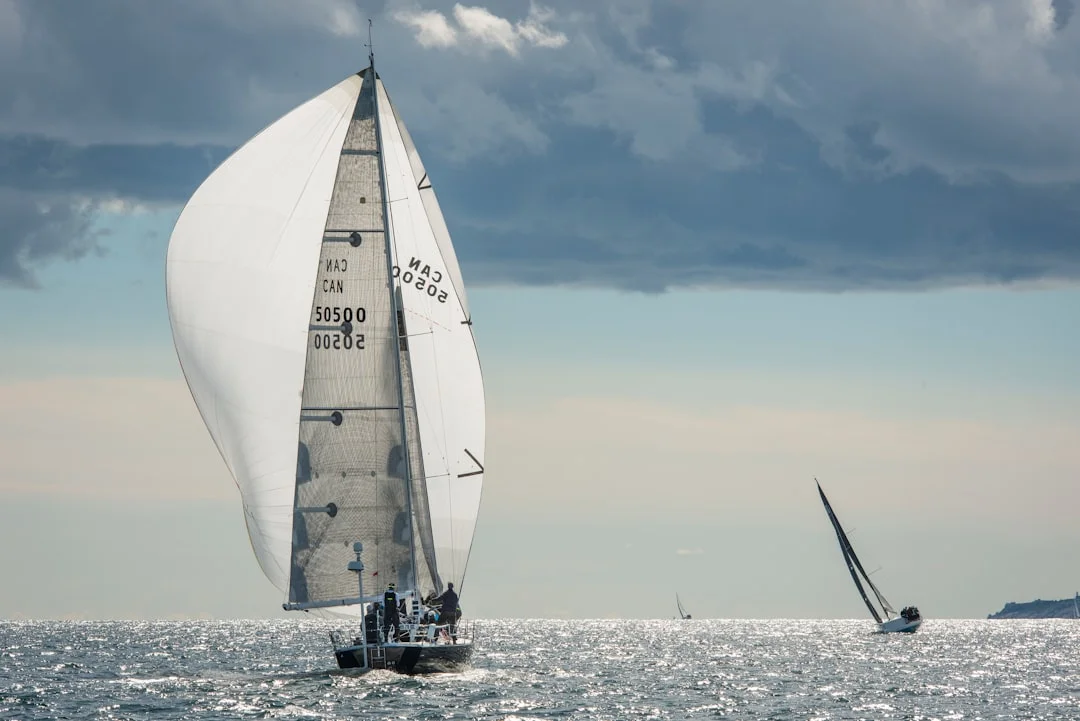
Photo by Jamie Morrison on Unsplash
Headsail Sizing: 100%–155% LP, Furling, and Leads
LP% to real dimensions: jib vs genoa geometry
Headsail sizing starts with J and the LP% you want to live with. The math is simple: LP = (LP%/100) × J. If your J is 12.0 ft, a 135% sail has LP = 16.2 ft, and a 150% sail has LP = 18.0 ft; those extra 1.8 feet show up as overlap, sheet loads, and a foredeck that suddenly feels smaller.
In practice, 100–110% is a working jib that behaves in 12–22 kt without drama. 135% is an all-around genoa for many masthead cruisers, especially where typical true wind is 8–16 kt. 150% is a light-air tool that can be slower than a smaller, flatter sail once you’re heeled and dragging rudder in a chop.
Roller-furling realities: luff length, UV covers, shape when reefed
Furling gear changes everything that a sail size calculator ignores. The drum can lift the tack several inches, and foil/terminal geometry can steal hoist at the top; record head swivel clearance and sheave offsets. Also verify luff tape size for the foil, because “close enough” becomes “won’t feed” at the worst moment, usually with a crosswind and an audience.
UV protection is not optional if the sail lives furled. Most UV covers are acrylic (e.g., Sunbrella) or UV-treated polyester, typically applied along the leech and foot. Budget $350–$1,200 for a UV cover add or replacement, and accept the trade: weight on the leech and foot can hurt light-air shape and make partial furling uglier sooner.
Sheeting angles and deck hardware when you change overlap
When you change LP, you change lead geometry. A 150% genoa often wants an outboard, aft lead to keep the leech open, while a 110% jib may need the car forward and sometimes inboard to maintain slot shape. If your track doesn’t go far enough forward, the sail will look fine until you sheet hard—then the leech hooks and pointing goes sideways.
Plan for hardware reality. You may need barber haulers, inhaulers, or a second track; those costs can rival the “deal” you got by downsizing. Also consider sheet size changes: going from a 150% to a 110% can let you drop a diameter, but don’t undersize and then wonder why winch wraps slip in 18–20 kt.
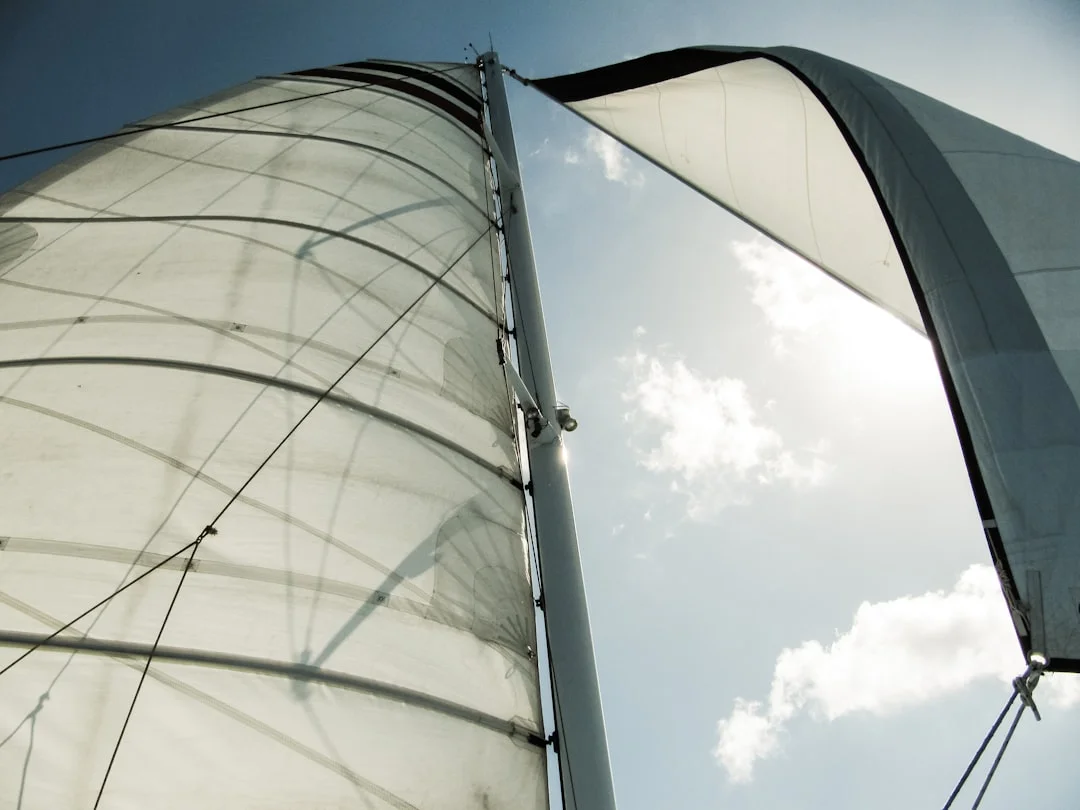
Photo by Kelly Sikkema on Unsplash
Performance Metrics: SA/D, Balance, and Real Speed Gains
Compute SA/D correctly (and what to use for SA)
SA/D is useful as a screening metric, not a bragging contest. The classic formula is SA/D = SA / (Disp/64)^(2/3), where SA is in ft², displacement is in lb, and 64 lb/ft³ is seawater density. If your displacement comes from a brochure and your SA comes from a triangle estimate, the output is “ballpark,” not gospel.
For comparisons, use upwind sail area: main plus your declared or typical headsail (often a 135% or declared max). Don’t toss spinnaker area into SA/D unless you’re trying to win an argument at the bar. If you want comparable inputs across boats, ISO 8666 is your friend, because it pushes consistent reporting of displacement and principal dimensions.
What changes you’ll feel: helm, pointing, and autopilot load
You feel sail-plan decisions in the helm before you see them on a GPS track. Too much headsail overlap often means more heel, more leeway, and a rudder angle that creates drag and makes the boat feel “busy.” Offshore, that same imbalance increases autopilot load, and pilots fail from overwork more often than sailors admit.
A smaller, flatter headsail can be faster in 12–18 kt because the boat stands up and points. You’re trading theoretical light-air drive for real-world VMG when there’s chop and the crew is tired. If you’ve ever arrived an hour later because you insisted on carrying a big genoa too long, you’ve already paid for the lesson.
Choosing inventory for your true wind range and sea state
Rule-of-thumb SA/D bands are still handy: ~14–17 cruiser, ~18–22 performance cruiser, ~23–30 racer. If you bump SA meaningfully upward, remember the boat’s structure and rig loads don’t automatically upgrade themselves; ISO 12215 is a reminder that scantlings and load assumptions exist for a reason. More sail area can be fine—until it isn’t, and then the repair bill becomes educational.
A “two-inventory” approach works for most cruisers: a reefable main plus a high-use working jib (100–110%) for the windy days, and one bigger headsail (135% or 150%) if your local conditions justify it. That keeps sail changes down and time-on-the-water up, which is the only performance metric that matters when your crew has jobs.

Photo by Clayton Robbins on Unsplash
PHRF Impacts: LP Declarations, Penalties, and Compliance
Where PHRF looks: declared LP, sail area, and config assumptions
PHRF is regional, practical, and occasionally maddening—like sailors. Many regions base assumptions around a 155% LP “max” genoa, and certificates often list a declared headsail size. If you exceed the declared LP, even by what feels like a small amount, you can trigger a rating change or a penalty depending on your local board’s rules.
Don’t assume your sailmaker’s label matches how your region measures. Some boards care about LP, some about “largest headsail carried,” and some have credits for non-overlapping jibs. Read your local measurement rules and credits schedule; it’s less painful than explaining to a protest committee why your “150%” is actually a 158%.
Avoid rating surprises when you buy a new genoa
The most common rating surprise is buying a new furling genoa that’s slightly bigger because the luff is straighter, the draft is cleaner, and the sail actually measures what it claims. Another classic is changing furling gear and accidentally increasing usable hoist, so the new sail ends up taller than the old one by 3–5 inches. None of that is evil; it just needs declaring.
Before you order, measure J carefully and compute your target LP in feet and inches. Then ask the loft for the designed LP and the tolerance they’ll build to, and keep it with your sail’s paperwork. If you race, treat that spec sheet like your engine logbook: boring until it saves you.
Documentation checklist for loft orders and certificates
Send your PHRF board and your loft the same clean data: LP, luff/leech/foot, sail ID, and photos showing how you measured. Include reference points, like “J measured from mast forward face to headstay pin at deck,” and note any tack pennant or furling drum height. If you’re changing downwind inventory, remember spinnaker measurements like mid-girth can matter too, but keep that conversation brief unless you enjoy forms.
If you’re racing offshore, be aware that event requirements can include storm sails under World Sailing OSR. That’s not a sizing topic so much as a compliance and seamanship one, but it intersects when you’re deciding whether to keep a dedicated storm jib or rely on a furled headsail. Paperwork and gear checks are part of “performance,” even if they don’t show on your instrument display.
Replacement & Buying Tips: New vs Recut vs Used (Costs)
When a recut works—and when cloth is simply done
A recut can be smart if the cloth still has life and the shape is the main issue. If the sail has UV degradation, blown seams, or laminate delamination, you’re polishing driftwood. Typical recut/reshaping runs $300–$1,200, and a measurement visit is often $150–$500, which is cheap compared to ordering the wrong sail.
ABYC H-41 and H-40 are worth a glance when you’re changing how loads attach and transfer, especially with reef tack/clew hardware, tack pennants, and any strong points used for downhauls or preventers. The sail is only half the system; the boat has to take the load without turning deck hardware into modern art.
Real-world pricing and option tradeoffs (table)
Below are realistic 2026 price ranges you’ll see for common boats, plus the add-ons that quietly move your quote by four digits.
| Item / Option | Typical Range (USD) | Notes to Ask the Loft |
|---|---|---|
| Crosscut Dacron main (25–35 ft boat) | $2,500–$5,500 | Cloth 6.0–9.0 oz/yd², reef patches, slide system, headboard limits |
| Crosscut Dacron genoa + UV (25–35 ft boat) | $2,800–$6,500 | UV on leech + foot, luff tape size, clew height for your tracks |
| Tri-radial laminate headsail | $4,500–$10,000+ | Shape life vs chafe; furling compatibility; taffeta options |
| Tri-radial laminate main | $5,000–$12,000+ | Batten plan, hardware friction, stack-pack fit, reef load reinforcements |
| UV cover add/replace | $350–$1,200 | Acrylic vs UV-treated poly; color heat effects; stitch UV thread |
| Reef points added (per reef) | $250–$600 | Location at 12–15% and 22–30% luff targets; hardware included? |
| Measurement visit | $150–$500 | Includes offsets: sheave-to-band, tack pin height, swivel clearance |
| Used sail (good condition) | $300–$2,500 | Inspect UV, seam strength, luff tape, and whether dimensions match your rig |
| Stack pack / lazy bag | $800–$2,500 | Fits boom length and reefed volume; zipper quality matters offshore |
Spec’ing a replacement: the short checklist that prevents grief
Give the loft: P/E/I/J, plus the offsets that change usable hoist and tack height (drum, swivel clearance, black bands). Include furling make/model, luff tape size, mast track and car type, sheeting points, and photos of your tack, headstay, and lead tracks. Also state your target wind range (e.g., “comfortable upwind in 12–18 kt without early reefing”) and your typical crew count.
Finally, plan a test-fit and a tuning sail. New sails need halyard tension, lead position, and sometimes minor hardware tweaks, and you should budget time for that before a cruise or regatta. Lead times vary by season; if you order in spring, expect to wait longer than you’d like, because sailors are predictable creatures.
Quick Decision Guide + Examples (Two Common Cruiser Sizes)
Example A: 27–30 ft masthead sloop (typical inventory choices)
Here’s how I’d run numbers for a typical 27–30 ft masthead cruiser: estimate the triangle areas, then pick an overlap that your tracks can actually sheet. If your J is short and your genoa track is outboard, a high-clew 135% can be more useful than a deck-sweeping 150% that never trims correctly in 14–18 kt.
Use these as calculator-style examples, not as gospel for your boat. Your actual P/E/I/J can vary a lot, and a furler drum that raises the tack 3–4 inches can change what “fits” even if the area math looks perfect. The sanity-check is whether your total upwind area feels like it belongs in the ~500–900 ft² world for cruisers once you get into the 30–40 ft range.
| Example A (27–30 ft) | Value |
|---|---|
| P | 30.0 ft |
| E | 10.5 ft |
| I | 38.0 ft |
| J | 12.0 ft |
| Estimated main area (P×E/2) | 157.5 ft² |
| Foretriangle area (I×J/2) | 228.0 ft² |
| Chosen LP% | 135% |
| Computed LP (1.35×J) | 16.2 ft |
| Total upwind area estimate (main + foretriangle*) | 385.5 ft² |
*Headsail actual area depends on LP, roach/hollow, and clew geometry; the foretriangle is the baseline many sail area calculators start with.
Example B: 35–40 ft cruising sloop (area targets and cloth weight)
On a 35–40 ft cruiser, you’re typically balancing power against handling loads and reef frequency. I’d rather see a well-cut main with two reefs and a 135% genoa that trims cleanly than a big 150% that’s always half-furled and shaped like a grocery bag. Cloth weight often lands closer to 7.5–9.0 oz/yd² for Dacron cruising sails here, depending on displacement and where you sail.
Hardware limits matter more as boats get bigger. If downsizing overlap, check whether you have an inboard lead option; if upsizing, check that your tracks run far enough aft to keep leech twist under control. And if you’re planning routes, don’t guess distances—check the nautical miles between ports to ground-truth your legs before you start making sail-plan promises to the crew.
| Example B (35–40 ft) | Value |
|---|---|
| P | 42.0 ft |
| E | 14.0 ft |
| I | 50.0 ft |
| J | 16.0 ft |
| Estimated main area (P×E/2) | 294.0 ft² |
| Foretriangle area (I×J/2) | 400.0 ft² |
| Chosen LP% | 135% |
| Computed LP (1.35×J) | 21.6 ft |
| Total upwind area estimate (main + foretriangle*) | 694.0 ft² |
Optional: route planning—how sail choice affects passage timing
A half-knot of average speed is not trivia on the water. Over a 60 nm coastal leg, a 0.5 kt average-speed gain is roughly 45–60 minutes, depending on currents and how much you motor-sail. Over 120 nm, a 1.0 kt difference can be the gap between arriving in daylight or threading an inlet in the dark because you “had to” carry that big genoa.
This is where conservative sail plans often win overall. Fewer sail changes, less fatigue, and a boat that stays on its feet can keep a higher real average than an overpowered boat that spends half the day reefing late and steering poorly. Before you commit, plan your route using a sea distance calculator, then do the math with realistic averages like 5.5 vs 6.2 knots.
Action checklist to send your loft: P/E/I/J (±1/2 in / 13 mm), sheave-to-black-band offsets, tack pin/drum height, head swivel clearance, furling make/model + luff tape size, track/car type, lead positions, photos of tack/head/clew, target LP% (100/110/135/150/155), and your typical true wind range.
Frequently Asked Questions
If my PHRF certificate declares a 155% max genoa, how do I verify my new furling genoa’s LP% (LP ÷ J × 100) from loft measurements, and what tolerance is typically acceptable before it becomes a rating issue?
Ask the loft for the designed LP dimension and confirm your boat’s J measurement, then compute LP% = (LP/J) × 100 using the same units. If your certificate says 155%, treat anything meaningfully over that as a potential rating change; many boards won’t care about tiny fractions, but some will care about an extra inch or two depending on J. Because PHRF is regional, the only safe tolerance is the one your local board publishes—send them the loft spec sheet and a measurement photo before you race it.
When measuring I and P, should I use masthead sheave-to-black-band or pin-to-pin dimensions, and how do I document sheave offsets and swivel clearances so the luff length doesn’t end up unhoistable?
Use the measurement method your loft requests, but for most cruising/racing sails you want sheave-to-limit (black band or halyard lock limit), not a theoretical pin-to-pin. Record the sheave-to-black-band distance, the head swivel clearance at full hoist, and any halyard shackle length that affects hoist by 1–3 inches. Photograph the tape at the mast band and the halyard sheave area; that documentation prevents “it should fit” arguments later.
How do I adjust SA/D when comparing a high-roach, full-batten main to a straight-triangle (P×E/2) estimate—what roach-area methods do lofts commonly use for quoting?
SA/D is only as good as the SA you input. For a high-roach main, the loft typically calculates finished area using panel geometry that includes roach, hollow/round, and the actual leech profile rather than the P×E/2 triangle. If you don’t have that number yet, use the triangle estimate for screening, then re-run SA/D with the loft’s quoted sail area once you have it.
For a roller-furling headsail, how do UV cover weight and placement (leech + foot) affect leech twist and draft position after partial furling, and what design features mitigate shape loss?
A UV cover on the leech and foot adds weight aft, which can encourage leech closure and reduce twist in light air, and it can make a partially furled sail develop a deeper, less efficient shape. Mitigations include designing for furling with a firmer leech, appropriate foam luff or shaping elements (loft-specific), and choosing a UV material that balances longevity and weight. Budget $350–$1,200 and accept that a furled genoa is a compromise, not a magic trick.
If I downsize from a 150% genoa to a 110% jib, what changes to genoa track position, lead angle, and sheet size are typically required to maintain proper slot and prevent leech hooking?
Expect to move leads forward and often inboard to keep the leech from hooking and to maintain a clean slot, especially upwind in 12–18 kt. If your existing genoa track doesn’t reach far enough forward, you may need an inboard track, a forward lead, or barber haulers/inhaulers to hit the correct sheeting angle. You can sometimes reduce sheet diameter, but don’t undersize below what your winches and hands can manage when loads spike in a gust.
About the Author
Related Articles
How to Dock in a Slip: Finger Piers, Wind & Current
Learn how to dock in a slip with finger piers—bow-in or stern-in—handling wind, current, and prop walk. Get the step-by-step plan now.
By Breezada Team

San Francisco Bay Sailing: Winds, Tides & Hazards Guide
Plan safer San Francisco Bay sailing with wind patterns, tides, currents, fog and key hazards. Use this guide to pick a route and go sail today.
By Breezada Team

Sailboat Engine Won't Start: Diagnostic Flowchart
Troubleshoot a sailboat engine that won't start with a step-by-step flowchart for batteries, starter, fuel, air, glow plugs & alarms. Fix it now.
By Breezada Team
Sailboat Bottom Paint Guide: Types, Costs & Prep
Learn sailboat bottom paint types, costs, and prep steps—plus how often to repaint. Get the right antifouling plan for your boat today.
By Breezada Team