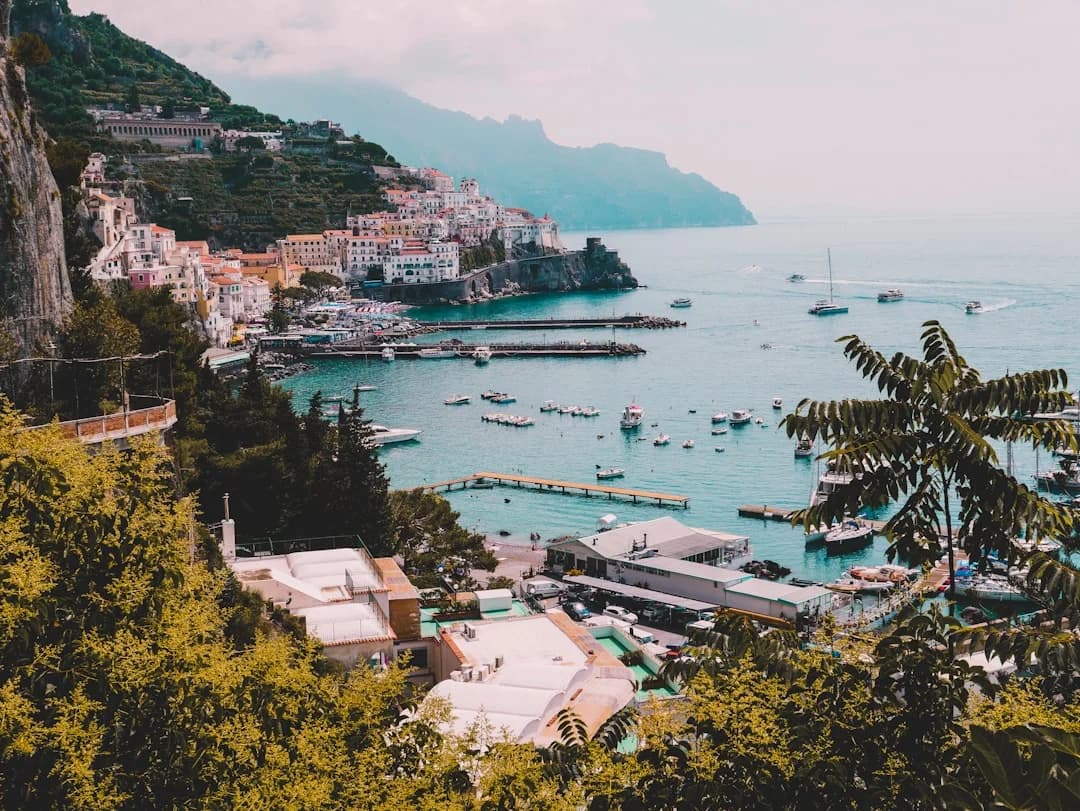
Amalfi Coast Sailing Itinerary: Naples to Salerno (7–10 Days, Skipper-Grade)
The Naples to Salerno sailing route looks short on the chart—roughly 60–90 NM if you stay “direct coast.” In practice, your logbook will read higher because you’ll detour for lunch coves, dodge exclusion zones, and reposition to find shelter when the swell builds. The trick here isn’t heroic passages; it’s making good overnight decisions in a coastline that’s spectacular, steep-to, and busy enough to punish hesitation.
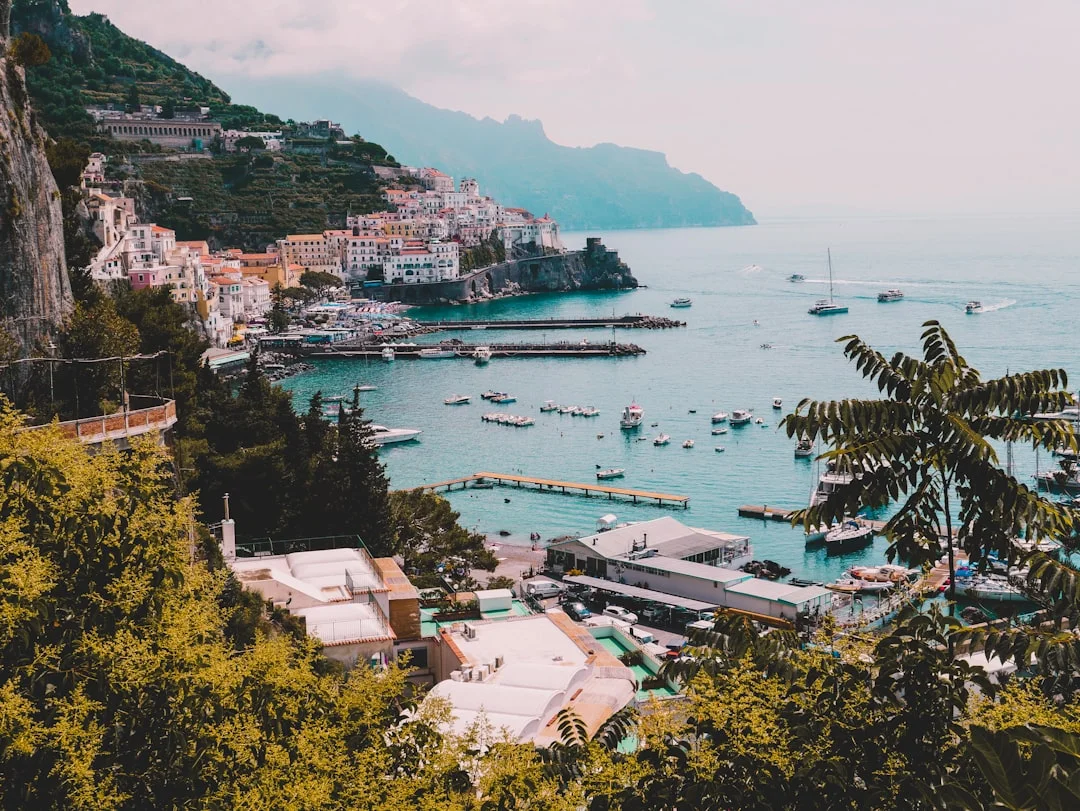
Photo by silvia trigo on Unsplash
Route overview: Naples → Salerno planning assumptions
Boat size, draft, and what it changes on the Coast
Most crews do this Amalfi Coast sailing itinerary on a 40–46 ft (12–14 m) monohull with ~2.0–2.4 m draft and a 40–55 hp auxiliary. That configuration works, but the coast has crowded turning basins and packed roadsteads where a draft over 2.5 m makes you more cautious about where you drop and how close you’ll dare to the rocks. If your charter boat carries only 50–80 m of chain, deep anchorages become “day stops,” not reliable overnights.
On paper the tidal range is almost irrelevant—often ~0.2–0.4 m—so don’t waste brain cycles on tide tables like you’re in the Solent. What matters is swell direction and set-up, especially off Positano and Amalfi where you’re effectively on an open roadstead. If the sea state is wrong, you’ll spend the night auditioning for a washing machine commercial.
Realistic day runs: NM, knots, and time-underway targets
Plan average speeds of 5.5–6.5 kn over the ground for a typical charter week. At that pace, 15 NM is ~2.5–3 hours, and 25 NM is ~4–4.5 hours, which means most legs are short enough to move early if your Plan A turns ugly. That’s the big advantage of this coast: you can bail out without losing a whole day—if you keep your ego out of it.
Short legs don’t mean “easy days,” though. You’ll spend time on VHF calls, waiting for berth assignments, lining up a lazy line, paying for a buoy, and running a tender shuttle. If you arrive at 18:00 in July expecting a quiet anchorage and a free dock, you’re not optimistic—you’re late.
Seasonality and crowd strategy (June–Sept vs shoulder)
Peak season is June–September, with July–August being the weeks when “we’ll find something” turns into “we found a role-playing exercise in stress.” In peak, treat midday arrivals as a hard standard: if you want a buoy or berth, aim for late morning to early afternoon. Shoulder season (May, early June, late Sept) is still busy, but it’s when you can occasionally anchor where you actually wanted to anchor.
Also plan transfers realistically. Naples and Salerno are often ~1–1.5 hours from Naples International Airport by road, but summer traffic can turn that into a longer story with no moral.
What actually drives decisions here: swell, not tides
Your itinerary should be a decision tree: Plan A (buoy/anchor) and Plan B (marina) for each stop, with a clear trigger like swell direction, forecast increase overnight, or simple lack of space. If you’re route-planning, calculate the distance between ports so you know whether a “quick hop” is actually 18–20 NM from your exact departure point. That helps with fuel planning too: at 3–5 L/h and €1.70–€2.20/L, motoring costs land around €5–€11 per hour, and it adds up when the wind refuses to cooperate.
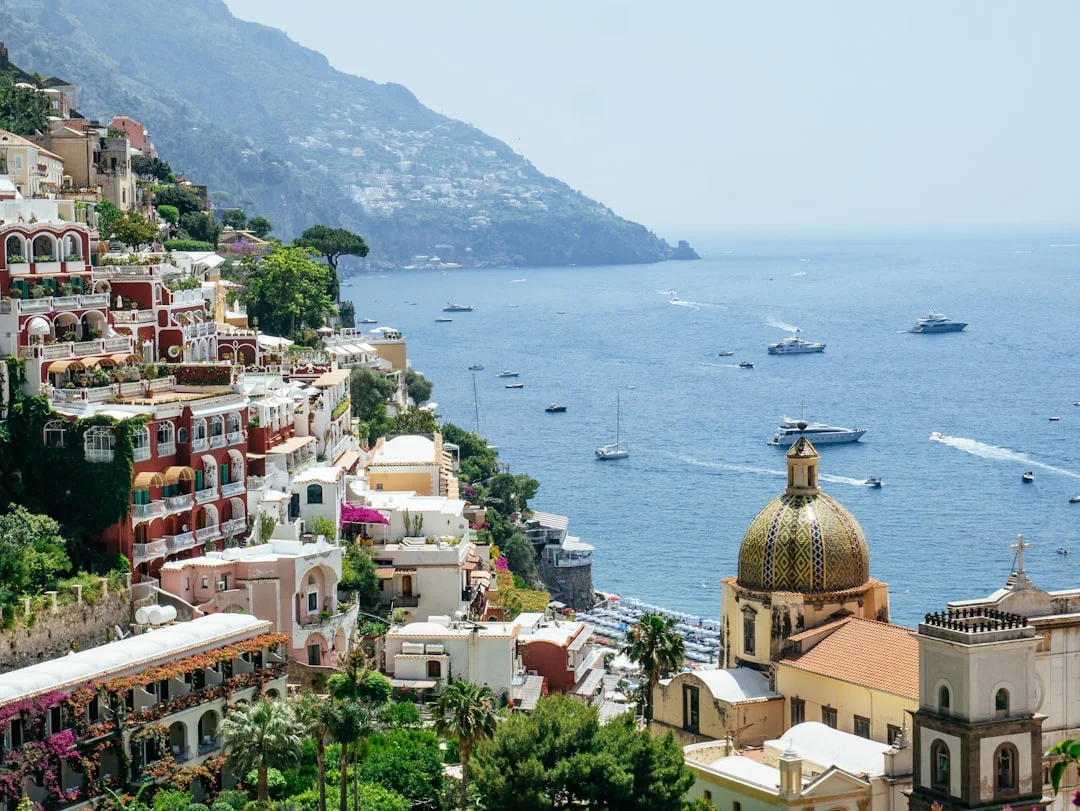
Photo by Jānis Beitiņš on Unsplash
7-day Naples to Salerno itinerary (daily legs + Plan A/B)
Days 1–2: Naples departure and Capri strategy
Day 1 (Naples → Capri, ~18–20 NM, ~3–3.5 h at 5.5–6.5 kn): Leave early enough that you’re not arriving at Capri with the day-trip armada. Plan A: pick up a paid mooring buoy if available and the forecast is settled; it’s often the least-drama solution when depths jump quickly and anchoring room is tight. Plan B: a marina berth if swell or crowding makes the roadstead uncomfortable, or if you arrive late and can’t safely anchor with proper scope.
Day 2 (Capri local day, minimal NM): Use this as your first “buffer” day. If you spend 0–8 NM repositioning for shelter, it still counts as a good day because you’ve avoided a bad night. Plan A: lunch hook in calmer water, then return to a buoy before the afternoon rush; Plan B: keep one marina option in your pocket if swell wraps into your chosen side.
Capri is where crews learn the Amalfi Coast lesson: the prettiest view often comes with the worst roll. If you’re unsure, decide early—don’t wait until dusk when everyone else is also panicking.
Days 3–4: Nerano/Positano positioning and timing windows
Day 3 (Capri → Positano, ~14–16 NM, ~2.5–3 h): Arrive before the afternoon chaos, ideally before 13:00 in July–August. Plan A: buoy/managed mooring off Positano if conditions allow and you can get one; expect paid tender logistics rather than carefree anchoring. Plan B: reposition to Nerano / Punta Campanella area where you can often find more workable shelter, or take a marina berth if swell is building.
Day 4 (Positano → Amalfi, ~6–8 NM, ~1–1.5 h): This is the classic short hop that lulls skippers into overconfidence. Plan A: a buoy or very cautious anchoring only if you can lay 7:1 overnight scope with adequate swinging room. Plan B: a marina/assigned berth when the roadstead is rolly, the anchor plan is compromised by depth, or your chain is limited.
Keep the day flexible because tendering becomes the safety issue, not the sailing. A 2.4–3.2 m tender with 2.5–10 hp is fine in calm water, but ugly in a chop after dark with tired crew.
Days 5–7: Amalfi, Cetara/Vietri options, and Salerno finish
Day 5 (Amalfi local / coast sightseeing, 0–10 NM): Treat Amalfi as a logistics day. Plan A: buoy/managed mooring with disciplined tender runs and an early dinner ashore; Plan B: move to a more sheltered night on the Salerno side if the swell forecast says you’ll hate your life at 02:00.
Day 6 (Amalfi → Cetara or Vietri, ~8–12 NM depending on track): This is a smart south-shift. Plan A: a sheltered overnight that reduces roll and makes the next morning easy; Plan B: continue to Salerno if berth availability looks good and you’re done playing musical moorings.
Day 7 (Cetara/Vietri → Salerno, ~5–10 NM; or Amalfi → Salerno direct ~12–15 NM, ~2–2.5 h): Keep the final approach early because check-in/out windows and fuel dock queues are real. Use a tool to check the nautical miles for your dock-to-dock run; in tight turnarounds, “close enough” is how you end up returning late with an empty tank and a full regret.

Photo by Mahdiye JV on Unsplash
Practical tip: On this coast, your best “reservation” is arriving early with a clear Plan B. If you can’t secure safe scope or a buoy by mid-afternoon in peak season, move while it’s still daylight.
10-day variation: add Ischia/Procida or slow the Coast
Option A: Ischia + Procida loop before Capri
If you have 10 days, the smartest move is often not adding more Amalfi towns, but adding better staging. An Ischia sailing itinerary can give you more room, more shelter options, and easier provisioning before you enter the Capri/Positano pressure cooker. Expect total routing to grow to ~90–120+ NM, depending on how much you zig-zag and sightsee.
The practical benefit is workload: your crew finds their sea legs in less frantic waters, and you’ll have a better chance of a calm night when you’re still learning your boat. A major restock is usually easier in Naples/Ischia/Procida than trying to haul provisions via tender in Positano.
Option B: Extra Capri day + weather flexibility
A second Capri day isn’t laziness; it’s risk control. When the forecast shows swell increasing overnight, that “extra day” lets you sit tight rather than forcing an uncomfortable roadstead. You still keep daily runs mostly 2–4 hours, but you gain freedom to move at the right time, not the desperate time.
Build one intentionally short hop day of ≤10–12 NM as a recovery hedge. Crews with kids, motion sensitivity, or low tolerance for rolling will thank you, even if they don’t know why.
Option C: South-shift nights (Cetara/Vietri) to reduce roll
If your crew values sleep more than selfies, shift nights south sooner. Cetara/Vietri can be a calmer staging area than trying to “make” Positano or Amalfi work in a swell. You’ll still visit the marquee towns by day—often with less stress—then retreat to a more comfortable berth or anchorage for the night.
Fuel implications are modest because legs remain short, but your decision-making improves when everyone’s rested. At 3–5 L/h and maybe 10–20 total motoring hours over 10 days, you’re typically budgeting ~€50–€220 just for propulsion fuel, depending on wind cooperation and how much you motor to hit timing windows.
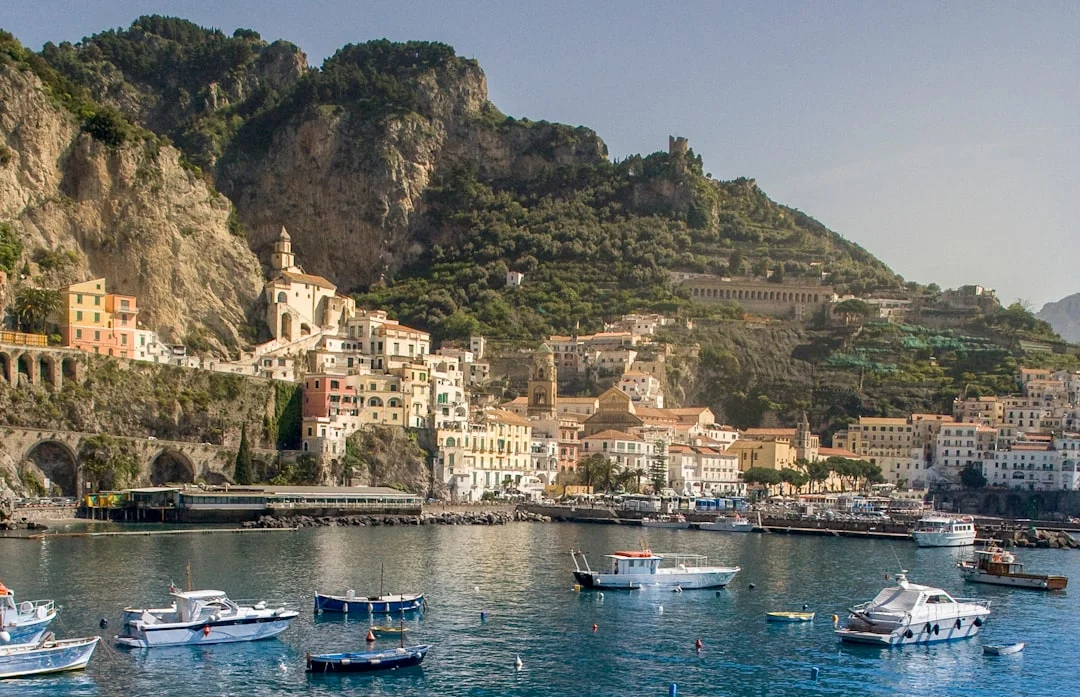
Photo by Sterling Lanier on Unsplash
Anchorages & mooring buoys by stop (depths, exposure, rules)
Capri: when to anchor vs take a buoy
Capri is steep-to and busy, which means anchoring can demand more water depth than your chain is happy with. If you’re in 10 m and want 7:1 overnight scope, you need ~70 m of rode in the water—plus extra for bow height and snubber. Many charter boats carry ~50–80 m of chain total, and not all of it is marked clearly, so confirm before you bet the night on it.
A buoy often costs more, but it buys predictability in a place where dragging can turn into a spectator sport. If you do anchor, plan conservatively for swinging room, because close neighbors appear quickly in peak season.
Nerano / Punta Campanella: the practical ‘shelter valve’
Nerano and the Punta Campanella area are your pressure relief valve when Positano is uncomfortable. Depths can still run 8–15 m depending on where you end up, so scope math matters. Settled conditions might tolerate 5:1 for lunch, but for overnight you want 7:1—and if you can’t physically lay it due to crowding, that’s a trigger to change plan.
Bottom quality varies by spot, and traffic is constant in summer. Use a proper anchor set: back down with ~1,800–2,200 rpm briefly (engine-dependent) to verify hold, then set an anchor alarm with a realistic radius.
Positano and Amalfi: roadstead realities and tender workflow
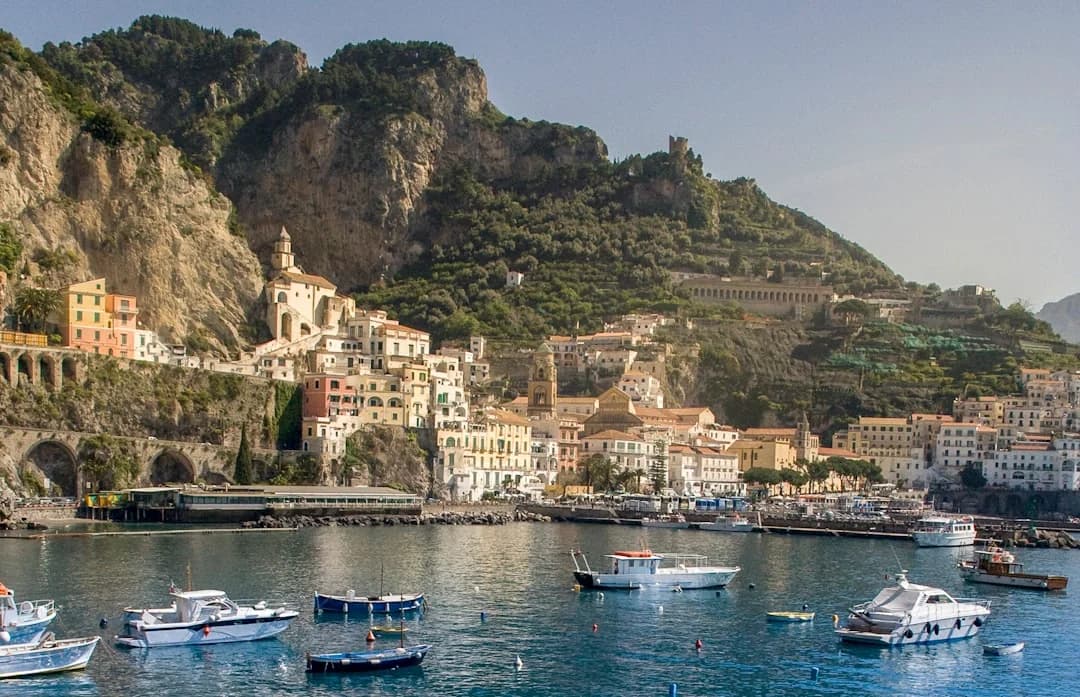
Positano and Amalfi are often less about “anchoring skill” and more about accepting the operational reality: in peak season, these areas frequently behave like managed mooring zones. Expect paid buoy options, assigned tender landing points, and staff directing traffic, especially when the place is packed with day boats.
Swell is the governing factor, not the 0.2–0.4 m tide range. If the forecast suggests a building swell overnight, take that seriously even if the afternoon looks calm; cliffs and bays can refract wave energy in ways that make 02:00 miserable. Tendering is also part of the safety plan: a 2.5–10 hp outboard is fine, but don’t run it overloaded, and avoid after-dark trips when chop meets ferry wake.
Salerno side: Cetara/Vietri staging and last-night logic
The Salerno side is where smart skippers go to sleep. Cetara/Vietri can offer better comfort and easier morning logistics than forcing a glamorous but exposed roadstead. It also shortens your final reposition into Salerno, which matters when you need to refuel, pump out, and be at the dock on time.
Anchoring restrictions and marine protected area rules change, and enforcement can be enthusiastic. Before you drop, check marked zones on your charts and nav apps, and ask locally if you’re unsure; guessing is expensive here.
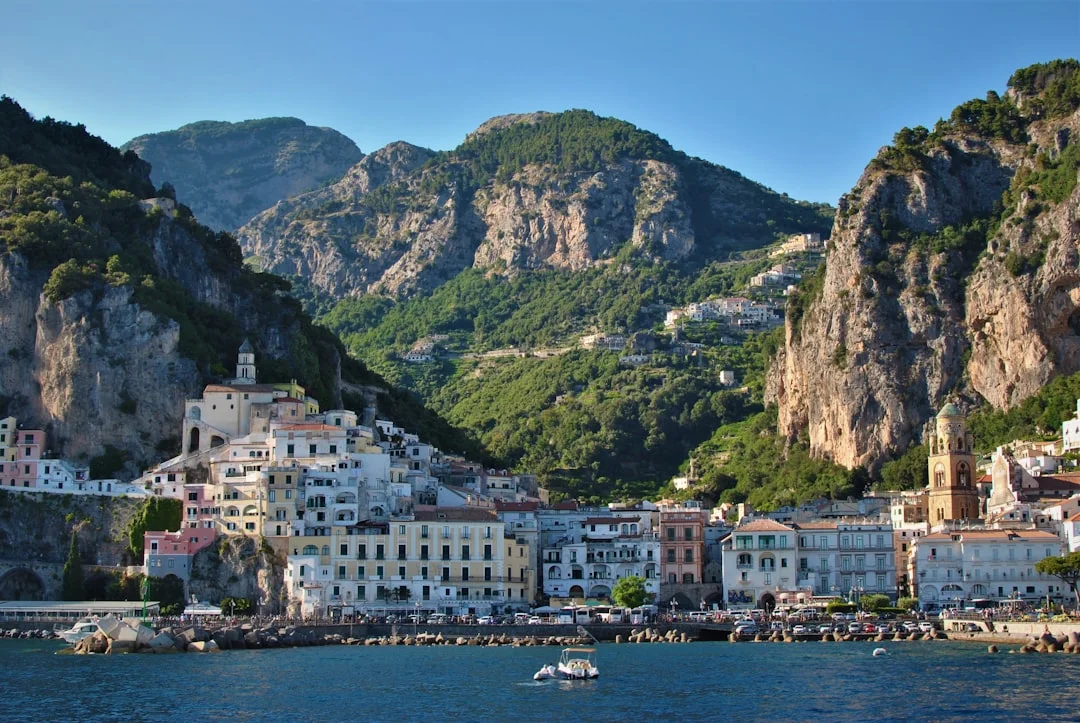
Photo by Ken Shono on Unsplash
Marinas & Med-mooring in practice: procedures + pricing
Approach, VHF calls, and document-ready check-in
Italian marinas commonly assign berths by VHF as you approach. Call when you’re close enough to maneuver but not already committed—think 0.5–1.0 NM out in clear water—then give the essentials: LOA (12–14 m), beam, draft (~2.0–2.4 m), and whether you need fuel or shore power. Have your ship’s papers ready because check-in often happens quickly at the office, sometimes with a passport scan and payment on the spot.
If you’re chartering, expect the marina to treat your boat as a standard visitor, not a special case. Be polite, be brief, and be ready to follow hand signals that will be delivered with absolute confidence and occasional creative interpretation.
Med-mooring setup: lazy lines, stern lines, and fender plan
On this coast, med-mooring is usually stern-to with a lazy line to the bow. For a 40–46 ft boat, plan 2 stern lines of ~12–15 m each, plus 6–8 fenders minimum; in tight summer spacing, I prefer more fender coverage, not less. Rig fenders before you enter the fairway, because doing it later is how gelcoat gets “character.”
Brief the crew: one person on each stern line, one on the boat hook for the lazy line, and one as a spotter. Keep hands out of pinch points, and don’t wrap lazy lines around wrists—Italy is fun, but not that fun.
Shore power (230V/50Hz): 16A vs 32A and safe connections
Expect 230V/50Hz with 16A sockets common and 32A sometimes available. Use correct adapters, fully uncoil cords, and do a heat check at the plug after 10–15 minutes under load; connector heating is a frequent failure mode. ABYC E-11 and ISO 13297 both point toward the same practical habits: proper cord rating, secure connections, functional RCD/ELCB protection, and load management.
On 16A service, avoid stacking heavy loads at once. If the water heater, battery charger, aircon, and induction hob all try to live their best lives simultaneously, the pedestal will disagree.
| Item | Shoulder season typical range (12–14 m) | Peak season typical range (12–14 m) | Often included | Often extra/variable | Check-in method |
|---|---|---|---|---|---|
| Marina berth (town/visitor dock) | €70–€140/night | €120–€250+/night | Basic berth, sometimes water | Electricity (€5–€20/day or metered), water (€5–€20) | VHF + office |
| Managed mooring buoy (high-traffic towns) | €60–€130 | €100–€200 | Pick-up assistance varies | Tender coordination/fees may apply | Phone/VHF/attendant |
| Marina with metered power | €90–€160/night | €150–€280+/night | Water sometimes | kWh-metered electricity, tourist taxes | Office/agent |
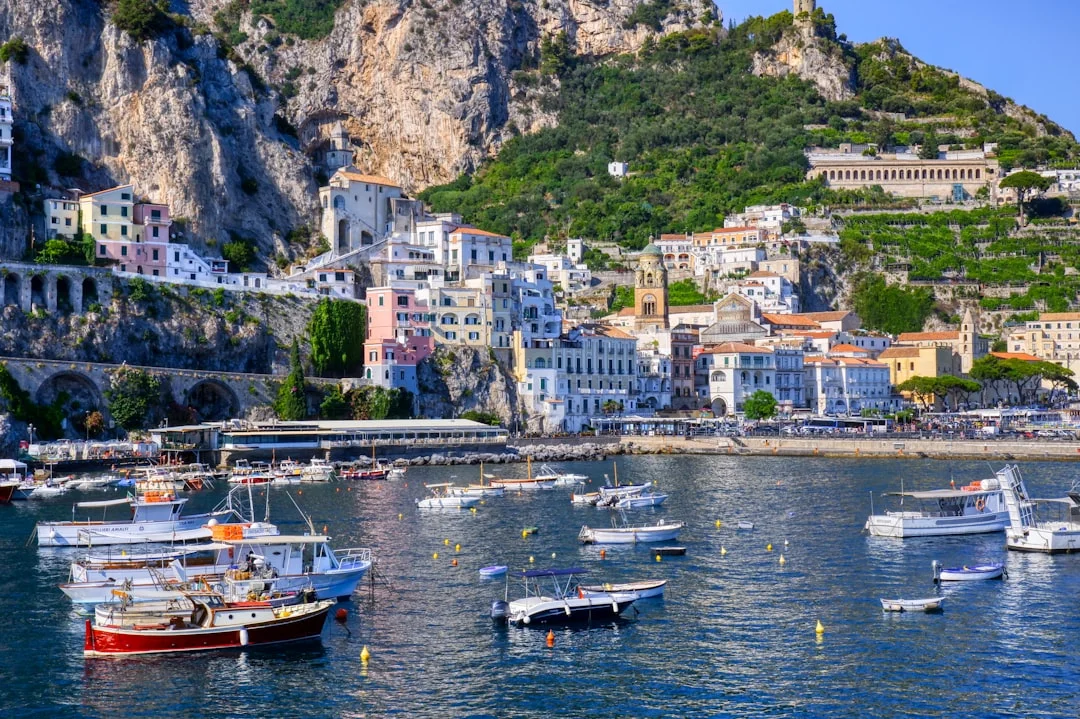
Photo by Antonio Sessa on Unsplash
Weather, swell, and risk management on the Tyrrhenian
Thermals, katabatics, and funneling near high terrain
The Tyrrhenian Sea sailing conditions along the Amalfi Coast are shaped by steep terrain. Afternoon thermals can build to 10–18 kn, and local funneling can add sharp gusts that feel out of proportion to the forecast. In the lee of headlands you can have flat water and then suddenly meet reflected chop and wake, especially near busy approaches.
Treat “short hop” days as an opportunity to time the breeze, not to ignore it. Leaving at 08:00–09:00 often buys calmer water and easier mooring pickups before the afternoon traffic and wind peaks.
Swell-driven ‘no-go’ thresholds for roadsteads
Because tide is small (~0.2–0.4 m), your decision threshold should be swell-driven. If you can’t lay 7:1 scope because the bay is deep or crowded, that’s not “good enough”—it’s a reason to choose a buoy or marina. Dragging in 12 m with only 50 m of chain out is predictable, not unlucky.
Also remember that swell can wrap and build overnight even when the sunset looks benign. If the forecast shows an increase, relocating at 16:00 is a calm, professional choice; relocating at 23:00 is a chaotic one.
Tendering and nighttime comfort: decision rules for crews
Tendering is where pride gets people hurt. In chop, keep trips conservative, reduce load, wear life jackets, and avoid late-night runs when wakes and poor visibility stack the odds. USCG guidance is a useful baseline for safety culture, but local rules apply—Italy won’t care what your home country calls “recommended.”
Build your crew rules early: if the shore break is ugly or gusts are bouncing over 20 kn in the anchorage, the correct response is often “stay aboard” or “move,” not “try harder.” The coast will still be scenic tomorrow.
Costs & sample budget for a 40–46 ft charter week
Fixed costs vs variable cruising costs (the split to plan)
Your fixed costs usually dominate: a 40–46 ft monohull is commonly €4,500–€9,500/week in high season, or €3,000–€6,000/week shoulder. Add cleaning (€150–€300), and either a deposit (€2,000–€5,000) or a waiver (€200–€450/week) depending on operator and coverage. If you hire a skipper, budget €180–€250/day + food, and a hostess €140–€200/day + food.
Variable costs are where skippers accidentally lose control. On this route, fuel is usually modest, but moorings and town logistics can be sneaky.
Moorings: marinas vs buoys vs ‘managed’ town services
For 12–14 m boats, marina berths typically run €70–€140/night shoulder and €120–€250+/night peak. Buoys in high-demand spots commonly land €60–€200 depending on season and LOA, and they can come with additional tender coordination that’s not always spelled out upfront. The uncomfortable truth: your mooring strategy often drives spend more than your engine does.
Arriving earlier reduces cost because you’re not forced into the last available, most expensive option. Flexibility is money on this coast.
Fuel, water, electricity, and the hidden line items
Diesel commonly sits around €1.70–€2.20/L, and a 40–55 hp auxiliary burns roughly 3–5 L/h in calm conditions. If you motor 10–20 hours over a week, that’s roughly 30–100 L or ~€50–€220—rarely the budget-breaker. Water top-ups can be €5–€20, and electricity might be included or €5–€20/day or metered; shore power surprises are common when everyone runs aircon on a 16A pedestal.
Use a quick tool to estimate your fuel needs based on the voyage distance and realistic motoring hours. It’s a simple way to avoid pretending your “60 NM week” won’t involve repositioning and idling in traffic.
| Scenario | Duration | Charter (40–46 ft mono) | Moorings (mix of marinas/buoys) | Fuel (diesel) | Extras (power/water/tenders) | Estimated total |
|---|---|---|---|---|---|---|
| Low | 7 days | €3,000–€4,500 | €300–€600 | €50–€120 | €80–€200 | €3,430–€5,420 |
| Median | 7 days | €4,500–€7,000 | €700–€1,200 | €90–€180 | €150–€350 | €5,440–€8,730 |
| High | 7 days | €7,000–€9,500 | €1,200–€2,000 | €120–€220 | €250–€600 | €8,570–€12,320 |
| Low | 10 days | €4,500–€6,000 | €450–€900 | €80–€180 | €120–€300 | €5,150–€7,380 |
| Median | 10 days | €6,000–€9,000 | €1,000–€1,800 | €130–€220 | €200–€450 | €7,330–€11,470 |
| High | 10 days | €9,000–€16,000 (cat or peak mono) | €1,800–€3,000 | €180–€350 | €300–€800 | €11,280–€20,150 |
Standards-based skipper checklist: gear, systems, and docking
Anchoring system checks (windlass, chain, and strong points)
Before you trust your night to the anchor, verify the basics: windlass works under load, chain runs cleanly, and the bitter end is properly secured. Confirm chain length and markings; “about 50 m” is not a measurement when you need ~70 m for 10 m depth at 7:1. ABYC H-40 is clear in spirit: strong points, cleats, chocks, and load paths must be up to the job, especially when you’re taking shock loads in a rolly roadstead.
Carry or rig a snubber to reduce shock and protect your windlass. If your charter boat lacks chafe gear, improvise with proper materials—this is not the place to learn how fast a line can saw itself through.
Fueling and engine-room safety basics for charter crews
Fuel docks are where “just a quick top-up” becomes a spill or a ventilation mistake. Follow ABYC H-33/H-24 principles even on charter: shut down engines as required, control ignition sources, ventilate, and keep absorbent pads handy. Don’t overfill; leave headspace because warm fuel expands, and the dockhand doesn’t want your overflow any more than you do.
Do a quick engine check each morning: belt tension glance, coolant level if accessible, and a bilge sniff. Catching a minor issue early saves you from a hotline call later.
Electrical and shore power safety at 16A connections
On 230V/50Hz shore power, treat adapters and cords as safety gear, not accessories. ABYC E-11 and ISO 13297/10133 align on the practical points: correct ratings, secure connections, RCD protection, and no crispy, overheated plugs. After connecting, check for warmth at the connector after 10–15 minutes, especially if you’re pulling close to 16A with chargers and water heaters running.
If the pedestal trips, don’t play breaker whack-a-mole. Reduce loads, then reset once, and troubleshoot like an adult.
Crew briefing for Med-mooring and tight quarters
Med-mooring goes well when everyone knows their role and nobody freelances. Brief hand signals, assign stern-line handlers, designate a lazy-line person, and put one crew member on fender duty with authority to add more. For a 12–14 m boat in crosswind, those 12–15 m stern lines give you options to spring, ease, and re-center without panic.
Your goal is boring docking. If it’s exciting, something is wrong.
Pre-departure checklist (compact): confirm anchor chain length/markings and windlass function; rig 2 stern lines (12–15 m) and 6–8 fenders; pack 16A/32A shore-power adapters and heat-check plugs; keep VHF procedures and ship’s papers ready; budget for buoys/tenders in June–September.
Frequently Asked Questions
For a 12–14 m (40–46 ft) yacht, what are realistic VHF call procedures and information to provide (LOA/beam/draft) to be assigned a Med-mooring berth on the Amalfi Coast?
Call the marina/harbor on VHF when you’re close enough to maneuver but not committed, typically 0.5–1.0 NM out in safe water. Provide LOA (12–14 m), beam, draft (~2.0–2.4 m), number of people aboard, and whether you need fuel or 230V shore power. Expect a berth assignment by voice and hand signals on arrival, with documents checked at the office shortly after.
How much anchor chain/rode is practically required to anchor overnight in ~10–12 m depth at 7:1 scope, and what are the failure modes if your charter boat only carries ~50 m of chain?
At 10 m depth, 7:1 scope means about 70 m of rode in the water, and at 12 m it’s about 84 m, plus a bit for bow height and snubber. If you only have ~50 m of chain, you’ll be forced into too-steep a pull angle, which reduces holding and increases the chance of dragging when swell loads the boat. The common failure modes are poor set, incremental creep during gusts, and sudden break-out when the boat surges in a rolly roadstead.
What shore-power issues occur most often with 230V/50Hz 16A marina pedestals (connector heat, undervoltage, adapter mismatch), and what checks align with ABYC E-11 / ISO 13297?
The frequent problems are overheating connectors, loose/worn sockets, adapter mismatch, and occasional undervoltage when the dock is heavily loaded. Aligning with ABYC E-11 and ISO 13297 means using correctly rated cords/adapters, fully uncoiling the cable, verifying RCD/ELCB protection, and checking plug temperature after 10–15 minutes under load. If anything is hot to the touch, reduce load and fix the connection rather than “seeing if it settles.”
At typical Italy diesel pricing (€1.70–€2.20/L) and a 40–55 hp auxiliary burning ~3–5 L/h, what fuel budget range should you plan for 60–120 NM of short-hop sailing with intermittent motoring?
A realistic week often involves 10–20 hours of engine time due to calms, harbor work, and timing arrivals, even if the distances are only 60–120 NM. At 3–5 L/h, that’s roughly 30–100 L, which at €1.70–€2.20/L is about €50–€220. Your exact number depends more on wind cooperation and docking time than on the raw nautical miles.
When Med-mooring stern-to with lazy lines, what stern-line length (12–15 m) and fender placement best prevents crosswind shear and gelcoat contact in tight summer spacing?
For a 40–46 ft boat, use two stern lines of ~12–15 m so you can ease or shorten without running out of tail in a crosswind. Rig 6–8 fenders minimum, with at least two large fenders placed where your topsides will meet a neighbor’s bow flare, and keep one “floating” fender ready to drop fast. In tight spacing, the best gelcoat protection is early fendering and calm, incremental adjustments to line tension—yanking a stern line in gusts is how boats kiss when they shouldn’t.
If you take only one lesson from this Amalfi Coast sailing itinerary, make it this: the coastline rewards skippers who plan short legs, arrive early, and treat swell as the deciding factor—not pride or postcard value. Use a Plan A/Plan B decision tree every day, and budget realistically for buoys, marinas, and tender logistics in June–September.
About the Author
Related Articles
Amalfi Coast vs French Riviera Sailing Guide (Costs & Routes)
Compare Amalfi Coast vs French Riviera sailing—costs, crowds, mooring rules, best months, and 7-day routes. Choose your coast and plan now.
By Breezada Team
Puget Sound Cruising Guide to Gulf Islands Routes
Plan routes, anchorages, and weather windows with this Puget Sound cruising guide for the Gulf Islands & San Juans. Read now and start plotting.
By Breezada Team
Sailing Amalfi Coast Guide: Ports, Anchorages & Rules
Sailing Amalfi Coast guide to Capri, Positano & Amalfi: best ports, anchorages, fees, VHF and rules. Plan your route—read now.
By Breezada Team
Dry Tortugas Sailing: Routes, Anchoring & Permits
Plan Dry Tortugas sailing from Key West with routes, weather windows, anchoring/moorings, and permits. Read the guide and plan your trip.
By Breezada Team