Dry Tortugas Sailing: Routes, Anchoring, Permits
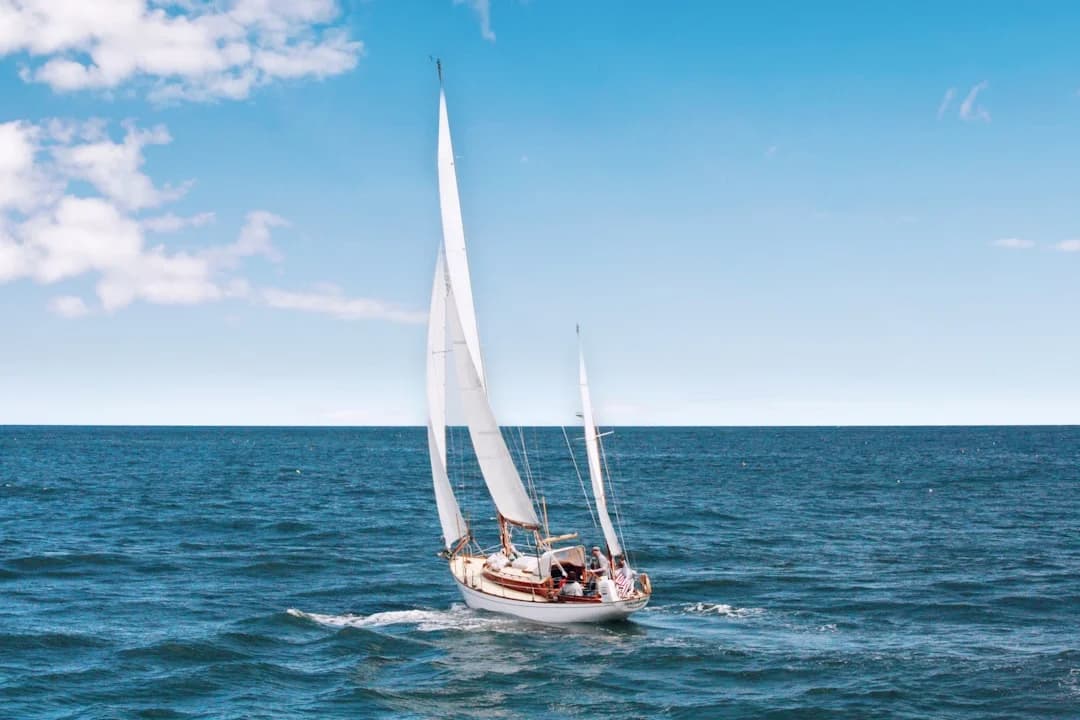
Dry Tortugas sailing is not a “Keys day sail with a long lunch.” It’s a genuine offshore passage—70–80 nautical miles of open water, limited bailouts once you commit, and an anchorage where depth and bottom type can change in a boat length. Plan it like a passage, not like a destination, and the place will treat you well.
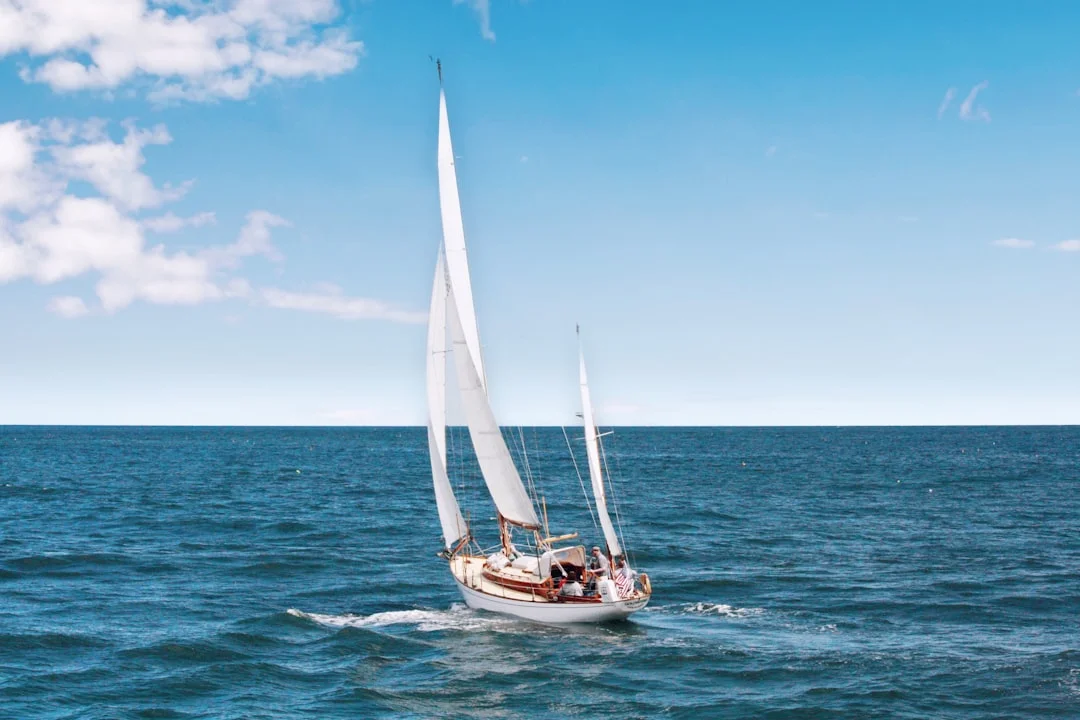
Photo by Kristel Hayes on Unsplash
Route options from Key West or the Marquesas
Key West direct: the standard 70–80 nm offshore leg
The straight-line distance from Key West to Garden Key (Fort Jefferson) is about 70 nm, but real routing usually lands in the 70–80 nm range. Add miles for wind angle (tacking adds distance fast), squall detours, and “no thanks” avoidance of skinny water and banks when visibility gets ugly. You’re also not sailing on a spreadsheet; you’ll ease sheets, reef, and occasionally slow down to keep the boat comfortable and the crew functional.
For timing, most cruising boats average 5–7 knots over the ground when things go reasonably right. That makes the crossing 10–16 hours, and that’s before you add a conservative buffer for sail changes, current, or a squall line that forces you to bail off course. A planning buffer of +20–30% is not pessimism; it’s what keeps you from arriving at the reef edge in the dark, tired, and irritated. If you want quick reality-checks on passage length and timing, you can check the nautical miles for your planned route before you commit.
Marquesas staging: shorter jump, better timing control
Staging at the Marquesas can buy you flexibility when the weather window is tight, because the Tortugas are roughly 30 nm west of the Marquesas. That shorter hop can mean the difference between arriving in daylight versus doing eyeball navigation under a headlamp (which is a great way to learn new swear words). It also reduces the “all-or-nothing” feeling of leaving Key West and immediately being committed to a long offshore leg.
Marquesas staging isn’t magic, though; you’re still headed to an exposed park with no fuel, no water, and limited protection once you get there. Use it to improve departure timing, rest the crew, and recheck forecasts, not as an excuse to push marginal conditions. If your plan depends on everything staying perfect for 16 hours, you don’t have a plan.
Return-trip planning: don’t spend your weather window outbound
The most common Dry Tortugas mistake is spending the entire good-weather window getting out there. Then a front comes through, and you’re stuck staring at steep post-frontal seas while your schedule and patience evaporate. I use “two-window planning”: pick one window to go, and a separate window to come back, even if that means sitting an extra day at anchor.
Here’s a simple example using a sea distance tool for route planning to keep your math honest: 76 nm / 6.0 kn = 12.7 hours, then add a 25% buffer and you’re at roughly 16 hours. That single number should drive your departure time, watch plan, and the hard rule: arrive in daylight so you can read water color and pick sand patches near Garden Key. Once you leave the reef line westbound, bailout options get thin fast—so make your go/no-go call before you’re committed.
Practical tip: Treat the “decision point” as the last reliable place you can turn back without ego. If the forecast trend worsens before you’re clear of the reef line, go back and try again tomorrow.
Photo by Karla Car on Unsplash
Weather windows, fronts, and go/no-go thresholds
What ‘comfortable’ looks like for the crossing (wind/seas)
For the 70–80 nm run, comfort matters because fatigue becomes a safety issue after hour 10. Many cruising crews target sustained winds under 15–20 kn and seas under 4–5 ft for a reasonable passage. Yes, plenty of boats can handle more, but “can” and “should” are different categories—especially if you want to anchor well on arrival.
When the National Weather Service posts a Small Craft Advisory, you’re often looking at sustained winds around 20–33 kn and/or seas ≥7 ft (criteria varies by zone). That doesn’t automatically mean “never go,” but it does mean you should stop romanticizing the trip and start asking what breaks first: crew, gear, or schedule. On most cruising boats, the correct answer is “all three.”
Cold fronts and post-frontal northerlies: timing the 24–48 hr trap
The Tortugas run is notorious after a front because the wind shifts and the sea state gets steep in a hurry. The first 24–48 hours post-front often brings the strongest NE–E flow, and that’s when the chop builds into the kind of mess that makes even good sailors start bargaining with their deities. If you time it wrong outbound, you may still arrive—but you’ll arrive wrung out, and you’ll have spent your safe return window.
The smarter play is to use the pre-frontal or immediate transition period—if the thunderstorms and wind shifts aren’t severe—and then avoid departing into that post-frontal squeeze. For many crews, that means leaving so you arrive Garden Key with enough time to anchor, sleep, and then watch the trend for the return. Checking the NOAA marine forecast once isn’t enough; compare the morning update to the afternoon update and look for strengthening language over 12–24 hours.
Summer convection: lightning, squalls, and short-fuse planning
Summer can look friendly on a forecast—until convection shows up and starts throwing punches. Florida’s peak lightning season is summer, and squalls in the Straits can jump from 12 kn to 30+ kn in minutes, with blinding rain that wipes out your visual cues. Your “weather window” becomes a short-fuse tactical problem, not a long-range strategic one.
Use NOAA marine forecasts, but also watch real-time radar and satellite before and during the crossing. If you see a line building that will intersect your route in 2–3 hours, you plan reefing, stowage, and watch rotations now, not when the gust front arrives. And remember the anchorage exposure: Garden Key and Loggerhead can swap from “fine” to “lively” with a single wind shift, because fetch changes quickly.
Photo by Evan Smogor on Unsplash
Currents, navigation hazards, and offshore redundancy
Current set/drift: Florida Straits, Loop Current influence
Current is the quiet variable that turns a tidy ETA into a late-night arrival. The Florida Straits can set you north or east depending on where you are and what the broader Loop Current influence is doing, and that matters when your plan assumes 6.0 kn and reality delivers 5.0 kn over the ground. On a 76 nm leg, that’s the difference between arriving at 1500 and arriving at 1900, right when you wanted daylight.
Current also changes your fuel math if you end up motor-sailing into adverse flow. If you’re planning contingencies for 15–25 engine hours total across the trip, your reserve philosophy needs to be conservative, not hopeful. Estimate your fuel needs based on the voyage distance, then compute ETA at 5.0, 6.0, and 7.0 kn, and make the worst-case your baseline.
Tortugas Bank navigation: shoals, visual cues, and chart discipline
Tortugas Bank is where disciplined navigation pays off. Depths can change fast, and the water color shifts from deep blue to the lighter hues that should trigger your “slow down and verify” reflex. This is not the place to assume your chartplotter is infallible; it’s the place to cross-check plotter, soundings, and eyeballs, especially near anchor areas where you’ll see patchy sand and seagrass.
Run updated electronic charts and carry at least 1–2 paper charts plus a handheld GPS. Electronics fail when they feel like it, and they prefer doing it at night, in rain, with the autopilot complaining. A tablet with offline charts is a great second brain, but only if it’s charged and mounted where it won’t become a projectile.
Night sailing compliance: COLREGS, lights, lookout, and AIS
If you do any part of this as an overnight, act like you’re offshore—because you are. The USCG Navigation Rules (see 33 CFR 83 and 33 CFR 84–88) require a proper lookout, safe speed, and correct navigation lights; none of that is optional because you’re “just going to the park.” ABYC A-16 is worth a skim if your nav lights are older or home-wired by someone who thought wire nuts were marine-grade.
AIS Class B isn’t mandatory, but it’s one of the few upgrades that reduces workload when fast movers appear. Pair it with a fixed-mount DSC VHF (with MMSI programmed) and you’ve got a realistic comms plan if things go sideways. Redundancy thinking is straight ABYC E-11: if your instruments and autopilot draw 4–10 A, a 12-hour night can cost you 50–120 Ah, and that affects battery and charging plans.
Photo by Jeremy Bishop on Unsplash
Anchoring & mooring: Garden Key and Loggerhead Key
Garden Key (Fort Jefferson) anchorage: depths, room, and wind shifts
Most private boats aim for the Garden Key anchorage because access to Fort Jefferson and dinghy landing is straightforward. Typical depths are often 10–25 ft (3–8 m) depending on where you set up, and the key detail is how quickly that depth changes over patches. You approach slow, polarized sunglasses on, and you treat your depth sounder like it’s telling you the truth—because it probably is.
Scope math is where good intentions meet reality. In 12–20 ft, a basic 5:1 scope often means roughly 60–100 ft of rode plus freeboard; in stronger winds, 7:1 is better if you have room and swing radius doesn’t turn you into the evening’s entertainment. Add a nylon snubber—typically 30–50 ft—with chafe gear, because chain-to-cleat shock loads are how fittings get “tested” in the worst way.
Loggerhead Key options: exposure, holding, and when it makes sense
Loggerhead can be a better fit when Garden Key is crowded or when wind direction makes the Garden Key area lumpy. It’s also a place where you need to think about your dinghy run and your tolerance for exposure; wind shifts can turn a comfortable spot into a rolling mess quickly. The holding can be perfectly fine in sand, but you’ll work harder to find it, and you may give up convenience for a better night’s sleep.
Don’t let the chart make the decision for you—let the conditions do it. If you expect a shift from E to NE overnight, picture the fetch and decide where you’ll be least miserable at 0300. “Least miserable” is a valid seamanship criterion, and anyone who says otherwise hasn’t stood a cranky anchor watch.
Resource-protection anchoring: sand patches, no-coral discipline
Dry Tortugas National Park is not the place to “just drop it.” The NPS expectation is resource protection: avoid anchoring on coral or seagrass and target sand patches with controlled approaches. That means you may spend 10–15 minutes idling around at 2–3 knots looking for the right color and confirming with soundings, instead of charging in like you own the place.
Once you set, verify it properly. Back down in reverse in steps, confirm your GPS track is stable, and set an anchor alarm radius that matches your actual rode and swing room. Then rig chafe gear, watch your neighbors’ swing circles, and have a Plan B if the wind clocks 90° overnight and the fleet turns into a geometry problem.
Photo by Lazarescu Alexandra on Unsplash
| Factor | Garden Key (Fort Jefferson) | Loggerhead Key |
|---|---|---|
| Typical anchoring depths | 10–25 ft (3–8 m), varies fast by patch | Often similar ranges, but patch-finding can take longer |
| Exposure by wind quadrant | More comfortable in some E–SE patterns; can get lively with shifts | Can be better or worse depending on NE–N or E trends |
| Dinghy landing proximity | Closest for Fort Jefferson access | Longer dinghy run; more planning for weather and chop |
| Typical holding | Good in sand patches; avoid seagrass/coral | Good in sand, but you must hunt for it carefully |
| Crowding | Often highest; arrive early for room | Can be less crowded, but fewer “easy” spots |
Practical tip: If you can’t clearly identify a sand patch in good light, you’re already behind the boat. Wait, reposition, or accept a different anchorage rather than guessing on bottom type.
Permits, fees, and park logistics for private sailboats
Entrance fees vs camping fees: what applies to boaters
Dry Tortugas National Park charges an entrance fee of $15 per person, valid for 7 days, and it may be covered by an America the Beautiful pass. Separate from that is the camping fee, commonly around $15 per person per night—and yes, you need to confirm the current rate before departure because these numbers can change. The practical point: entrance is not the same as camping, and “we’re on our boat” doesn’t automatically mean “no camping fee,” depending on current NPS policy.
Have your documents ready before you ever see the fort. You don’t want to be digging through email receipts while drifting toward someone’s anchor rode in 18 ft with a crosswind. I keep a printed copy in a zip bag and a digital copy offline on the phone.
After-hours arrivals and how to stay compliant
If you arrive outside staffed hours, act like a professional visitor. Know what fees you owe, be prepared to pay as required, and respect closures and restricted areas without needing a reminder. Rangers are generally reasonable people, but they have zero obligation to be impressed by your “epic passage” story.
The best compliance strategy is boring: arrive in daylight, anchor cleanly, and sort fees and check-in at the first opportunity. That’s another reason the 10–16 hour ETA and +20–30% buffer matter; paperwork is easier when you’re not exhausted. If you need to adjust your plan, use Breezada’s sea distance calculator before you depart so your arrival timing is realistic.
Dinghy landing, waste handling, and ‘no services’ reality
There is no fuel, no water, and no groceries for private boaters at the park. Plan water at 1.0–1.5 gal/person/day (3.8–5.7 L) plus an emergency reserve, because weather delays are not rare, and “we’ll conserve” is not a watermaker. Waste handling matters too: have a functioning marine head/holding tank plan, and bring bags for trash because you are not leaving anything behind—especially not your accidental zip-ties and cut-off tag ends.
Dinghy operations should be low-wake and low-impact. Keep speeds down near shore, watch sensitive areas, and don’t assume your prop wash is harmless because it’s “just sand.” In clear water, you can often see exactly how much damage a careless approach can do, which is a good incentive to behave.
Photo by Marc Wieland on Unsplash
Safety, equipment, and costed-out prep checklist
Offshore safety baseline: USCG-required + smart upgrades
Start with the USCG basics: properly sized PFDs (33 CFR 175), visual distress signals suitable for coastal/offshore use, sound-producing device, and navigation lights that actually meet the Navigation Rules. For an overnight leg, I want every crewmember in an inflatable PFD with harness, plus tethers in 3 ft and 6 ft lengths and jacklines rigged so you can stay clipped in from companionway to bow. If you’re not clipped in at night, you’re trusting your balance more than I trust mine.
The upgrades that matter offshore are the ones that shorten rescue time and reduce workload. A 406 MHz EPIRB typically runs $500–$900, and battery replacement is commonly 5–10 years depending on model. AIS Class B improves traffic awareness, and a handheld VHF plus a fixed DSC VHF with MMSI gives you realistic communication redundancy.
Ground tackle and load paths: ABYC anchoring considerations
If your ground tackle is marginal in Key West, it will not become heroic at Garden Key. For many 35–45 ft cruising boats, a primary anchor in the 20–35 kg (44–77 lb) class with 5/16–3/8 in (8–10 mm) chain is common, and it’s common for a reason. Add a snubber and chafe protection, because your cleats and chocks should be treated as engineered load paths, not “probably fine” castings.
ABYC H-40 is the mindset here: strong points, backing plates, and fair leads matter when the wind clocks and the boat yaws. If your bow roller flexes, your cleat bolts are corroded, or your chain is calibrated by “looks okay,” fix it before you go. The park is not a convenient place to learn that your anchor locker drains into the bilge.
Budgeting the trip: staging in Key West and common upgrades
Staging costs are real, especially in season. Key West transient slips often run $4–$10/ft/night, while mooring fields may be roughly $25–$60/night, depending on season and availability. Diesel has recently been in the $4.50–$6.50/gal range, and provisioning for 2 people for 3–5 days commonly lands around $150–$400 if you’re not trying to live on freeze-dried regret.
Budgeting isn’t about turning the trip into a shopping spree; it’s about knowing what you’ll spend so you don’t cut corners on the wrong items. If you can only upgrade one system before this passage, I’d rather see money spent on comms/safety (EPIRB, DSC, AIS) and ground tackle than on yet another cockpit gadget. The Tortugas don’t care about your cockpit speakers.
| Item | Typical cost (USD) | Notes for a Tortugas trip |
|---|---|---|
| Park entrance fee | $15/person (7 days) | America the Beautiful pass may cover |
| Camping fee (confirm) | ~$15/person/night | Policies can change; verify with NPS |
| Key West transient slip | $4–$10/ft/night | Seasonal; book/plan early |
| Key West mooring field | $25–$60/night | Good staging option for a dawn departure |
| Diesel (Key West) | $4.50–$6.50/gal | Build a contingency reserve |
| Provisioning (2 people, 3–5 days) | $150–$400 | Add water reserve and “weather day” food |
| 406 MHz EPIRB | $500–$900 | Battery every 5–10 years |
| AIS Class B + install | $700–$1500 + $200–$800 | Antenna/splitter choices matter |
| Primary anchor upgrade | $500–$1200 | Match 44–77 lb class to boat/displacement |
| All-chain rode (200–300 ft) | $700–$1400 | Chain size often 5/16–3/8 in |
Sample itineraries and contingency plans (3–5 days)
3-day ‘weather-window sprint’: quick out-and-back
Day 1: Stage in Key West, depart pre-dawn so your 10–16 hour passage ends mid-afternoon with daylight anchoring. If your plan says “we’ll arrive around sunset,” you’re already spending seamanship credit you may need later. Anchor, verify holding, and get the boat quiet early because you’ll be tempted to stay up too late staring at the fort.
Day 2: Enjoy Fort Jefferson, snorkel if conditions allow, and start watching the return forecast like it’s your job. The sprint plan only works if the inbound window is real and you’re willing to leave early. In the Tortugas, the schedule does not get a vote.
4–5 day ‘buffered’ plan: build in a return window
Day 1: Same daylight-arrival strategy, but with less pressure because you have a buffer day. Day 2–3: Explore, rest, and keep a weather eye on cold fronts; avoid getting trapped in the 24–48 hr post-frontal northerly pattern that makes the ride home miserable. If a front is forecast to arrive in two days, you decide whether to leave before it hits, not after it proves a point.
Day 4–5: Return when the window is favorable, even if that means leaving on what feels like a “too nice” morning. I’ve rarely regretted departing in good conditions; I’ve often regretted waiting until the sea state built to match the forecast headline.
Decision points: when to leave early, when to stay put
Bailout logic is simple: before you’re committed offshore, you still have options; after you’re committed, you mostly have consequences. Set a “turn-back time” tied to forecast updates and observed conditions, not optimism. If the trend worsens (winds building from 15 to 20+ kn, seas forecast stepping from 4–5 ft to ≥7 ft), you either delay departure or accelerate the return.
Fuel contingency should be explicit. Aim to arrive with roughly 1/3 tank still aboard, and plan enough diesel for 15–25 engine hours if you’re forced to motor in adverse wind/current (boat-dependent, but the philosophy holds). Before departure, do the boring checks: steering, bilge, nav lights, VHF/DSC test, and a comms plan with a shore contact and a check-in schedule.
Practical tip: If you’re arguing onboard about whether to leave today, you’ve already found your answer. Leave on the next clearly good window, not on a compromise.
Frequently Asked Questions
For a 6.5 ft draft cruising sailboat, what Garden Key depth contours (10–25 ft) provide safe swing margin at low tide, and how should you verify with soundings and anchor alarm radius?
For 6.5 ft draft, I prefer setting where I’ll have at least 3–5 ft under the keel at the lowest expected tide and in the troughs, which usually puts you in roughly 12–18 ft if you can find clean sand and room. Verify by doing a slow circle with the sounder watching for sudden jumps, then cross-check with water color and the charted contour—because patch edges can be abrupt. Set your anchor alarm radius based on actual rode length and expected swing; if you’ve got 90 ft out, your swing radius is not “30 feet because it looks fine.”
How do you compute rode length for 5:1 vs 7:1 scope in 18 ft with 4 ft freeboard, and what snubber length/material reduces shock loads in 20+ kn gusts?
Use total vertical distance: 18 ft depth + 4 ft freeboard = 22 ft. At 5:1, rode ≈ 110 ft; at 7:1, rode ≈ 154 ft, assuming you have room to swing safely. For shock loads in 20+ kn gusts, a 30–50 ft nylon snubber (often 1/2–5/8 in, sized to boat and cleats) with proper chafe gear does more than any “tight chain” setup. Nylon stretch is your friend; broken fittings are not.
If NOAA forecasts E 15–20 kn with 4–5 ft seas building, what departure timing relative to a cold-front passage minimizes the steepest sea state west of Key West (24–48 hr rule)?
If a cold front has just passed, avoid departing into the first 24–48 hours of post-frontal NE–E flow, which is when seas often get steepest and most uncomfortable. If you’re seeing E 15–20 kn building with 4–5 ft, I’d rather depart before the front or wait until the gradient relaxes after that 24–48 hr period, depending on convection and timing. The goal is to avoid the “building against you” period that turns a manageable ride into a punishment.
What redundancy setup is most practical for a 70–80 nm overnight leg: fixed plotter + tablet + handheld GPS + 1–2 paper charts, and how should waypoints be cross-checked approaching Tortugas Bank?
That exact stack—fixed plotter, tablet/phone with offline charts, handheld GPS, and 1–2 paper charts—is the practical sweet spot for most cruising boats. Approaching Tortugas Bank, cross-check waypoints by comparing plotter position to depth soundings and visual water color; if your chart says 25 ft and you’re reading 14 ft, believe the sounder and slow down. I also like to confirm critical waypoints on at least two devices before departure, and again a few hours out, when fatigue starts making people sloppy.
How should a skipper budget battery capacity (Ah) for a 12–16 hr passage when autopilot/instruments draw 4–10 A, and what minimum charging contingency is reasonable if solar output drops in squalls?
At 4–10 A, a 12-hour night burn is roughly 50–120 Ah, and a 16-hour run can push that to 65–160 Ah depending on autopilot load and sea state. Budget so you can complete the passage without dropping your house bank into an unhealthy state of charge, which usually means either more capacity, more charging, or less autopilot use. For charging contingency, assume solar may drop sharply during squalls and plan to run the engine long enough to stabilize voltage and keep nav/comms reliable—because “we’ll just hand-steer” sounds noble until hour 14.
Dry Tortugas sailing rewards disciplined distance and ETA planning, conservative weather-window choices around fronts, and anchoring that protects the park’s sand/seagrass/coral resources. Go prepared for a no-services reality, arrive in daylight, and build redundancy into navigation, comms, and power so the trip stays enjoyable instead of educational. If you want quick route math that matches reality, Breezada’s sea distance calculator is a solid tool for timing, fuel assumptions, and committing to a return window before the weather commits you.
About the Author
Related Articles
Sailing Galapagos Islands: Permits, Costs & Rules
Understand sailing Galapagos Islands permits, costs, and rules—plus clear-in steps, routes, and biosecurity. Plan your yacht trip now.
By Breezada Team
La Maddalena Sailing Itinerary: Quiet 7-Day Sardinia
Plan a La Maddalena sailing itinerary for a quiet 7-day Sardinia escape—routes, anchorages, rules and costs. Get the full day-by-day plan.
By Breezada Team
Amalfi Coast Sailing Itinerary: Naples to Salerno Guide
Plan an Amalfi Coast sailing itinerary from Naples to Salerno with 7–10 day routes, anchorages, moorings & costs. Get the full plan now.
By Breezada Team
Canal du Midi Boat Trip: Practical Guide to the Med
Plan a canal du midi boat trip to the Med with routes, locks, timing & tips. Read the practical guide and start planning your cruise today!
By Breezada Team