Docking a Sailboat in Crosswind: Step-by-Step
Docking a sailboat in crosswind is mostly about two things: controlling energy and controlling your pivot point. If you try to “muscle it in” with throttle at the last second, you’ll get the kind of docking story that other skippers enjoy hearing far too much.
The system below is the one I use when the wind is in the 10–30 knot range and the marina fairway is busy enough that you don’t get unlimited do-overs. It’s built around a repeatable setup, a midship spring-line pivot, and clear abort cues—because the smartest crosswind docking technique is knowing when to go around.
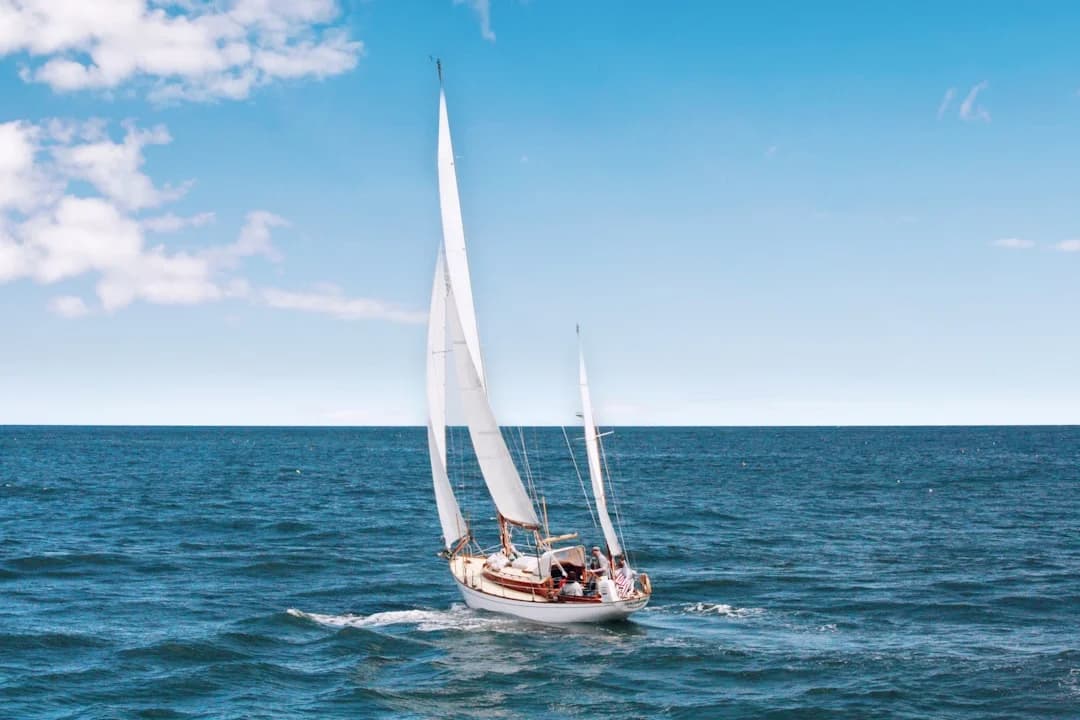
Photo by Michael Held on Unsplash
Crosswind docking fundamentals: windage, leeway, and control
A crosswind docking starts with diagnosing blow-on versus blow-off. Blow-on means the wind pins you onto the dock; blow-off means it pushes you away, and that’s the one that makes good skippers look temporarily religious. Your technique changes because the risk changes: blow-on risks hard contact and sliding into neighbors, while blow-off risks never getting a line on at all.
High-freeboard cruising boats carry a lot of windage, and windage creates leeway even when you think you’re “stopped.” In gusts, neutral is rarely neutral; the boat will drift sideways faster than your brain wants to admit, especially in the last 10–20 feet. That’s why you plan for a working approach, not a gentle coast that assumes the laws of physics take coffee breaks near docks.
What changes at 10, 15, 20+ knots—and why it matters
At 10 knots of crosswind, most boats can still “feel” obedient if you keep water flowing over the rudder. Around 15 knots, the margin shrinks; you need earlier decisions, better fender placement, and a line plan that doesn’t rely on heroics. At ~20 knots sustained, many training curricula and charter checkouts treat this as a practical upper limit for routine docking without extra help, and 25–30 knots is commonly “high-risk/avoid if possible” depending on berth geometry and crew.
Speed discipline is the safety valve. Typical idle speed is about 2–3 knots through the water, but your target at line capture or first contact should be ~0.5–1.5 knots. The goal is simple: reduce kinetic energy so a mistake becomes a fender squeak, not a surveyor’s winter paycheck.
Pivot point, prop wash, and burst power at low speed
Your boat’s pivot point shifts with motion: moving ahead, it’s generally forward; moving astern, it shifts aft. That matters because steering is really about where the boat rotates, and in crosswind you need predictable rotation, not hopeful rotation.
When you’re creeping at 0.5–1.5 knots, rudders can go “sleepy,” so you use burst power to wake them up. A reliable technique is a brief bump to ~1200–1800 rpm for 1–3 seconds, then back to idle or neutral to manage closing speed. Sustained high rpm near docks is how skippers buy new gelcoat.
Prop walk in reverse: predicting stern kick in crosswind
Prop walk is the stern’s sideways kick when you engage reverse, and it’s not a rumor. It varies by installation (shaft vs saildrive), prop design, and rotation, but you can usually predict it after a few controlled tests. In a crosswind, prop walk can either help you or compound the sideways drift, especially during reversing approaches or last-second stopping.
A practical go/no-go framework keeps this honest. If you can’t keep the approach stable at ≤1.5 knots at the capture point, or gusts are building toward 25–30 knots, or the fairway gives you less than 1–2× LOA to turn and reset, you’re not “being cautious”—you’re being professional. If you need distances for planning legs or fuel calcs to arrive at slack and daylight, check the nautical miles for your planned route to keep the big-picture timing from becoming a rushed docking problem.

Photo by Karla Car on Unsplash
Pre-docking setup: fenders, lines, crew roles, abort plan
Most crosswind docking failures start before you enter the fairway—because the boat is fine, but the setup is sloppy. You want a checklist that’s tailored for wind, not a generic “lines out, fenders out” chant. When I’m short-handed, I rig as if I’ll have to secure the boat with a single line first, because that’s what blow-off wind often demands.
Fender placement for crosswind contact points
Fenders belong where the boat will actually touch, not where the last skipper left them. For 30–35 ft boats, common cylindrical sizes are 6×22 in to 8×20 in; for 40–50 ft, think 8×26 in to 10×30 in, adjusted for freeboard. In crosswind, I like 2 fenders at midships plus 1 at the widest aft quarter, typically spaced ~4–6 ft apart on a 35–45 ft boat.
In blow-off wind, the aft quarter is often the first thing that tries to kiss the dock—hard—when you finally get pinned in. In blow-on wind, the midships section takes the load while you arrest forward motion. If there’s a finger pier edge that can snag a toerail, add a “low” fender set to catch that corner.
Line plan and pre-rigging a midship spring
Pre-rig the first line you intend to secure, and in crosswind that’s often a midship or forward spring. Your spring should usually be 1.0×–1.5× LOA, long enough to reach a dock cleat or piling without extreme angles. If the dock cleats are the common 6–10 in size (sometimes 12 in on bigger slips), you want enough working length to get two full wraps and finish a proper cleat hitch, not a frantic half-knot that jams under load.
Use nylon for dock lines because the ~15–25% stretch at working load is a shock absorber when gusts snatch the boat. Polyester dock lines are great at being strong and terrible at being forgiving, which is not what you want when the wind surges at the worst moment. ABYC H-41/H-3 reminders apply here: if crew are moving quickly, give them clear handholds and forbid gymnastics on a pitching foredeck.
Crew choreography, callouts, and the no-step-off rule
Assign roles with simple language: helm, midship line handler, and one person to manage bow or stern as needed. Use callouts that match decisions: “Idle ahead,” “Neutral,” “Burst,” “Spring on,” and “Abort.” I also enforce the no-step-off rule: step only when the boat is stopped or controlled by a line, never jump with a line under tension.
Your abort plan should be stated out loud before you commit. Under COLREGS/33 CFR principles—safe speed and proper lookout—don’t block the fairway while you “figure it out.” Decide where you’ll go if you miss the first line: usually bow into wind, build control speed, reset, and re-brief.

Photo by Markos Mant on Unsplash
Step-by-step: blow-off wind (wind pushing you away)
Blow-off docking is where good spring-line work earns its keep. Your goal is to get a controlling line on fast—usually a midship spring—so the dock becomes your pivot point. Until that line is on, the wind is in charge and you’re just negotiating.
Crab-and-straighten approach: angle, speed, and timing
Start with a controlled crab into the wind, typically ~10–30° depending on room. If you have maneuvering space, go slightly steeper to reduce time exposed in the “can’t quite reach the cleat” zone. Keep enough way on for steering, but don’t come charging in; remember idle is often 2–3 knots, which is too fast at the dock.
As you close, transition from “crab” to “straighten” so the hull is nearly parallel when your line handler can reach. Your target is ~0.5–1.5 knots at the capture moment—slow enough to stop, fast enough to steer. If the rudder loses authority, use a short 1200–1800 rpm burst for 1–3 seconds, then back to idle or neutral before you load the fenders.
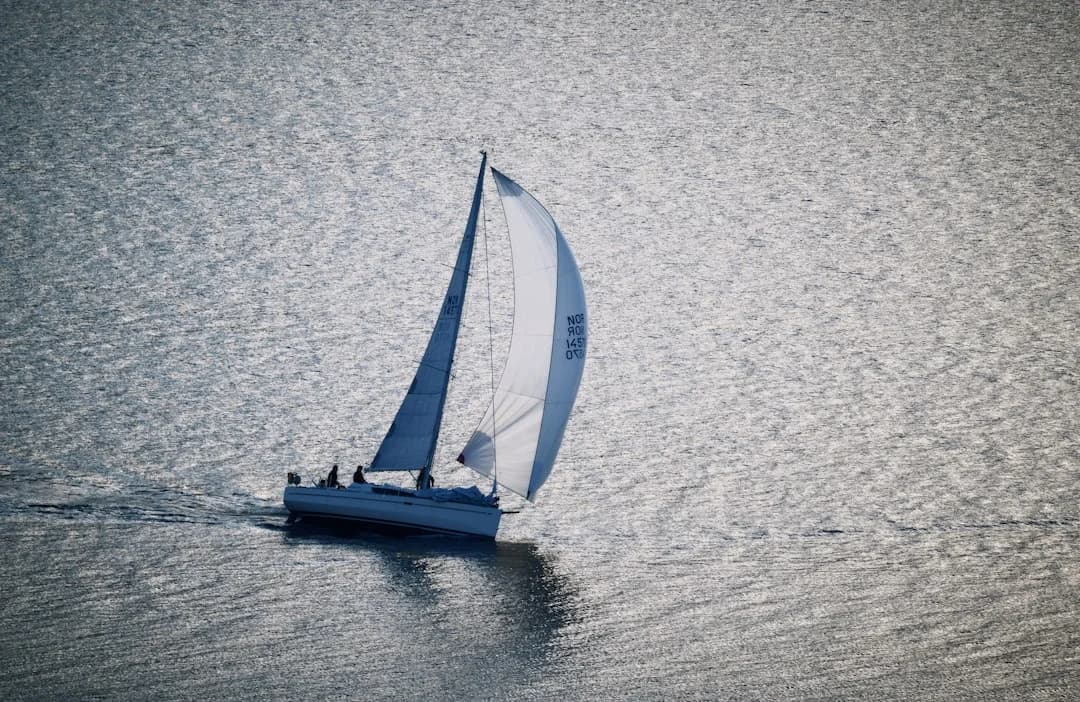
Photo by Jeremy Bishop on Unsplash
Capture first line: midship spring as the priority
Your first line in blow-off should usually be a midship spring, pre-led outside lifelines and ready to drop on a cleat. Length should be 1.0×–1.5× LOA so you can reach a dock cleat ahead or a piling without dragging the bitter end across stanchions. Aim for a spring angle of about 20–45° relative to the dock, which gives useful fore-and-aft leverage without sawing the line across a chock.
The line handler’s job is not to lasso the dock like a rodeo. The job is to place the eye over a cleat cleanly, or loop a piling, then confirm: “Spring on.” If you miss, don’t freeze; keep the boat under control at ≤1.5 knots, back out, and reset for another pass.
Engine-against-spring: the controlled pivot alongside
Once the spring is on and tended, you turn the boat into a lever. With a forward spring (dock cleat forward of the boat’s attachment point), a gentle ahead gear will pull the boat in while the spring arrests forward motion, pivoting you alongside. Keep rpm modest; you’re using geometry, not horsepower, and gust loads can spike fast.
I typically use idle ahead with occasional 1–2 second bursts up to ~1200–1800 rpm if I need rudder wash to control the bow. The pivot point shifts toward the spring cleat, and the stern will often come in obediently if the spring angle stays in that 20–45° sweet spot. Once you’re alongside and stable, add bow and stern lines, then ease the spring to remove unnecessary load.
Troubleshooting is straightforward. If the bow blows off, increase spring tension and add a short burst ahead to bring it in, then neutral. If you come in too hot, abort early; a “save” attempt at 2–3 knots is usually just a faster way to break something expensive.
If you’re planning an arrival to reduce stress—daylight, slack current, less traffic—plan your route using a sea distance calculator to get realistic ETAs and avoid turning your final approach into a rushed mess. It’s amazing how many “crosswind problems” are actually “late for dinner” problems.
Photo by Lazarescu Alexandra on Unsplash
Step-by-step: blow-on wind (wind pinning you to the dock)
Blow-on wind feels easier because the dock comes to you. The trap is that it can also remove your ability to stop the boat gently, and it can slide you downwind into a neighbor like an apologetic shopping cart. Your objective is a soft landing with controlled fore-and-aft motion, not a dramatic arrival.
Controlled contact: using fenders and neutral timing
Approach with a modest crab angle and plan to go neutral earlier than you think. Final approach speed is still ~0.5–1.5 knots; faster increases kinetic energy and loads fenders, rub rails, and stanchion bases. Set fender height to meet the dock face—not your rub rail—and add an aft-quarter fender because the widest point often contacts first.
When the fenders touch, go neutral and let the wind hold you while you sort lines. This is where nylon’s ~15–25% stretch helps, because gusts don’t transfer as harshly into hardware. Keep hands clear of pinch points; a dockline under load can remove enthusiasm from your crew.
Preventing bow blow-down and stern swing
The common blow-on failure mode is the bow sliding downwind along the dock. Use a spring early to stop that fore-and-aft creep, then square the boat. If you need reverse to arrest motion, remember prop walk can kick the stern—so time the gear change early and be ready with rudder before the stern commits.
On floating docks, fender height needs adjustment for tide and freeboard changes. On fixed docks, you may need different fender heights fore and aft if the dock is uneven or the boat sits bow-up. Don’t be shy about adding one extra fender; replacing a fender is cheaper than replacing a lifeline stanchion.
Securing order: which line first and why
In blow-on, I like a spring first, then the downwind end line that prevents sliding, then the remaining end line. The spring controls motion; the bow and stern lines tidy things up. If you reverse that order, you’ll often find the boat grinding along the dock while you pretend it’s “fine.”
If you’re docking without thrusters, that line order matters even more. Thrusters can mask bad sequencing, right up until the 2–4 minute duty cycle limit reminds you who’s boss.

Photo by Daniel Stenholm on Unsplash
Spring lines in depth: forward vs aft, rigging and knots
Spring line docking on a sailboat is not fancy; it’s physics with a rope. A spring changes your boat from a drifting object into a controllable lever, and it relocates the pivot point to a place you can use. In crosswind, the spring is often the difference between “can’t quite get there” and “calmly finishing the job.”
Forward spring vs aft spring: choosing the right lever
A forward spring typically runs from a midship or aft boat cleat to a dock cleat forward of the boat. With gentle ahead gear, it arrests forward motion and pulls you alongside, excellent for blow-off landings and for holding position while you add other lines. An aft spring runs from bow or midship to a dock cleat aft, and it’s useful to prevent the boat creeping forward or to control the bow when you’re being shoved around.
Line length matters: aim for 1.0×–1.5× LOA. Too short and your angles get steep, chafe increases, and the spring loses authority. Too long and you’re managing spaghetti at exactly the moment you need simplicity.
Rigging geometry: attachment points, angles, and chafe
Aim for a spring line angle of ~20–45° to the dock. Shallower than 20° can make the line rub and load hardware awkwardly; steeper than 45° reduces the useful fore-and-aft component and can “saw” at chocks. Use proper fairleads and chocks, and don’t lead a loaded spring across lifelines or around stanchions unless you enjoy replacing bent stainless.
This is where standards matter. ABYC H-40 and ISO 15084 exist for a reason: spring-line maneuvers can generate serious loads, and you want cleats and chocks with proper backing plates and load paths. If a cleat flexes, leaks, or creaks, it’s telling you it’s not a strong point—it’s a suggestion.
Line handling: cleat hitch, leads, and common rigging errors
Use a proper cleat hitch with at least two wraps and a locking hitch on typical 6–10 in dock cleats. Keep bitter ends clear and coiled so nothing fouls a prop when you inevitably have to go around. For line sizing, a common rule-of-thumb is diameter in inches ≈ LOA/100 for nylon; many 35–40 ft cruisers carry 3/8 in (10 mm) to 1/2 in (12 mm) lines, and bigger windage pushes you toward the larger end.
Common errors are predictable: wrong lead (line chafes on a sharp toe-rail edge), wrong first line (bow line before spring in blow-off), and hands in bights. If you want chafe protection, leather, tubular webbing, and UHMW sleeves typically run $10–$60 per line, which is cheaper than replacing a line that failed during a gust-driven snatch.
Practical tip: If you’re short-handed or singlehanded docking in a crosswind, pre-rig a midship spring with an eye large enough to drop over a cleat using a boat hook. Secure that first, then use gentle engine-against-spring to hold the boat while you calmly add bow and stern lines.
Tight fairways, reversing, and go-arounds in crosswind
Crosswind makes tight fairways feel even tighter because it shortens your correction window. If your idle turning radius is roughly 1–2× LOA, you need to know whether the marina geometry actually gives you that space before you commit. Good skippers decide early; bad skippers decide at the point where fiberglass meets dock hardware.
Reverse control: prop walk, rudder flow, and stern kick
Reversing a sailboat in wind is a game of building sternway deliberately, not “tapping reverse and hoping.” In reverse, prop wash often doesn’t flow cleanly over the rudder on many sailboats, especially at very low speeds. That’s why you should anticipate a stern kick from prop walk and use it intentionally when it helps—or avoid reverse as your primary tool when it hurts.
If your boat walks hard to port in reverse, a blow-off wind that also pushes the stern to port can stack the effects and ruin your alignment fast. Practice this in open water: note the stern’s first 3–5 seconds of motion when engaging reverse at idle, then you’ll stop being surprised near docks.
When to abandon the approach: hard triggers and safe exits
Abort triggers should be measurable, not emotional. If you miss the first line, if you can’t keep the boat at ≤1.5 knots at the capture point, if gusts are building into the 25–30 knot high-risk band, or if thrusters are hitting thermal limits, you go around. If traffic blocks your escape lane, you don’t force it—you hold outside or choose another berth.
A clean go-around is bow into wind, stabilize at a control speed, then reset lines and re-brief. This is where 33 CFR / safe-speed and lookout principles matter: don’t drift broadside across a fairway while debating with your crew. Decide, execute, and come back when you’re set.
Route planning inside marinas: distances, room, and escape lanes
Do a quick “boat lengths” check: fairway width, turn basin space, and run-out distance in LOA multiples. If you can’t picture a turn within 1–2× LOA, assume you’ll need more room than you have. I’ll often glance at electronic charts or marina diagrams and mentally measure in boat lengths; the concept is the same as passage planning.
For arrival timing and stress reduction, use Breezada’s sea distance calculator when planning the leg to the marina so you’re not showing up at peak gusts or in fading light. Docking in crosswind is hard enough without adding self-inflicted schedule pressure.
Common mistakes, corrections, and risk-managed practice
Most docking damage comes from the same small set of mistakes repeated faithfully by otherwise competent sailors. Insurance and survey folks routinely cite docking incidents as a frequent source of small-to-moderate hull claims, even if percentages vary widely by region and insurer. The good news is that the fixes are not complicated, but they do require discipline.
Energy mistakes: too fast, late neutral, and over-throttle
The number one error is excess speed. If you’re still making 2–3 knots when you reach the dock, you’re not docking—you’re arriving. The correction is committing to 0.5–1.5 knots at contact or line capture, and using neutral as a tool: pause, reassess, and re-approach rather than forcing a bad setup.
Burst power has guardrails. Use 1200–1800 rpm for 1–3 seconds to build rudder wash, then reduce; don’t hold high rpm because you’ll build speed you can’t bleed off in the last boat length. If you need sustained thrust to keep control, that’s a clue the conditions are outside your current envelope.
Line-handling mistakes: wrong first line, stepping off, and fouls
In blow-off winds, grabbing a bow line first is a classic error because it doesn’t create immediate control. Prioritize a spring line that can stop motion and bring the boat in, and make sure the bitter end is secured so it can’t run free. Keep lines out of the water near the stern—props eat dock lines quickly and without remorse.
Enforce the no-step-off rule every time. Crew should step ashore only when the boat is stopped or controlled by a line, never by leaping with a loaded line in hand. ABYC H-41/H-3 thinking applies here: safe movement, good handholds, and no last-second sprints on deck.
Practice drills at 10/15/20 kn with measurable targets
If you want to expand your safe wind envelope, practice like you mean it. Start around 10 knots and focus on repeatable setup and line capture. Move to ~15 knots and measure consistency: time-to-first-line, number of resets, and whether you can hold ≤1.5 knots at capture without adrenaline throttling.
Treat ~20 knots as an advanced practice day only, with extra margin, extra crew, and a clear go-around lane. Log outcomes: how many attempts you aborted early, whether the spring angle stayed within 20–45°, and how often prop walk surprised you. Debrief over a coffee, not while you’re still shaking, because learning requires a working brain.
Gear, thrusters, costs, and standards-based upgrades
Technique beats gear, but good gear makes technique easier and safer. Spend money where it reduces workload and increases control: correct nylon lines, proper spring lengths, real chafe protection, and strong points you can trust. If you’re leaning hard on spring maneuvers in crosswind, pay attention to ABYC H-40 and ISO 15084 principles—cleats, backing, and load paths matter more than shiny stainless.
Dock lines, chafe gear, and fenders: what actually helps
Nylon dock lines in the right diameter—often 3/8 in (10 mm) to 1/2 in (12 mm) for 35–40 ft boats—give you the stretch to survive gust loads. For spring lines, 1.0×–1.5× LOA pre-spliced doubles make life easier when your hands are busy and the dock is close. Add chafe protection where the spring touches rough edges; that’s usually where failure starts.
Here are typical costs that actually move the needle:
| Item | Typical spec / note | Price (USD) |
|---|---|---|
| Nylon 3-strand dock line | 3/8–1/2 in, 25–50 ft | $20–$80 each |
| Premium double-braid nylon dock line | 3/8–5/8 in, 30–50 ft | $35–$140 each |
| Pre-spliced spring line | double-braid, 1/2 in, 35–55 ft | $60–$160 each |
| Chafe protection | leather/webbing/UHMW sleeve | $10–$60 per line |
| Cylindrical fenders | 6×22 to 10×30 in | $20–$120 each |
| Fender covers | reduces scuffs/noise | $25–$120 |
| Mooring/line snubber | reduces shock loads | $20–$90 |
| Boat hook | 6–10 ft telescoping | $25–$120 |
| Docking lesson (instructor) | 2–4 hours on your boat | $250–$800 |
Bow thruster reality: thrust ratings, duty cycle, and limits
Bow thrusters help, but they don’t rewrite physics. Common ratings for 30–45 ft sailboats are roughly 35–95 kgf with tunnel diameters around 125–185 mm, and performance depends heavily on windage and how quickly the bow blows off. The more important number is duty cycle: many units are limited to ~2–4 minutes continuous use, then they need cooldown, which is exactly when repeated attempts in a crosswind tempt you to keep pushing.
If you’re retrofitting, ABYC E-11 matters for cabling and overcurrent protection, and you want installation that won’t voltage-drop the thruster into mediocrity. A thruster can buy you time to get the spring on, but it won’t fix a bad plan, and it won’t save you when you’ve run out of fairway.
When upgrades or coaching beat brute force
If your cleats or chocks aren’t up to spring-line loads, fix that before you “practice harder.” Hardware-only cleat upgrades often run $30–$140 per cleat, and yard labor is commonly $100–$180/hr, with small jobs landing around $300–$900 depending on access and backing. If you’re running a gasoline auxiliary and doing lots of gear changes and bursts, ABYC P-1/H-2 reminders about safe exhaust and ventilation are worth respecting.
A bow thruster retrofit commonly lands around $6,000–$15,000 installed, which can be money well spent on high-windage boats in tight marinas. But for many skippers, one or two targeted docking lessons ($250–$800) plus proper spring lines is the cheaper and more durable upgrade. If you’re planning passages that put you into unfamiliar marinas, estimate your fuel needs based on the voyage distance for selecting realistic arrival windows—because gear can’t fix a rushed approach.
Frequently Asked Questions
In a 20 kn sustained crosswind, what crab angle (10–30°) and target speed (0.5–1.5 kn at capture) produce enough control without overloading fenders?
Use a crab angle around 15–25° as a baseline, going closer to 30° only if you have room and need a shorter time-to-line-capture. Hold enough speed for steerage, then bleed down so you’re at ~0.5–1.5 knots when the crew can place the first line or the fenders touch; beyond that, loads rise quickly and “soft landing” becomes “new scratches.”
How do I rig a forward spring (1.0–1.5× LOA) so the line angle stays within ~20–45° and doesn’t saw through the chock under load?
Rig the spring from a midship or aft cleat to a dock cleat forward of the boat, using a line length of 1.0×–1.5× LOA so the lead isn’t steep. Aim for ~20–45° to the dock, lead it through a proper chock/fairlead, and add chafe gear where it bears; if the line is grinding on a sharp edge, change the lead before you load it with engine thrust.
How can I determine and compensate for my prop walk direction in reverse, and how does it change the preferred docking side in crosswind?
Test in open water: from a standstill, engage reverse at idle and watch the stern’s first few seconds of sideways motion. Once you know whether it walks port or starboard, you can choose approaches where that stern kick helps you align rather than pushing you away from the dock, especially when reversing in a blow-off crosswind.
What bow thruster thrust range (35–95 kgf) and duty cycle (2–4 min) is realistic for a 35–45 ft sailboat, and how do I avoid thermal shutdown during repeated attempts?
For a 35–45 ft sailboat, 35–95 kgf is a typical range, but real usefulness depends on windage and battery voltage under load. Assume ~2–4 minutes continuous maximum unless your manufacturer specifies otherwise, use short bursts instead of long pushes, and abort/reset early rather than “thruster-wrestling” until it overheats.
For stern-to/Med-moor in crosswind, how do spring lines and prop wash interact to keep the bow from blowing off while backing into the berth?
In a stern-to docking crosswind, you often use prop wash bursts to keep steering response while you build controlled sternway, then use a spring or breast line once a stern line is on to control the boat’s pivot and prevent the bow from blowing off. The key is getting one controlling line secured early and then using engine-in-gear lightly against that line to hold alignment while you finish the med-moor setup.
About the Author
Related Articles
Sailboat Engine Won't Start: Diagnostic Flowchart
Troubleshoot a sailboat engine that won't start with a step-by-step flowchart for batteries, starter, fuel, air, glow plugs & alarms. Fix it now.
By Breezada Team
Sailboat Bottom Paint Guide: Types, Costs & Prep
Learn sailboat bottom paint types, costs, and prep steps—plus how often to repaint. Get the right antifouling plan for your boat today.
By Breezada Team
Diesel Heater Troubleshooting Boat: No-Start & Soot Fixes
Fix diesel heater no-start and sooting on your boat. Step-by-step checks for power, fuel, air/exhaust and maintenance—read the guide now.
By Breezada Team
Docking a Catamaran: Maneuvers, Springs & Crew
Master docking a catamaran with close-quarters maneuvers, spring lines, and crew roles. Learn the steps and dock with confidence—read now.
By Breezada Team