How to Fuel a Boat: Fuel Dock Etiquette & Safety
Fuel docks are where good seamanship meets bad distractions. The difference between a clean, professional fuel stop and a dockside circus usually comes down to prep, pace, and a strict “no surprises” routine. This is especially true when you remember that marina dispensers often push 10–30 GPM, which can overwhelm small vents and trigger spit-back fast.
This article lays out a captain-tested procedure for how to fuel a boat safely, with the standards backbone (ABYC, USCG, NFPA, ISO) and the real-world habits that prevent spills, fights, and fire.
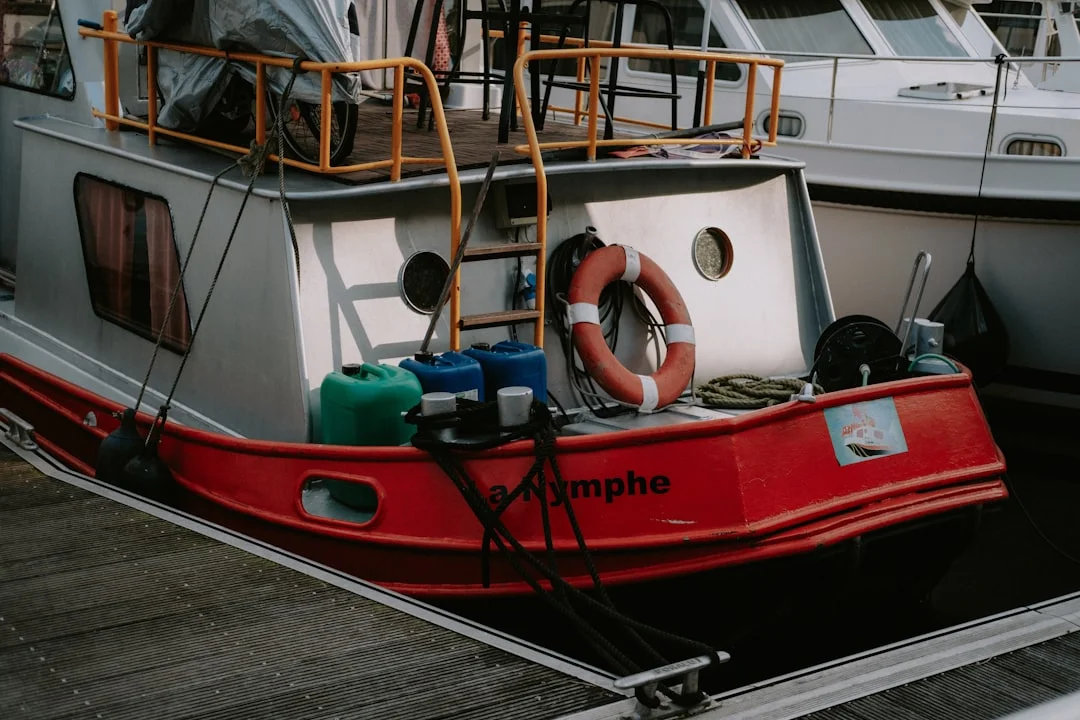
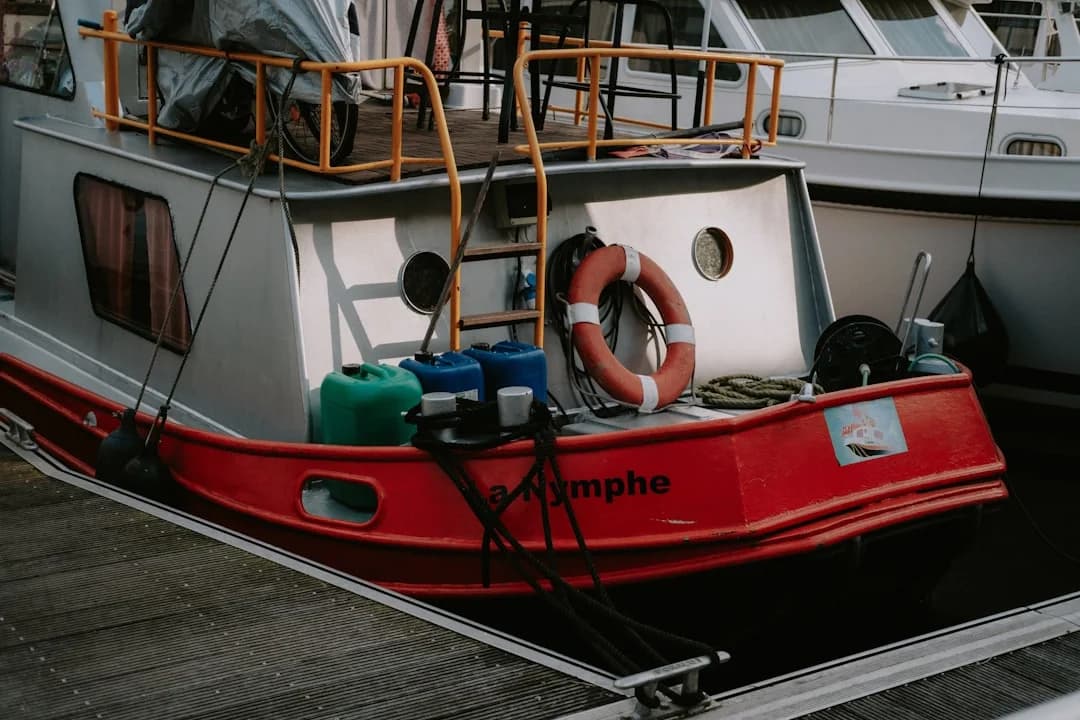
Photo by Mathias Reding on Unsplash
Fuel Dock Approach & Etiquette: Set Up Before You Tie Up
Fuel docks aren’t the place to “see how she handles.” Come in at bare steerageway—slow enough that you can stop with a short burst astern, but not so slow you lose control in a crosswind. Plan your approach like any other close-quarters maneuver: read wind, current, and traffic, and assume the dock lane is tighter than it looks from 50 feet out. Also, keep your prop wash gentle—nobody appreciates being rocked into a piling while you “feather” the throttle.
Assign crew jobs before you enter the lane, not while you’re drifting sideways. I want one person on helm, one on lines, one on fenders, and one designated as the nozzle handler once we’re secure. If you’ve got extra hands, make one a spotter to confirm clearance and watch the fuel vent for burps. A simple job brief takes 20 seconds and prevents the classic misstep: three people doing the same task while nobody actually controls the boat.
Rig fenders and lines early so you’re not blocking the dock while you rummage in lockers. Set fenders at the dock’s contact height; most fuel docks ride high, so your “normal slip fender height” can be wrong by 6–18 inches. Pre-set bow, stern, and at least one spring line so you can hold position without grinding along the face dock. If a dockhand offers a line, take the help—but don’t jump to the dock with a line in your hand unless you’re fond of orthopedic bills.
Here’s the micro-checklist I run every time, even when I’m tired and “know what I’m doing.” It keeps the stop fast and keeps tempers cooler in the line behind you.
- Fenders out (correct height)
- Lines ready (bow/stern/spring flaked and reachable)
- Deck fill key/cap tool staged
- Oil-only absorbent pads staged (ring at fill, spare near vent)
- Payment ready (credit card/loyalty/slip number)
Common fuel dock sins: approaching too fast, climbing onto the dock while the boat’s still moving, leaving the boat unattended with the nozzle running, and arguing fuel type after the cap is off. Confirm the fuel type with dock staff before you open anything, then visually verify the deck fill fitting label and location. Mislabeled or swapped caps happen in the real world, and misfueling is one of those mistakes that stays expensive long after the embarrassment fades.

Photo by Johnny killroy on Unsplash
Diesel vs Gasoline Fueling: Hazards, Vapors, and Standards
Flash Point and Vapor Behavior: Why Gasoline Rules Are Stricter
Gasoline is the one that keeps captains honest. Its flash point is roughly -43°C (-45°F), which is a fancy way of saying it’s willing to make flammable vapor in conditions you’d call “normal life.” Those vapors are heavier than air, so they settle into bilges and low compartments where they can linger. That’s why the boring rules—engines off, no sparks, no smoking—are not optional culture; they’re basic physics.
Diesel’s flash point is typically ≥ 52°C (126°F), so it doesn’t form an ignitable vapor cloud as easily at everyday temperatures. That reduces ignition risk, but it doesn’t make diesel “safe.” Diesel spills are still a serious pollution event, they make docks slicker than they look, and they can soak into non-skid and lines for days. The hazard profile shifts from “boom” to “spill and slip,” but the professional behavior should look the same: control sources, control the flow, and stop the mess early.
A practical difference you’ll notice is how the boat “tells” on you. Gasoline smell inside the boat is a red flag that demands action right now, because vapors migrate and collect. Diesel smell is common around fills and vents, but persistent diesel odor can indicate seepage at clamps, a sweating hose, or a vent weeping fuel. If you’re smelling either fuel belowdecks after a fill, treat it like a system fault, not “boat cologne.”
How Standards Map to Dock Behavior (USCG, ABYC, NFPA, ISO)
Fuel dock rules aren’t random marina superstition; they’re tied to design and compliance frameworks. In the U.S., ignition protection is foundational in gasoline spaces under USCG 33 CFR 183 Subpart I, and fuel system integrity lives under 33 CFR 183 Subpart J. Ventilation requirements for certain gasoline installations are in 33 CFR 183 Subpart K, and ABYC supports the real-world intent with ABYC H-2 (ventilation) and ABYC H-24 (gasoline fuel systems). Diesel systems are covered by ABYC H-33, and portable fuel systems by ABYC H-25.
Internationally, ISO 10088 (permanently installed fuel systems) and ISO 11105 (ventilation for petrol engine/tank compartments) align with the same logic: prevent vapor accumulation, prevent ignition, and prevent leaks. NFPA 302 is a broader fire protection reference that many facilities use when setting policy. You don’t need to memorize chapter numbers at the dock, but you should understand what they’re aiming for: no uncontrolled vapor, no ignition source, and no sloppy transfers.
One key takeaway: “ignition-protected” equipment reduces risk, but it doesn’t make switching circuits during fueling smart. Flipping breakers, cycling a windlass, or plugging in a questionable charger while gasoline vapors are present is inviting the sort of incident report nobody wants to write. Treat fueling time as a temporary hazardous operation and keep the boat electrically quiet.

Photo by Josh Withers on Unsplash
Pre-Fueling Checklist: Power Down, Control Vapors, Eliminate Ignition
Before the cap comes off, the boat goes into “fueling mode.” Shut down engines, gensets, and any cooking appliances, and enforce the big four actions often taught in USCG safety training: engines off, extinguish flames, no smoking, secure electrical equipment. On gasoline boats, that’s not drama—it’s vapor control. On diesel boats, it’s still good practice, because docks are shared environments and mistakes spread quickly.
Don’t create sparks by doing unnecessary switching. I’m not saying you need to black out the boat like you’re hiding from pirates; I’m saying don’t toggle breakers repeatedly, don’t run power tools, and don’t use non-marine gear in spaces that could hold vapors. The ignition protection concept in 33 CFR 183 Subpart I exists because gasoline vapors ignite with annoying enthusiasm. Your job at the dock is to avoid giving them any opportunities.
Crew positioning matters more than people admit. Put one person in charge of the nozzle and they do nothing else until the cap is back on. Put a second person as a spill spotter, watching the fill and, if possible, the vent outlet for early signs of burping. Keep kids and pets away from the dock edge and hose run; a fuel hose under tension can knock someone off balance, and a distraction can cause an overfill in less than 10 seconds at high flow.
Vapor control is about smart ventilation, not random hatch-flipping. On gasoline inboards, you don’t want fumes pushed into cabins by a cross-draft through open companionways. Keep the boat arranged so vapors are encouraged to leave the engine space via intended routes, consistent with the intent of ABYC H-2 and USCG Subpart K ventilation principles. If something smells wrong, stop and reassess rather than “airing it out” with every hatch wide open.
Stage spill response gear before you start, not after you’ve already made a sheen. Oil-only pads commonly absorb about 0.5–1.0 gallon per pad, so a small 10-pad kit gives roughly 5–10 gallons of drip/sheen capacity for minor incidents. Bring gloves, a disposal bag, and a dedicated rag for drips around the deck fill. Pads are cheap; explaining a rainbow slick to the harbormaster is not.
Practical tip: Put one oil-only pad under the deck fill as a “bib,” and keep two more within arm’s reach. If you need them, you need them immediately—not after you’ve done a scavenger hunt in the lazarette.
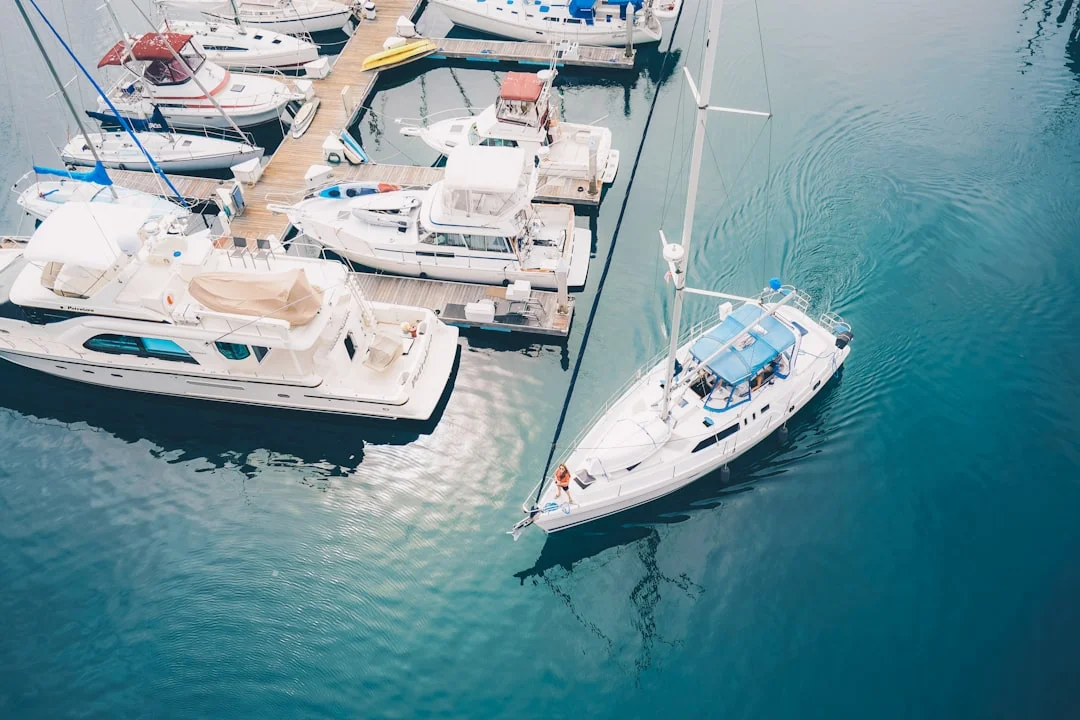
Photo by Eric Ward on Unsplash
Step-by-Step: How to Fuel a Boat Safely (Nozzle, Rate, Top-Off)
1) Confirm the Correct Deck Fill and Fit
Start by confirming you’re on the correct deck fill—visually and by label—not by cap color or wishful thinking. Deck fills get swapped, mislabeled, or installed too close together more often than you’d think, especially after refits. Many marine deck fills use a 1-1/2 inch NPSM straight thread; if the cap feels wrong, don’t force it. Cross-threading a fill cap turns a simple stop into a leak path you’ll smell for weeks.
Inspect the cap gasket and the fill neck area. A flattened gasket or grit on the sealing surface is enough to seep fuel onto the deck during a full tank slosh. That seepage can find scuppers, and scuppers have a bad habit of leading to the water when you’re least in the mood for paperwork. Wipe the area clean before and after, and treat a missing “GAS” or “DIESEL” marking as a maintenance item, not a cosmetic detail.
2) Control Static, Nozzle Contact, and Flow Rate
Static control isn’t mystical; it’s about avoiding charge separation and then providing a continuous path so any charge dissipates safely. Keep the nozzle spout in continuous contact with the fill neck while fueling, and avoid repeatedly pulling it out and re-seating it. That repeated motion is how you get splash, drips, and an auto-shutoff that lies to you.
Understand what you’re dealing with at the pump. Many marina dispensers run roughly 10–30 GPM, and that can be brutal on smaller boats with tighter venting. Start slow for the first 5–10 seconds to confirm you’ve got good venting and no immediate blow-back. If it’s behaving, increase to a controlled rate—but resist the temptation to latch it wide open and daydream.
Fill hose size matters, too. A typical recreational boat fill hose is often around 1.5 inches ID (with 1.25–2.0 inches common across different boats), and a bigger hose can accept fuel faster than the vent can breathe. If your boat is prone to burping, your goal is to keep the fill rate below the vent’s ability to evacuate air and foam. That’s why “faster” is often the wrong answer even when you’re paying by the gallon.
3) Finish Without Overflow: Headspace and the Last 10–20 Gallons
The last part of fueling is where most spills happen. Foam, backsplash, and inaccurate nozzle shutoff behavior all get worse as the tank nears full, and the vent line may start carrying liquid rather than air. On larger tanks, I routinely slow down for the last 10–20 gallons, then finish at a trickle. If you’re hearing gurgling or you see the deck fill “rise,” you’re already late.
Leave thermal expansion headspace unless you have a very specific reason not to. A solid rule of thumb is 5–10% unfilled volume; on a 100-gallon tank that means stopping around 90–95 gallons, unless you know the current level and the temperature trend. Fuel warms, expands, and the vent outlet is usually the first place it announces that fact. The only thing more predictable than vent overflow is the dock staff noticing it instantly.
If you want clean range planning, don’t top off reflexively—top off intentionally. If you’re heading offshore tomorrow at dawn and you need every gallon, that’s one scenario. If you’re fueling at noon in hot sun and the boat will sit, stop short and come back later. If you’re route planning, use a tool to calculate the distance between ports to estimate miles, then fuel based on burn rate and reserve, not on “full feels safe.”
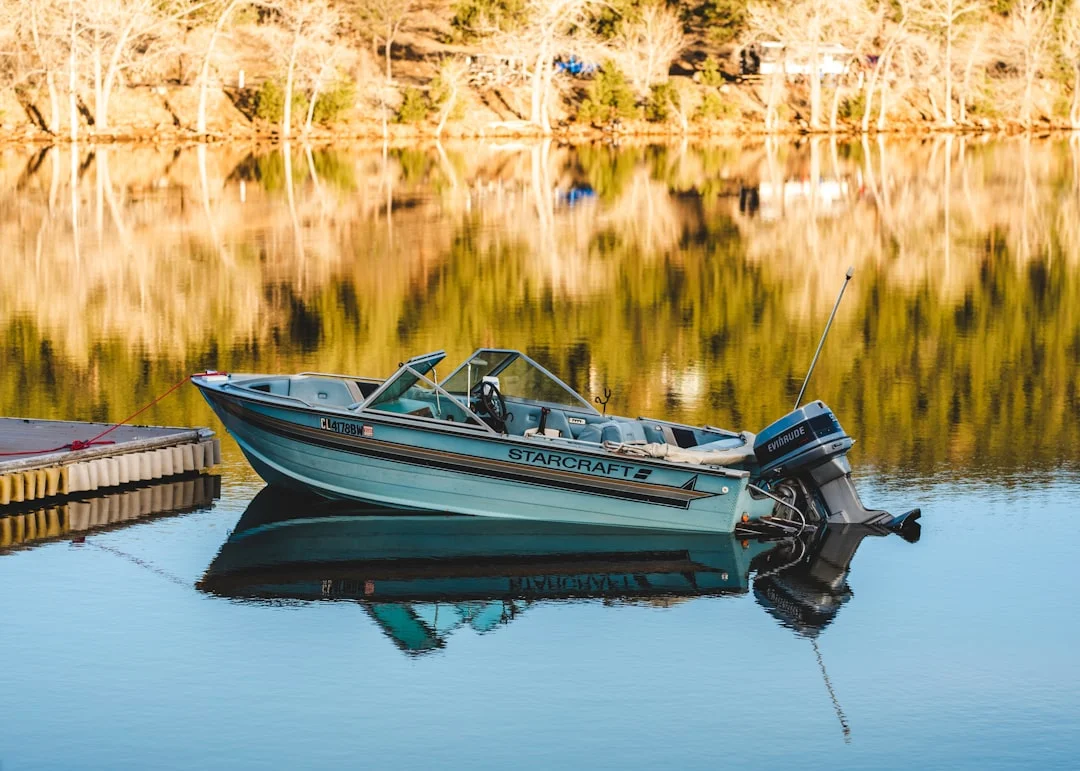
Photo by Enrique Leyva on Unsplash
Spill Prevention & Control: Vents, Burping, and What to Do If It Happens
Why Vents Spit: Hose Size, Kinks, and Backpressure
Most fueling spills are not caused by “bad luck.” They’re caused by venting that can’t keep up with fill rate, often due to restrictions or bad routing. Typical vent hose ID is about 5/8 inch (0.625"), sometimes 3/4 inch, and undersized or kinked vents are prime candidates for blow-back. Add a loop that traps fuel, a clogged vent screen, or a vent fitting that’s partially blocked, and you’ve built a burp machine.
Here’s what it looks like dockside: the pump starts fine, then you hear a dull thump or gurgle, and fuel spits back at the fill or dribbles from the vent outlet. You may also notice the boat fills painfully slowly unless you feather the nozzle at low flow. If you need to pump at a trickle the entire time on a tank that should accept 10+ GPM, suspect vent restriction or a failing hose long before you blame the dock nozzle.
Fill hose size also plays into “fueling physics.” A 1.5-inch ID fill hose can swallow fuel rapidly; if the vent can’t evacuate air at the same pace, the tank pressurizes and seeks relief at the easiest exit. Unfortunately, that exit is often the fill neck—right where your hands, shoes, and deck are located. If your boat burps regularly, it’s not a personality trait; it’s a maintenance problem.
Proactive absorbent use is cheap insurance. Put a pad ring around the fill before you start, and if you can reach the vent outlet area, stage a pad there too. Remember: pads absorb roughly 0.5–1.0 gallon each, so they’re for drips and small sheens—not for a real spill. They buy you time while you stop the source, which is always the first move.
Immediate Spill Actions: Contain, Stop, Notify
If a spill happens, stop fueling immediately—no “just one more gallon.” Keep the nozzle under control, cap the fill if appropriate, and use pads to catch drips and prevent spread. Do not use soap or detergent to “disperse” a sheen; it can worsen environmental impact and can violate marina rules. Besides, it’s usually obvious what happened, and now you’ve added a second problem for the staff to deal with.
Notify dock staff right away and follow their procedure. Even a small spill can require coordinated response, and the marina may have booms and disposal protocols ready to go. Treat gasoline spills as especially urgent because of vapor ignition risk, but treat diesel spills as serious because they spread and stain quickly. Your goal is simple: stop the source, contain what you can, and communicate early.
Afterward, bag used pads and dispose of them per marina policy. Don’t stuff them into a locker to “deal with later” unless you like persistent odors and questionable decisions. If you repeatedly see staining at the vent or smell fuel after fills, schedule an inspection of vent routing, clamps, and hoses under ABYC intent (H-24 for gas, H-33 for diesel). The dock is not the place to discover your vent line has been pinched for a season.

Photo by Leon McBride on Unsplash
Portable Tanks & Jerry Cans: Safe Handling on Docks and Tenders
Portable tanks and jerry cans sound simple until you lift one at the wrong moment. Common portable marine tanks are 6 gallons and 12 gallons, and gasoline weighs roughly 6.0–6.3 lb/gal. That means a 6-gallon load is about 36–38 lb of fuel, plus the container weight, plus your awkward body position between boat and dock. That’s how a small refuel turns into a strained back and a slick deck.
Whenever practical, fill portable tanks on the dock, off the boat. That reduces vapor accumulation in the cockpit or cabin and limits the consequences if the nozzle kicks or the tank burps. ABYC H-25 addresses portable fuel systems and connections for a reason: portable setups are often where shortcuts happen. If you must fuel aboard, control the environment like you would with a fixed tank—engines off, no flames, and no random electrical activity.
Plan the transfer like a lift, not a casual carry. Use a two-person hand-off for heavier cans, and avoid stepping across the gap while holding fuel. I’ve watched more than one competent adult misjudge that step, and fuel doesn’t care how experienced you are. Use a stable stance on non-skid, keep caps and vents controlled, and pour slowly with a proper fuel spout or a siphon designed for fuel.
Minimize static and splash the same way you do with a deck fill: keep contact between spout and tank opening, and don’t “glug” fuel in from shoulder height. Wipe down the container after filling, close the vent (if applicable), and stow upright and secured away from ignition sources and direct heat. If you routinely haul 12-gallon cans, consider whether a safer transfer method—or a permanent deck fill conversion—would pay for itself in reduced risk and fewer fuel stains.
After-Fueling: Vapor Checks, Blower Time, Logging, and Costs
Gasoline Inboards: Ventilate, Then Start
After fueling, get the basics right before you even think about ignition. Reinstall deck fill caps carefully, confirm the gasket seats, and avoid cross-threading—especially with common 1-1/2" NPSM deck fills. Wipe residual fuel off the deck, pull your pad “bib,” and check the vent discharge area for drips. If you see wetness or smell fuel below, stop and investigate, because fuel odors don’t fix themselves.
For gasoline inboards, ventilation is non-negotiable. Run the bilge blower for at least 4 minutes before starting after fueling—this is widely taught in USCG boating safety training and aligns with the intent of ABYC H-2 and USCG ventilation principles. Then do the most underrated test in boating: the sniff check. If you smell gasoline, you don’t start; you troubleshoot until the odor is gone and the source is identified.
Dispose of used pads per marina policy and keep the boat clean. A small amount of fuel on deck becomes a bigger problem once it migrates into scuppers or gets tracked below. If you’re on a trip, make “post-fuel cleanup” part of the routine so it happens even when you’re tired and hungry. Fuel docks are where fatigue and shortcuts like to meet.
Track Burn Rate for Route Planning and Range
Log every fill: gallons, engine hours, and price per gallon. That simple habit helps you spot anomalies—like higher-than-normal burn, an inaccurate gauge trend, or a developing leak—before they become expensive. It also makes your range planning honest, because “I think we burn about…” is not a plan when weather shifts.
Fuel cost swings are real. Ethanol-free gasoline is commonly $0.50–$1.50/gal more than E10, and since 2011 most U.S. gasoline can be up to E10. Diesel vs gasoline spreads can swing roughly $0.20–$1.00/gal either way depending on season and port, so don’t budget based on old dock talk. For rough planning, marina prices often land around $4.50–$7.50/gal for E10 gas and $4.00–$7.50/gal for diesel, but your local reality will vary.
For passage planning, marry your fuel log to distance tools. Use this voyage distance tool to estimate route miles, then apply a simple framework: GPH × (distance in nm / speed in knots) + 10–20% reserve. Don’t obsess over perfect math; obsess over good inputs and conservative reserves. If your log improves, your planning improves, and the fuel dock becomes a scheduled stop—not a surprise.
Fuel Choice, Equipment, and Maintenance: What to Inspect Between Fill-Ups
“Marine-rated” isn’t a sticker; it’s materials and testing that matter when fuel, heat, and fire are involved. On hoses, you’ll often see USCG Type A1 or A1-15 printed on the jacket for gasoline applications, reflecting higher fire resistance and modern low-permeation requirements (often referenced as 15 g/m²/24 hr permeation class). At a practical level: if your fill/vent hoses smell strongly of fuel, feel soft, or show cracking, they’re past their best days. A fuel dock burp problem often starts months earlier as a hose slowly degrades or a vent line kinks.
Know the triggers that deserve inspection: persistent fuel odor, slow fills, repeated burping, stained vents, soft hoses, cracked fill necks, or missing cap markings. Fueling symptoms often point to specific faults—vent restriction, loose clamps, degraded hose lining, or a vent fitting screen that’s clogged with paint and good intentions. Standards like ABYC H-24/H-33 and ISO 10088 exist to reduce these failure modes, but age, vibration, and “previous owner creativity” always get a vote.
Filters and water separation are more about reliability than dock safety, but they’re still part of clean fueling practice. A fuel/water separator element is typically $10–$40, and the full assembly plus element often runs $30–$120. If you’re picking up questionable fuel or you’ve got older tanks, a clogged filter is one of the first signs—long before the engine quits in the worst inlet at the worst time.
Costs matter because maintenance often gets delayed for “later,” which becomes “after something goes wrong.” A 1.5-inch ID USCG Type A1-15 fill hose can run about $15–$35/ft, vent hose about $4–$12/ft, and replacing fill/vent hoses on a small boat often totals $300–$1,200 including 2–6 hours of labor. If your boat repeatedly spits fuel at 10–30 GPM dock rates, that repair bill is cheaper than one bad day with a spill and an ignition source.
| Common Fueling-Related Gear & Typical Costs | Typical Price Range (USD) | Notes / Where It Helps |
|---|---|---|
| Basic spill kit (10–20 pads, gloves, disposal bag) | $25–$80 | Enough for drips and small sheens; stage it before you fuel |
| Oil-only absorbent pads (pack of 50) | $30–$90 | Good for routine “bib” use and minor mishaps |
| Oil-only floating boom (10–20 ft) | $60–$250 | For larger surface containment; marina may have bigger gear |
| Replacement deck fill cap (marked GAS/DIESEL) | $25–$120 | Marking clarity prevents expensive misfueling |
| USCG Type A1-15 fill hose (1.5" ID) | $15–$35/ft | Low permeation and fire resistance; don’t cheap out here |
| Vent hose (5/8" marine-rated) | $4–$12/ft | Kinks/clogs cause burping and slow fills |
| Fuel/water separator + element | $30–$120 | Reliability item; element often $10–$40 |
If you’re troubleshooting range and fuel stops for a longer trip, put your maintenance notes next to your distance plan. Use it to estimate your fuel needs based on the voyage distance; your hose condition and vent health determine whether you can refuel there without wearing the last gallon. The ocean has a sense of humor, but it’s rarely the kind you enjoy.
Frequently Asked Questions
For a gasoline inboard, what ventilation sequence meets ABYC H-2 intent, and why is a ≥4-minute bilge blower run time commonly taught after fueling?
Shut down engines and ignition sources during fueling, then after fueling run powered ventilation (bilge blower) for at least 4 minutes before starting, and perform a smell check in the engine space and bilge. The ≥4-minute guidance is widely taught in USCG safety training and reflects the intent of ABYC H-2 and USCG ventilation principles: evacuate heavier-than-air gasoline vapors that can accumulate in low spaces and ignite at startup.
How do vent hose ID (5/8 in vs 3/4 in) and routing faults create deck-fill spit-back, and what dockside symptoms indicate a partially blocked vent?
A vent hose that’s 5/8" (0.625") when the system really needs 3/4", or one that’s kinked, looped, or partially clogged, restricts airflow out of the tank during fueling. That restriction creates backpressure, so fuel/foam seeks relief at the fill neck or out the vent, causing burps and spit-back—often worse at 10–30 GPM pump rates. Symptoms include needing to fuel only at very low flow, gurgling sounds, repeated nozzle click-offs, and wet staining around the vent outlet.
What does “USCG Type A1-15” printed on a fuel hose signify (permeation class and fire resistance), and which hose runs on the boat should never be downgraded to A2?
“USCG Type A1-15” generally indicates a hose rated for higher fire resistance and modern low-permeation performance, commonly referenced as 15 g/m²/24 hr permeation class. In gasoline installations, hoses associated with fuel supply and fill areas where fire resistance matters should not be downgraded to A2 just to save money; ABYC H-24 and USCG fuel system expectations prioritize safer hose performance where a fire could spread fuel.
Why can marine dispenser flow rates (~10–30 GPM) defeat nozzle auto-shutoff, and what exact technique reduces foam/backsplash for the last 10–20 gallons?
High dock flow rates of about 10–30 GPM can cause turbulence and foam in the fill hose and tank, and foam can trick the nozzle’s auto-shutoff into clicking late—or not at all until fuel spits back. Keep the nozzle in continuous contact with the fill neck, start slow to confirm venting, then fuel at a controlled rate. For the final 10–20 gallons, reduce to low flow and finish at a trickle, watching and listening for changes rather than trusting the auto-shutoff.
How much headspace (5–10%) should be left for thermal expansion, and how should you adjust the stop point when fueling from a known tank level vs an unreliable gauge?
Leave about 5–10% of tank volume as headspace to account for thermal expansion; for a 100-gallon tank, that often means stopping around 90–95 gallons unless you have a clear reason to fill higher. If you know the starting level (measured or recently logged), you can safely target a specific added volume and still preserve headspace based on temperature and expected sitting time. If your gauge is unreliable, fuel more conservatively, slow down early, and prioritize headspace over chasing a “full” reading that may be fiction.
About the Author
Related Articles

Float Plan Template: What to Include & Update
Use this float plan template with examples, check-ins, and shore contact tips. Copy the form and update it before every trip—stay SAR-ready.
By Breezada Team

Used Sailboat Survey Checklist: Sea Trial Red Flags
Use this used sailboat survey checklist to spot sea trial red flags, estimate survey costs, and negotiate smarter. Download the checklist now.
By Breezada Team

Sailing in a Squall: Radar, Reefing, AIS & Lightning
Learn sailing in a squall line: radar & AIS tactics, smart reefing triggers, and lightning risk reduction. Get the squall drill checklist now.
By Breezada Team
Marine Fire Extinguisher Requirements & Engine-Room Safety
Meet marine fire extinguisher requirements and protect your engine room. Learn USCG/ABYC guidance, sizing, placement, and checklists—read now.
By Breezada Team