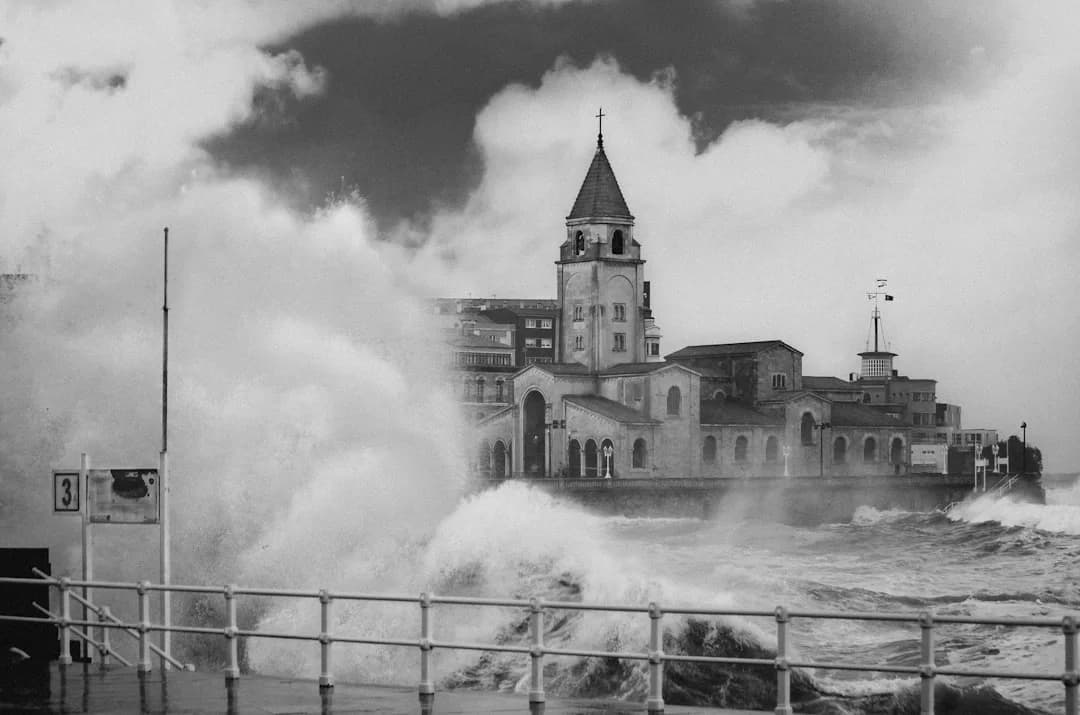
Sailing in a Squall Line: Radar, Reefing, AIS, Lightning
Squall lines are where good habits pay rent. A single cell is a short, sharp problem you can often steer around; a line is an organized system with a gust front, embedded cores, and ugly timing that punishes hesitation. The goal in sailing in a squall isn’t heroics—it’s buying minutes, reducing loads early, keeping sea room, and staying collision-aware when the world turns gray.
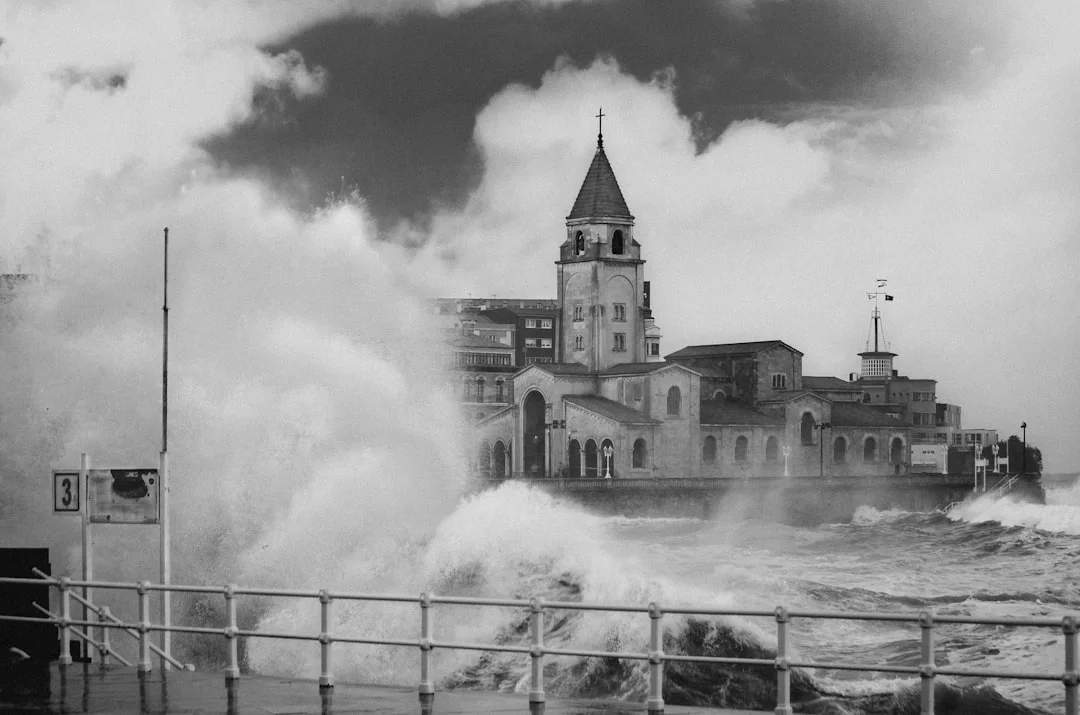
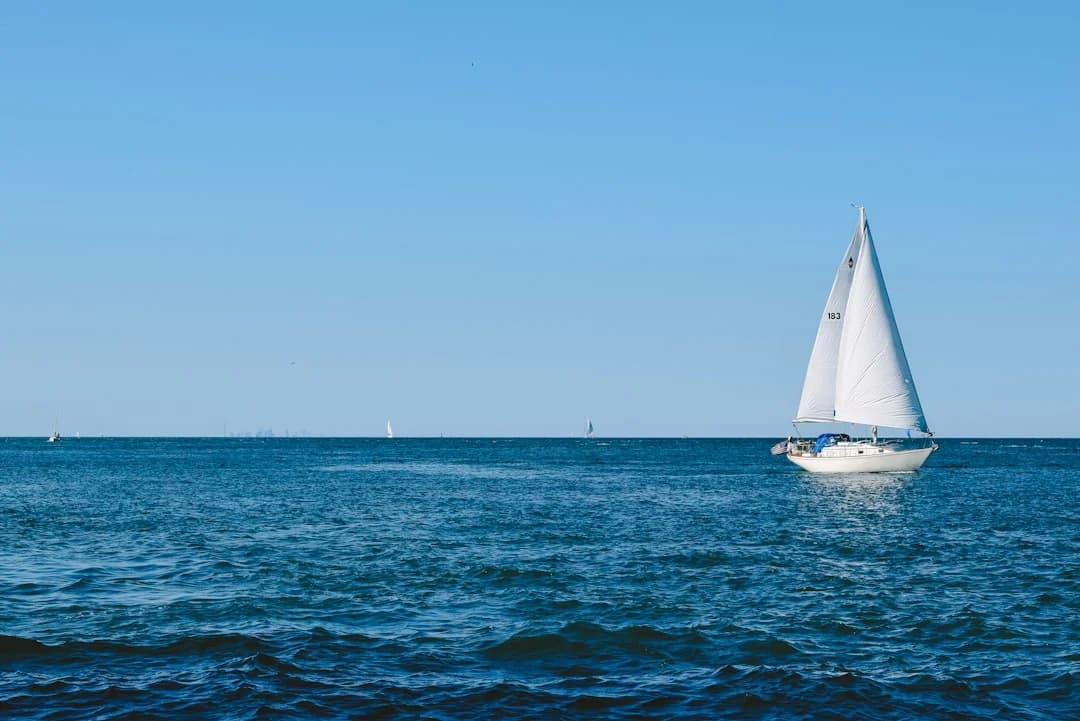
Photo by Juan Gomez on Unsplash
Squall Line Basics: What Changes Before the Gust Front
A squall line is not just “a rain cloud with attitude.” Compared to an isolated cell, a line is organized: a leading gust front, multiple embedded cells, and sometimes bowing segments that hint at stronger winds. Lines are more dangerous because the worst wind can arrive before the heaviest rain, and because the “gap” you planned to slip through can close while you’re busy congratulating yourself.
The pre-arrival cues are surprisingly consistent offshore and coastal. Look for a dark rain wall, a low, sharp-edged shelf cloud, and a defined wind line on the sea that advances like someone dragging a brush across the surface. You’ll often feel a temperature drop of several degrees and a pressure “kick,” but the most reliable cue underway is the sea-state changing from long swell to steep, short-period chop in minutes, not hours.
That steepening has a mechanism, not magic. A gust front drops fast-moving air onto the surface, creating short-period waves that stack on top of existing swell; add wind-against-current and those waves get steeper and start breaking earlier. If you’re near an inlet, headland, or strong stream, the same 25–35 kt gust can feel like it came with a free demolition permit.
Translate what you see into time, because time is what you spend reefing and securing gear. Squall lines commonly move around 15–30 kt, so a line at 12 NM is roughly 24–48 minutes away, and at 6 NM it’s 12–24 minutes away. That’s why the core mindset is simple: avoid the strongest returns, shorten sail early, keep sea room, and keep your collision picture alive with radar/AIS and a real lookout.
Practical takeaway: Treat the gust front as the first hazard, not the rain. If you wait for the downpour to start reefing, you’re already behind the boat.
Radar for Squalls: Ranges, Clutter Controls, and Guard Zones
Radar is your best “eyes” once the world turns into a gray aquarium. Yes, your set may advertise 24–48 NM range, but squall tactics live inside 3–12 NM, where the structure is readable and your tuning choices matter. In my logbooks, most bad decisions started with “It looked fine at 24 miles.”
Photo by Nick Fewings on Unsplash
Dual-range workflow: 6–12 NM weather + 1.5–3 NM collision
Run two pictures if your MFD supports it: one window at 6–12 NM with a guard zone for the squall line, and another at 1.5–3 NM for collision avoidance in reduced visibility. That 6–12 NM ring buys you roughly 20–60 minutes at 15–30 kt squall motion—enough to reef, harness up, and move from “watching weather” to “working a plan.” The near-range window prevents close targets from being masked when rain clutter turns the mid-range display into a white smear.
Set alarms like you mean it. A 6–12 NM guard zone should be loud enough to wake the off-watch, because you may need all hands for sail reduction on a 40-foot cruiser. If you’re coastal, that near-range picture is the one that keeps you off the rocks and away from that one powerboat running blind at 25 kt.
Tuning priorities: gain, sea clutter, rain clutter, and pulse
Tuning order matters, especially on X‑band sets around 9.3–9.5 GHz (~3 cm wavelength), which show rain detail well but can attenuate in heavy precipitation. Start with sensible gain until you have a clean background with light speckle; then bring up sea clutter just enough to suppress wave tops without erasing small targets. Adjust rain clutter last, and only enough to keep the screen readable—over-filtering is how you delete the leading edge and convince yourself there’s “a gap.”
Solid-state pulse compression radars (often 40–90 W) behave differently than older magnetron sets (2–4 kW peak). Solid-state tends to have excellent close-range performance and target separation, but you still need to manage clutter properly when the sea is throwing spray at the beam. Magnetron sets can punch through some conditions well, but they’re not immune to bad tuning and can smear returns if you crank everything to eleven.
Interpreting structure: cores, gaps, and gust-front cues
The brightest returns are usually the strongest precipitation cores, and often the strongest convection nearby—so treat them like potholes, not waypoints. Embedded cells can hide inside a line, so don’t assume a uniform experience just because the line looks “thin.” A line break can be real, but it can also be temporary, and the edges are where the wind gradient can be sharp.
Use a simple “rain clutter vs gust front” checklist:
- Reduce rain clutter only until the leading edge remains visible at 6–12 NM.
- Confirm the edge on two scales (e.g., 12 NM and 3 NM) before betting a maneuver on it.
- Track the line’s motion over 2–3 sweeps and note changes; bowing segments can mean stronger winds.
If you want to plan a diversion around a nasty core, do the math with calculate the distance between ports. A “quick five-mile detour” is only quick if you can complete it before the gust front arrives and before traffic compresses near a choke point.
AIS in Heavy Weather: CPA/TCPA Discipline and Its Limits
AIS is a traffic tool, not a weather tool, but it becomes more valuable when squalls reduce visibility and increase workload. When you’re reefing, squinting at radar, and getting sandblasted by rain, AIS gives you identities, vectors, and a second way to confirm what you’re seeing. It also gives you false confidence if you forget what’s missing.
Class differences matter. Class A transmits at 12.5 W and can report as fast as 2–3 seconds at high speed or turn rates, which is why ships look “smooth” on your plotter. Class B is typically 2 W and often reports around 30 seconds (CSTDMA), though some Class B SOTDMA units can get down to about 5 seconds under the right conditions. In a squall with 25–35 kt gusts and sloppy seas, that latency can be the difference between a calm correction and a late one.
Your alarm strategy should reflect those limitations. In squalls I like conservative CPA/TCPA thresholds: a CPA that gives margin for steering error and wave-induced yaw, and a TCPA that alerts early enough to act while the cockpit is still usable. Pair AIS alarms with radar guard zones, and then—this is the part people skip—manually verify the worst two targets, because misconfigured MMSIs and bad heading data do exist, especially on smaller vessels.
AIS also has blind spots: non-AIS small craft, some fishing operations, and anything that floats but doesn’t transmit—containers, logs, and the occasional mystery object that will absolutely not respect your right of way. Antenna height limits range too; a masthead antenna helps, but a 2 W Class B target close to the water may still be intermittent behind rain and wave tops.
Operationally, the legal framework is simple. COLREGs Rule 5 and Rule 7 require lookout and assessing collision risk by “all available means,” which includes radar and AIS used properly. The technical behavior is governed by ITU‑R M.1371, and your integration expectations (NMEA 0183/2000) live in the IEC 61162 family—helpful to mention when your instruments start playing telephone in a storm.
Reefing Decisions and Storm Sail Setup: Numeric Triggers That Work
“Reef early” is correct but useless unless you attach it to numbers and time. Squalls change apparent wind fast because you get both increased true wind and sudden direction shifts on the gust front. If you wait for sustained wind to rise, the first big gust arrives while you’re still uncleating the reef line and making new religion.
Reef early triggers: wind thresholds + time-to-arrival
On a typical 35–45 ft cruiser, common apparent-wind triggers are 18–22 kt for the first reef and 25–30 kt for the second. In squall line sailing tactics, I add a time trigger: be reefed, clipped in, and with loose gear secured 10–20 minutes before the rain wall arrives. If your radar shows the leading edge at 6 NM and the line is moving 20 kt, you’ve got about 18 minutes—that’s not the moment to debate sail shape.
A practical sequence that reduces drama is main first, then headsail. A reefed main drops the center of effort and reduces round-up tendency when the gust hits. Then reduce headsail to keep the bow from getting dragged off and to prevent the roller furling from becoming a noisy, expensive confetti machine.
Choosing the headsail: working jib vs storm jib
A 100–110% working jib is fine in normal breeze, but it’s still a lot of sail area when apparent wind jumps from 20 kt to 35+ kt in a minute. A dedicated storm jib sized around 10–15% of foretriangle area reduces heeling moment dramatically and helps keep the bow tracking. It also tends to reduce leeway because the boat stays on its feet, which is a nicer problem than “we’re sideways and accelerating.”
Cost matters because preparedness is a budget item. A cruising-quality storm jib typically runs $900–$2,200, and that’s before you decide whether you need an inner forestay, a removable solent stay, or a better tack point. The cheapest storm sail is the one you bought before you needed it.
Main options: deep reefs vs trysail vs main down
For many boats, a deep-reefed main is the fastest “good enough” option, especially if your reefing system is tidy and your crew is practiced. A trysail is a more robust heavy-weather tool and keeps the boom and mainsail out of the equation, but it requires a track solution and rehearsal; budget $1,200–$3,000 for the sail and associated hardware decisions. Main down with storm jib can work well when loads are ugly, but it changes motion and can increase rolling if the sea is quartering.
Here’s the decision in a way a tired crew can use:
| Setup | When it’s the right call | Typical pitfalls | Notes / costs |
|---|---|---|---|
| 2nd-reef main + reduced headsail | Short, sharp squall; need drive and control | Overpowered if you delay reefing; round-ups | Reef at 25–30 kt apparent before the wall |
| Trysail + storm jib | Repeated squalls; heavy air forecast; want rig-friendly plan | Requires pre-rigging; time to hoist | Trysail $1,200–$3,000, storm jib $900–$2,200 |
| Main down + storm jib | Gust front violence; worried about boom/rig loads | Less speed; more leeway if under-canvassed | Good when sea room is ample |
The “go/no-go” rule for the foredeck is blunt: if the gust front is arriving in minutes, don’t send someone forward to change sails unless you have practiced, clipped-in jacklines, and a clear abort plan. Squalls are when good sailors get injured doing “one quick thing.”
Boat Handling Tactics: Punch Through, Heave-To, or Run Off?
There are three classic options, and none are universally correct. Your decision hinges on sea room, leeward hazards, traffic density, and what the radar says about line structure. If you’re coastal with shoals to leeward, the “best” heavy-weather tactic offshore may be the wrong one by a mile—sometimes literally.
Decision factors: sea room, traffic, and leeward hazards
If you have sea room and no shipping conflict, you can prioritize boat control and load management. If you’re in a shipping lane, collision avoidance becomes the primary problem, and COLREGs reduced-visibility mindset matters more than perfect sail trim. If there’s a lee shore within 2–3 NM, you do not have time for experiments.
Punching through a line is reasonable when the line is narrow, motion is predictable, and you have a clean exit on the backside. Your goal is not speed; it’s avoiding load spikes by being reefed early, steering a steady course, and keeping the boat balanced. The strongest wind often precedes the heaviest rain by a few minutes, so don’t ease your posture just because the visibility improved briefly.
Engine readiness and steering modes in a squall
The engine is a tool, not a confession. Before the gust front hits, do a fast pre-start: check raw water flow, confirm fuel supply, and ensure ventilation is clear—especially if you’ll be motoring in heavy rain with hatches dogged. In squalls I like manual helm if the sea is nasty; if you use autopilot, verify it can handle rapid yaw without over-correcting and stalling out at the worst moment.
Heaving-to can be excellent for stability and crew recovery, but it requires drift room and a sea state that won’t break on the beam. Running off reduces apparent wind and can keep the boat flatter, but it raises broach risk and accidental jibe risk when waves shove the stern. Preventers, a reefed main or main down, and a headsail choice that keeps the bow from slewing are the difference between “controlled” and “YouTube famous.”
Route planning: distances, timing, and safer gaps
Use time-distance thinking, not hope. If a squall line moves at 20 kt, it covers 5 NM in about 15 minutes. If your diversion to a safer gap is 5 NM, you need to know whether your boat can actually make that reposition before the gust front arrives—especially if you’ll slow down while reefing.
This is where plan your route using a sea distance calculator earns its keep: plug in your diversion distance, compare it to squall motion (15–30 kt) and your realistic speed under reduced sail. If you can’t reach the gap with a margin, commit to the best handling tactic where you are, and stop chasing mirages on the radar.
Lightning Risk Reduction: Bonding, Surge Paths, and Realistic Goals
Lightning is the one squall topic that attracts more opinions than logbook entries. Here’s the reality: you can’t eliminate strike probability, but you can reduce side-flash risk, improve the odds that current takes a planned path, and limit secondary damage. Think survivability, not invincibility.
Peak lightning currents are often discussed around 30–100 kA, with higher extremes possible, and the rise time is fast enough that inductance dominates. That’s why short, straight conductors matter more than “thick enough” alone. ABYC TE‑4 is the U.S. reference many installers cite for lightning protection concepts, while ABYC E‑11 and NFPA 302 matter for broader electrical safety and fire risk interfaces.
Strike-path engineering: down-conductor routing and bends
If you’re installing a down-conductor, route it as straight and as short as possible from mast/rig bonding point to an external ground plate. Many marine installations use conductor sizing around 4 AWG (≈21 mm²) tinned copper or larger, but geometry is the real fight. Aim for bend radii greater than 8 in / 200 mm, because tight turns behave like inductors and increase impedance during the pulse.
Common failure modes are almost always about unintended gaps. A conductor that “almost” reaches a plate but jumps via a chainplate, engine block, or through-hull can create side flashes through bulkheads and cabinetry. If two major metal objects are within a few centimeters with no bonding, lightning may “bond” them violently for you.
Bonding/grounding choices and common failure modes
Bonding strategy must be consistent. Floating metal (a mast, rigging, tanks, or stanchions with no defined path) invites side flashes, but over-bonding without a coherent path can spread surge energy across your boat. The goal is to define where current should go, and to provide a low-impedance external path—typically through a dedicated grounding plate.
Costs are real but not outrageous compared to the price of a toasted electronics suite. A grounding plate typically runs $150–$600, and materials like 4 AWG cable, lugs, bonding strap, and surge components commonly add $200–$1,200. Labor varies wildly because routing a conductor through a finished interior is a special kind of misery.
Electronics protection: what to isolate vs what must stay on
Surge enters through obvious antennas and less-obvious networks. VHF coax, masthead wind instruments, NMEA backbones, shore power, solar controllers, and even long sensor runs can carry destructive transients. Your strategy should include what you can disconnect quickly (spare handheld GPS/VHF, nonessential displays) and what must stay operational if you’re in traffic (primary VHF with DSC and at least one navigation display).
Operationally during a storm: keep crew from simultaneously touching multiple metal paths, avoid leaning on the mast or shrouds, and keep hands off wet wiring runs. If you decide to isolate some electronics, do it before the gust front arrives, not while you’re bouncing around with a screwdriver. After any nearby strike, assume damage until proven otherwise: check for odd smells, warm wiring, and electronics that “sort of” work.
Crew and Deck Safety: The 10-Minute Squall Drill That Prevents Injuries
The squall drill isn’t about looking professional; it’s about reducing injuries and mistakes when visibility drops to a boat length. My preferred trigger is time-based: start the drill when radar indicates 10–20 minutes to the rain wall. If you wait until the first fat drops hit the dodger, you’re about to do everything with cold hands and worse balance.
Assign roles and keep them simple: helmsman keeps the boat stable, trimmer manages sheets and traveler, reefing lead runs the reef, and lookout stays on traffic and horizon. Communication should be short and standardized because wind noise and hoods make everyone sound like they’re talking into a pillow. If you’re shorthanded, prioritize clipping in, reefing, and collision picture—in that order.
Gear choices matter more in squalls than in postcard sailing. A harness+tether typically costs $120–$300, and jacklines run $80–$250, which is cheap compared to a medical evacuation. For PFDs, know your buoyancy numbers: USCG Type I adult minimum is about 22 lb (100 N), while many offshore inflatables provide 33–38 lb (150–170 N) when inflated, which helps keep your face out of steep chop and spray.
Night squalls are where crews get sloppy. Pre-run reef lines, mark critical controls, and minimize foredeck trips by staging sail ties and storm gear before weather threatens. Keep the fixed-mount VHF with DSC ready—typical units run $180–$600—and make sure everyone knows where the handheld lives when the cockpit becomes a carwash.
When the line passes, don’t let relief turn into overconfidence. Reset the watch, check sail ties and chafe points, and confirm bilge status and rig load points before you shake anything out. Squall lines often come in trains, and the second one is where the “we’re fine” injuries happen.
10-minute drill summary: Clip in, reef to control, secure loose gear, start engine readiness checks, set radar dual-range, verify AIS alarms, assign lookout.
After the Squall: Checks, Damage Prevention, and Lessons Learned
The most expensive squall damage is often the quiet kind: chafe that becomes a failure later, water intrusion that corrodes connectors over weeks, and rig loads that loosen hardware just enough to start a crack. Give yourself 15 minutes of disciplined checking after each line, even if the sky looks friendly again. The next cell doesn’t care that you’re tired.
Start with the rig and sails. Check leech lines, reef points, battens, and especially reefing hardware that saw shock loads when gusts hit 30+ kt. Inspect chafe points at the headsail sheets, the vang, the traveler, and anywhere a line ran under load against a rough edge; most failures start as fuzz, not as drama.
Move to water and systems. Open the engine box and look for water spray, belt dust, or a loose raw-water strainer lid that decided to seep at the worst time. Check the bilge level and make sure pumps cycle normally; rain-driven cockpit drainage can find creative routes into lockers, then into wiring runs.
Electronics deserve a deliberate scan, particularly after nearby lightning. Confirm GPS position stability, depth sounder sanity, and VHF performance; half-failed electronics often mislead before they quit. If you made any temporary disconnections, restore them carefully and watch for heating, odd smells, or network dropouts on NMEA backbones.
Finally, log what happened and what you’ll change. Note the radar ranges and clutter settings that preserved the gust-front edge, the time you reefed relative to the line at 6–12 NM, and how the boat behaved running off versus holding a close reach. If you’re planning route changes to avoid another line, use check the nautical miles for your planned route to sanity-check whether your detours are real options or just optimistic geometry.
Frequently Asked Questions
If my radar guard zone is set to 8 NM and the squall line is moving 25 kt, what is my realistic action window after accounting for steering, reefing, and radar update/interpretation time?
At 25 kt, a line covers 8 NM in about 19 minutes (8 ÷ 25 hours = 0.32 hours). In practice, subtract 3–5 minutes for recognizing the threat, confirming motion over a couple of sweeps, and getting the crew moving, leaving roughly 14–16 minutes for reefing, clipping in, and securing gear. That’s why I like a 6–12 NM weather view plus a pre-planned drill, not improvisation.
On an X-band solid-state radar, which adjustment order best preserves a gust-front edge: gain first, then sea clutter, then rain clutter—or the reverse—and why does over-filtering erase the leading boundary?
Use gain first, then sea clutter, then rain clutter. Gain establishes a truthful baseline; sea clutter suppresses near-field wave returns; rain clutter should be the last and lightest touch because it can erase the faint leading gradient that represents the gust front. Over-filtering removes weak-but-meaningful returns, turning a sharp boundary into a blank screen until the squall is already on top of you.
How should I set AIS CPA/TCPA alarms when nearby Class B targets may only update every ~30 seconds, and what minimum CPA buffer compensates for that latency in 25–35 kt gusts?
Assume a Class B target updating every ~30 s may “jump” significantly between reports, especially if it’s maneuvering in squalls. Set CPA with extra margin—think in terms of a buffer that covers your own steering error and their unreported turn over 30 seconds—and keep TCPA early enough that you can act while still reefed and stable. The exact numbers depend on traffic density and sea room, but the principle is: larger CPA, earlier TCPA, and radar confirmation for any close-quarters situation.
For a 40 ft cutter, how does switching from a 105% jib to a ~12% storm jib change helm balance and leeway when apparent wind jumps from 20 kt to 35+ kt during the gust front?
A 105% jib in 35+ kt apparent tends to overpower the bow, increase heel, and load the rudder—often leading to round-ups or big leeway when the helmsman eases to regain control. A ~12% storm jib reduces heeling moment and keeps the boat more upright, which usually improves rudder authority and reduces sideways slip despite the smaller sail. Helm balance often becomes calmer because you’re not fighting a large headsail trying to pull the boat off, especially when wind direction veers or backs abruptly on the gust front.
When installing a lightning down-conductor per ABYC-style practice, what routing and bend-radius choices (>200 mm) most reduce inductive impedance, and where do boats commonly create unintended side-flash gaps?
Keep the conductor short, straight, and continuous, with bend radii greater than 200 mm (8 in) wherever a bend is unavoidable. Avoid tight S-turns around furniture, metal tanks, or wiring bundles, and keep the path separated from other metal systems unless they’re intentionally bonded as part of the plan. Unintended side-flash gaps commonly appear near chainplates, mast steps, engine blocks, and through-hulls—places where current finds a “better” path across a small air gap that the installer didn’t treat as part of the circuit.
Conclusion summary (radar-to-reefing timeline): Track the line at 6–12 NM to buy 20–60 minutes, then execute a 10–20 minute squall drill before the rain wall arrives: reef at 18–22 kt (first) and 25–30 kt (second) apparent with a bias toward control, run dual-range radar (6–12 NM + 1.5–3 NM), and treat AIS as helpful but incomplete in heavy rain. Choose handling tactics based on sea room and hazards, not pride, and keep lightning goals realistic: manage strike paths, bonding consistency, and surge entry points per ABYC-style thinking. Afterward, do a disciplined inspection for chafe, rig issues, bilge water, and electronics anomalies—because the next cell is often already forming behind the first.
About the Author
Related Articles
Marine Fire Extinguisher Requirements & Engine-Room Safety
Meet marine fire extinguisher requirements and protect your engine room. Learn USCG/ABYC guidance, sizing, placement, and checklists—read now.
By Breezada Team
Sail Size Calculator Guide: Main, Jib & Genoa Fit
Use a sail size calculator to size mainsail, jib & genoa with P/E/I/J and LP. Avoid rating surprises—get the right fit. Read the guide now.
By Breezada Team
How to Dock in a Slip: Finger Piers, Wind & Current
Learn how to dock in a slip with finger piers—bow-in or stern-in—handling wind, current, and prop walk. Get the step-by-step plan now.
By Breezada Team

San Francisco Bay Sailing: Winds, Tides & Hazards Guide
Plan safer San Francisco Bay sailing with wind patterns, tides, currents, fog and key hazards. Use this guide to pick a route and go sail today.
By Breezada Team