Mediterranean Mooring Made Easy: Buoys & Lazy Lines
Mediterranean mooring is a contact sport conducted at walking pace, in public, with an audience. The good news is it’s repeatable if you treat it like any other seamanship problem: control speed, control load paths, and keep the crew out of trouble.
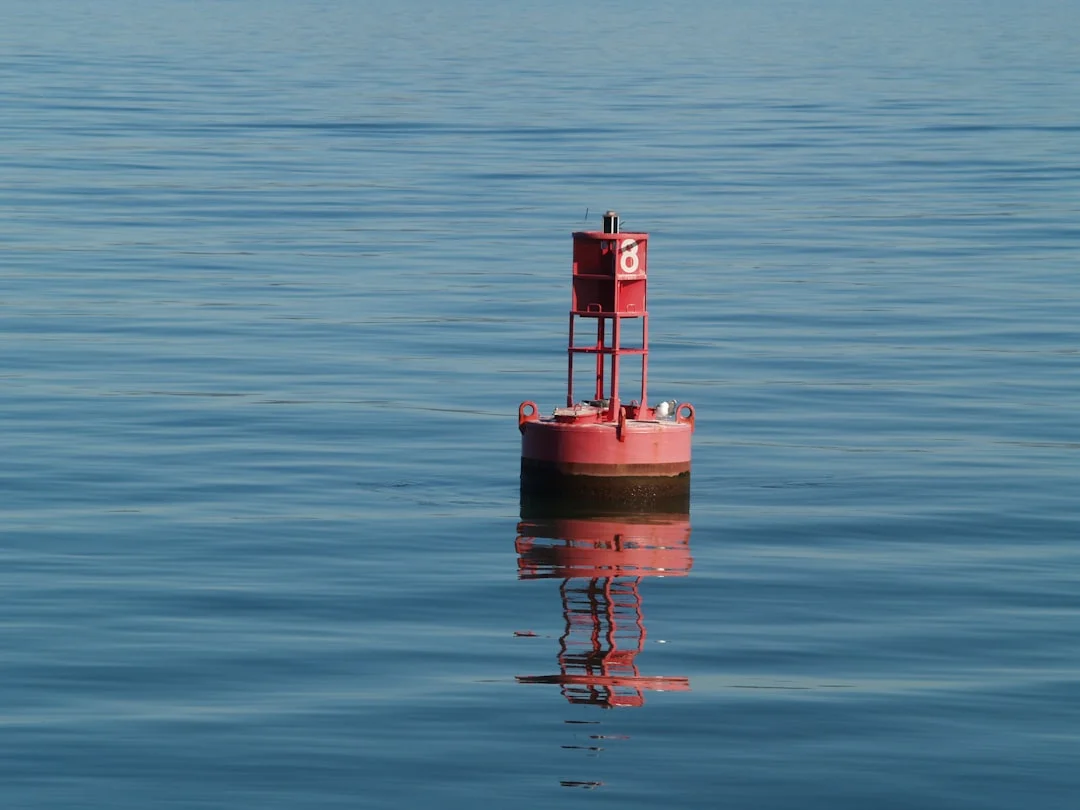
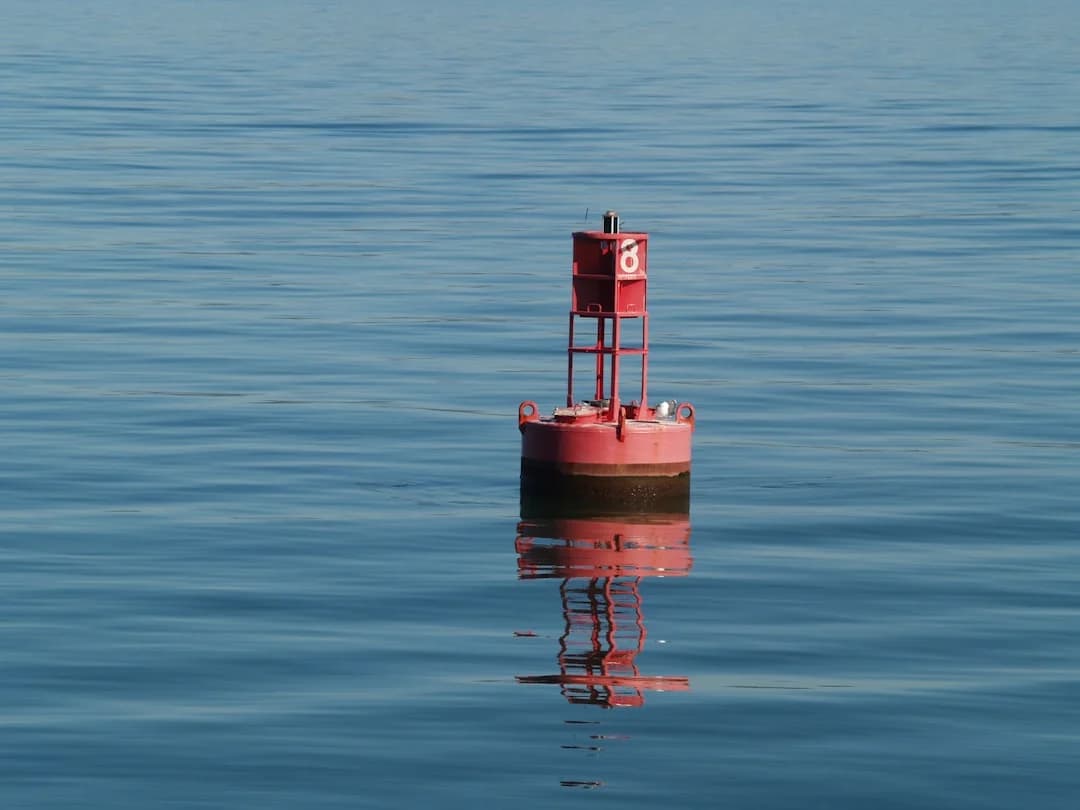
Photo by Dan Akuna on Unsplash
Mediterranean Mooring Basics: Buoy, Lazy Line, or Anchor?
The Med has three common “you’re spending the night here” scenarios: stern-to in a marina with a lazy line (ground line) or fixed chain, bow-to on a mooring buoy, and anchoring where it’s permitted. The big difference from many other cruising grounds is geometry: fairways are tight, berths are short, and the bow is often held off the quay by something you didn’t install and can’t inspect underwater. If you accept that up front, you’ll plan for control instead of hoping for space.
Most Mediterranean marina berths are stern-to the quay. You reverse in, put stern lines to bollards, then pick up a lazy line that runs along the bottom to a block/chain ahead of your bow. That ground line keeps your bow off the quay so your swim platform doesn’t become a masonry-testing device at 2 a.m. In a buoy field it’s the opposite: you secure at the bow, and your stern swings free, which is nicer until a ferry wake arrives to audit your chafe gear.
Your “no-stress” targets are simple. Maintain steerage at about 0.5–1.5 knots, and make your final closing speed under 0.5 knots—if you can hear water, not foam, you’re about right. Under COLREGs (and common sense), you still owe “safe speed” and a proper lookout in mooring fields, especially with swim traffic and boats doing interpretive docking.
Pick a mooring buoy over anchoring when seagrass protection is in play (Posidonia meadows are heavily regulated), when anchoring is prohibited, or when the bay is too crowded to swing safely. Also pick it when your arrival timing is late and you’d rather not “test” whether your anchor sets on the first try in 18 meters with spectators. If you’re unsure, use a sea distance tool to time arrival for daylight and calmer wind windows, because good technique gets harder when visibility and patience run out together.
Finally, adopt a “load-path audit” mindset: buoy/chain → pendant (pennant) → fairlead/bow roller → cleat or samson post. Every bend and metal contact is a future chafe point, and every chafe point is a future midnight deck walk. Once you start seeing the load path, you’ll stop trusting pretty splices and start trusting friction management.
Gear for Stress-Free Pickups (Line Sizes, Prices, Setup)
Boat Hook, Gloves, and Personal Safety
A Med pickup starts with reach. For most cruising boats, a 1.8–3.0 m boat hook works, but in real marinas a 2.4–3.0 m (8–10 ft) telescoping hook is the sweet spot for higher freeboard and awkward buoy heights. Fixed hooks are cheaper ($20–$60) and tougher, but the telescoping ones ($35–$120) save you from overreaching at the bow like you’re trying out for a circus. If you only carry one, make it the telescoping model and rinse it—salt turns “telescoping” into “decorative” quickly.
Bow work deserves basic PPE: gloves, closed-toe shoes, and a lifejacket when there’s any chop, traffic, or night work. In many EU contexts you’ll see 150 N lifejackets used offshore and 100 N buoyancy aids in sheltered waters; either is better than trusting wet decks and adrenaline. The main rule is simpler: no hands in bights, no line wrapped around fingers, and no hero moves with your center of gravity outside the lifelines.
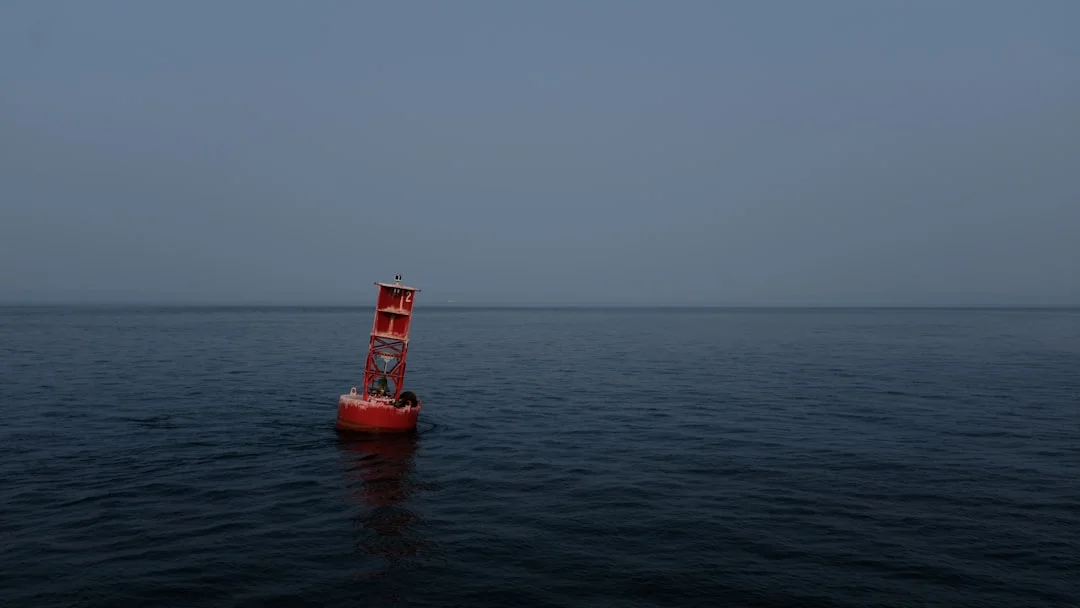
Photo by Girma Nigusse on Unsplash
Mooring Lines, Pennants, and Chafe Gear
Mediterranean mooring lines are commonly 3-strand nylon or polyester. Nylon gives stretch and shock absorption, but it can saw itself to death if it’s working over a rough bow roller for 10 hours in surge. Polyester has less stretch, generally better UV and chafe behavior, and it’s very common in Europe for dock lines; shock mitigation then comes from a 3–6 m snubber and/or a compensator sized for 12–18 mm lines.
Line diameter is not fashion; it’s matching loads to hardware and strong points. As a practical rule-of-thumb by LOA: 30–38 ft: 10–12 mm, 40–50 ft: 14–16 mm, 55–70 ft: 18–20 mm, and then confirm your cleats and backing plates align with ISO 15084 expectations for strong points. If your cleats are small, don’t “solve” it with bigger rope; solve it with correct strong points and proper load sharing.
Chafe protection is mandatory, not optional. Protect 0.6–1.0 m of line anywhere it bears on a bow roller, fairlead, or cleat horns, and double that if there’s surge or ferry wake. Chafe gear costs about $10–$40 per 0.6–1.0 m section, which is cheaper than replacing a pendant—or explaining to the harbor master why your boat is now visiting someone else’s topsides.
Hardware: Shackles, Swivels, and Quick-Attach Options
Rated shackles and swivels (typically 10–16 mm in this world) are great—until you mix stainless with galvanized underwater and invite corrosion problems to the party. If you use a shackle, mouse the pin with seizing wire or even a heavy zip tie, because vibration and yaw work pins loose over time. Budget $8–$60 for decent shackles/swivels, and avoid bargain-bin hardware where the only “rating” is optimism.
Here’s a practical gear-and-cost snapshot that matches what actually gets used on cruising boats:
| Item | Spec that works in the Med | Typical cost (USD) |
|---|---|---|
| Telescoping boat hook | 2.4–3.0 m (8–10 ft) | $35–$120 |
| Fixed boat hook | 1.8–2.4 m (6–8 ft) | $20–$60 |
| Dock line (nylon) | 12 mm x 10 m (33 ft) | $20–$45 |
| Dock line (polyester) | 14 mm x 15 m (49 ft) | $35–$80 |
| Pre-spliced pendant | 16 mm x 6–10 m (20–33 ft) | $60–$160 |
| Chafe gear | 0.6–1.0 m section | $10–$40 |
| Snubber/compensator | sized for 12–16 mm | $20–$70 |
| Mooring hook | stainless, rated | $40–$150 |
Pre-rig before you enter the field: fenders at the right height, stern lines flaked to run, a pickup strop ready, chafe sleeves staged, and a snubber laid out where it won’t tangle. If you do that in the fairway, you’re not “seamanning,” you’re improvising.
Practical tip: Before you commit, say the abort plan out loud: “If we miss the pickup or lose steerage, we back out immediately, circle, and reset.” Boats don’t get damaged during the reset; they get damaged during the stubborn part.
How to Pick Up a Mooring Buoy (Bow-To, Step-by-Step)
Pre-Approach Rigging and Crew Choreography (0–30 sec)
For a calm, repeatable bow-to mooring buoy procedure, keep roles minimal and clear. In moderate conditions you need helm + bow crew; add a third person only if traffic is tight or wind is up. Your time target is realistic: initial secure in about 30–90 seconds from the start of the approach, assuming the pickup line exists and isn’t hiding under the buoy like it’s shy.
Rig a 1.5–2.5 m (5–8 ft) pickup strop with a bowline in one end and a clean working end you can pass quickly. Stage a proper bridle (often 3–6 m legs for a quick “temporary bridle,” or longer if your bow geometry requires it) so you can convert to “night mode” once the boat is safely attached. Put chafe gear where you can slide it into position without untying the whole arrangement.
Approach into the dominant force. If wind is stronger than current, approach into the wind; if current dominates, treat it like a river and approach into the current. Keep speed at 0.5–1.5 knots for steerage, not momentum, and plan to stop with a short reverse burst, not a long coast in neutral. Neutral is for calm conversations, not close quarters.
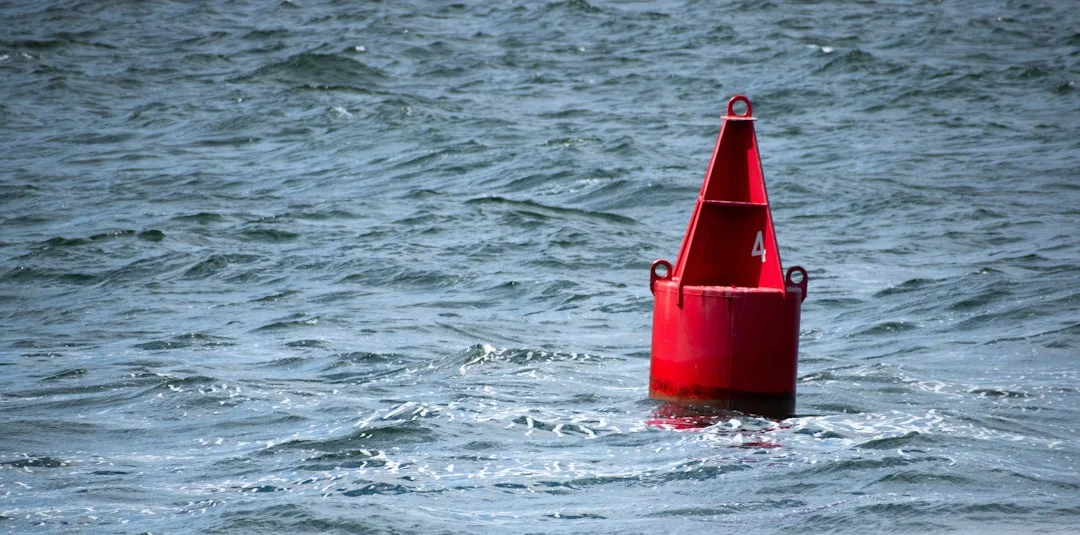
Photo by Rusty Watson on Unsplash
The Pickup: Boat Hook Technique and Securing the Pennant (30–90 sec)
Your job is to put the bow over the buoy with control, then pause the boat without drifting sideways into neighbors. Aim to stop with the buoy slightly to leeward of the bow so it doesn’t pop under the stem when the boat settles back. Final closing speed should be under 0.5 knots, and if it isn’t, abort early and reset rather than converting kinetic energy into fiberglass work.
The boat hook technique is about keeping the pickup line from dipping under the bow. Hook the pickup line or ring with the hook angled down and away from the stem, then lift and immediately bring the line up and outboard toward the bow crew’s hip, not toward the centerline. Keep hands out of the bight and never wrap the pickup line around your wrist; the sea loves free lessons on leverage.
You have two good attachment methods. Method one is fast: grab the pendant/pickup line, pass your pre-rigged strop through a ring or around a post, then bring both ends back to the boat and secure to strong points with a cleat hitch. Method two is direct: lead the pendant through the bow fairlead/bow roller and cleat it, but only if you can do it without sawing the line across metal.
If there’s only a ring/chain and no pickup line, don’t go fishing with bare hands at the stem. Use a rated mooring hook or pass a line through the ring and re-lead it to both bow cleats, then add chafe gear where it touches the bow roller or fairlead. Also be cautious with stainless/galvanized pairings underwater; it’s not instant doom, but it’s not “set and forget” either.
Make It Sleep-Ready: Bridle, Snubber, and Backup Attachment (90–180 sec)
Once you’re attached, transition from “we’re safe” to “we’ll stay safe.” A bridle reduces yawing and shares load, and it gives you a better angle so the pendant isn’t grinding on one fairlead. Common bridle leg lengths are boat-dependent, but 3–6 m per leg is a workable quick setup, and 4–8 m per leg is common for a more stable overnight arrangement.
Add a 3–6 m snubber (or compensator sized for your line, typically 12–18 mm) so ferry wake and marina surge don’t shock-load your cleats. If you’ve ever heard a bow cleat “complain” in a rolly roadstead, you’ll start using snubbers like you use sunscreen: earlier than you think you need them. ABYC H-40 is a useful reference mindset here—mooring loads are real, and fittings should be treated as safety gear, not decoration.
Finally, add redundancy while you transition. A simple safety lashing or secondary line to a separate strong point buys you time if a cleat hitch is wrong or a splice looks suspicious. Then do your load-path audit again: buoy/chain, pendant, fairlead/roller, cleats—identify any saw-action and cover it with 0.6–1.0 m of chafe gear.
Lazy Lines & Med-Moor Stern-To: Avoiding Prop Fouls
Approach Geometry in Tight Fairways
Stern-to mooring technique in the Med is about controlling reverse in a narrow lane while people watch from café tables. Most berths assume you’ll reverse to the quay, put out two stern lines to bollards, then pick up the lazy line to hold the bow off. Your priority is steerage: keep 0.5–1.5 knots of controlled movement, then stop with a short reverse burst rather than drifting in neutral.
Set up before you enter: stern lines flaked and outside everything, fenders down, and one crewmember assigned to each stern quarter if you have the people. Typical stern lines are 12–18 m each, and I carry a spare 20–25 m line because bollards are sometimes placed by someone who clearly hated sailors. If the fairway is wide or the quay is high, that extra length prevents you from tying on with three turns and a prayer.
Picking Up the Lazy Line and Keeping It Forward of the Prop
The single biggest hazard is a lazy line drifting aft into the prop while you’re using reverse to stop or correct. Prevention is a system: keep the lazy line under tension and forward, and make “line forward” a crew callout whenever the engine goes into gear. The moment the lazy line goes slack and angles aft, your prop becomes a winch, and your docking turns into an emergency swim.
Use a 2.4–3.0 m telescoping boat hook to grab the lazy line pickup, then walk it forward and keep it under control. The helm should avoid long periods in neutral; use brief reverse and forward bursts to maintain rudder authority and keep the boat centered. If you must reverse, do it with the lazy line controlled and clearly forward of the beam, not wandering near the stern quarters.
Common errors are consistent: picking up too late, crossing the lazy line over the anchor chain, and cleating it before you’ve confirmed a fair lead. Lazy lines love to hide under the bow, snag on stem fittings, and then load up at the worst possible time. If anything feels wrong, stop, hold position, and re-lead it—boats don’t care about your schedule.
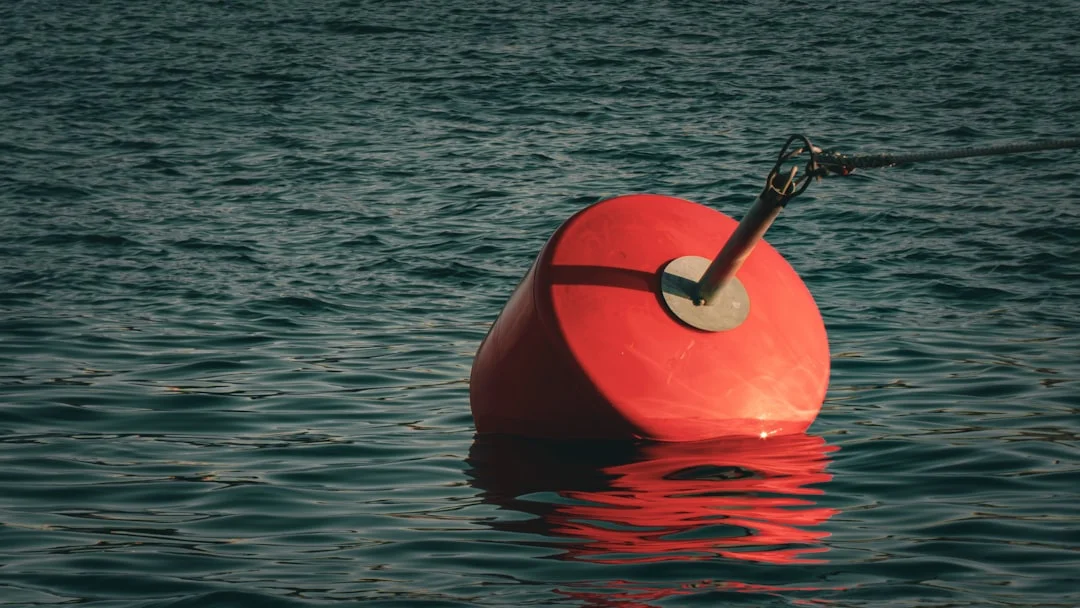
Photo by Théau Leveque on Unsplash
Final Tie-Off: Stern Lines, Springs, and Centering the Boat
Once the stern lines are on, adjust for equal distance to neighbors and enough gap to the quay for surge. On many quays you’ll want the stern 0.5–1.0 m off to prevent banging, but that’s local and depends on passerelle use and conditions. Then tension the lazy line to set your bow position, and only then fine-tune stern line lengths.
If crosswind is pushing you onto one neighbor, don’t fight it with brute force. Favor the upwind side on the approach, accept a slightly off-center reverse, and use lines to center the boat once you have two points secured. If you can’t keep the boat under control at <0.5 knots closing speed, abort, go out, and reset; pride is expensive in marinas.
Rigging the Mooring Pennant & Bridle (Mono vs Cat)
Bridle Geometry and Load Sharing
A proper mooring pennant setup is about spreading load and reducing snatch. On a monohull, a bridle is “optional but beneficial,” because it reduces yaw and shares loads across port and starboard strong points. On a catamaran, it’s standard practice because you’re splitting load between two bows and reducing the boat’s tendency to sail around the mooring.
Bridle legs commonly run 4–8 m (13–26 ft) each, which gives a shallow “V” and better energy absorption. Aim for equal lengths so both cleats share load, and lead each leg cleanly to its cleat with a proper cleat hitch. If one leg is doing all the work, you’ve built a fancy single-point failure.
ISO 15084 is the standard worth remembering here: it’s about strong points being designed and installed to take real loads. If you’re unsure whether your cleats and backing plates are up to the job, treat that as a serious seamanship concern, not a theoretical debate. ABYC H-40 is also a useful reference for anchoring and mooring guidance, especially when you’re deciding what fittings deserve primary load.
Chafe Management at Bow Rollers and Fairleads
Chafe is the quiet killer in the Med because surge and ferry wake can work a line for hours. Any contact point—bow roller, fairlead, pulpit stanchion, stem fitting, cleat horns—gets protection. Use 0.6–1.0 m of chafe sleeve at each bearing point, and inspect daily if there’s visible surge or if wind rises from 10 to 20 knots (remember: roughly 4× the aerodynamic load).
Whether to lead through the bow roller or a closed fairlead depends on alignment and saw-action. Bow rollers can be kind to line if they rotate freely and the lead is straight, but they can also create a harsh bend radius and heat if the boat yaws. Closed fairleads control the angle, but they can pinch and grind if the line is moving under load. The correct answer is the one that produces the least movement and least abrasion on your hardware.
Snubbers, Compensators, and Night-Mode Redundancy
A snubber is your surge insurance. Use a 3–6 m snubber line or an elastic compensator sized for 12–18 mm lines, and tune it so you get visible stretch under load—several inches to >30 cm depending on device and conditions. This matters in busy harbors where wake arrives on schedule whether you asked for it or not.
Night-mode redundancy means a backup attachment that won’t chafe on the same spot as the primary. Add a secondary pendant or safety strop to a separate strong point so a single worn fairlead doesn’t ruin your night. Mouse shackle pins, avoid questionable mixed-metal underwater connections where possible, and assume swivels can seize—because they do.
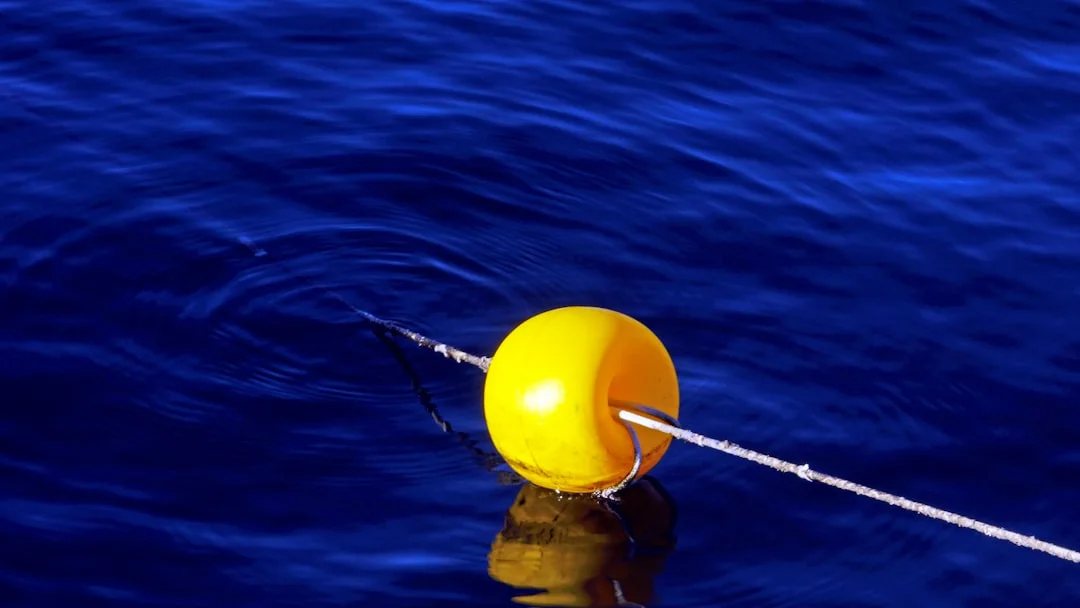
Photo by boris misevic on Unsplash
Wind, Current, and Surge: Crosswind Pickup Without Drama
Your decision tree starts with one question: which force dominates right now, wind or current? If wind is dominant, approach into the wind so you can slow and stop with control; if current dominates, approach into the current and treat wind as the sideways shove. Either way, maintain 0.5–1.5 knots for steerage and plan your stop with a short reverse burst, not a last-second drift into neutral.
Holding station near a buoy in crosswind is about controlled thrust. Use short-burst throttle in forward to hold the bow up, then brief neutral to let the bow crew work, and reverse only when the pickup line is clearly forward and controlled. With 10 knots of wind you can often “pause” near a buoy; at 20 knots you’re dealing with about 4× the force, and station-keeping gets much less forgiving.
Surge and wake change everything, especially near ferry routes or harbor mouths. Increase snubber length toward 6 m, widen the bridle angle with 4–8 m legs, and add chafe protection where the line moves even slightly. If the bow is snatching, you’re loading fittings in spikes rather than steady pull, and that’s how gear fails even when it looked fine at sunset.
Abort criteria should be boring and strict: missed pickup, unsafe closing speed (>0.5 knots at contact), loss of steerage, or a neighbor doing something unpredictable. Back out early while you still have room and dignity, then circle and reset. Also keep your steering and piloting systems maintained—ISO 10592 and ABYC steering-related guidance exist for a reason, and close-quarters maneuvering is where small steering problems become big stories.
Route Planning & Sea Distance: Choosing a Mooring in Time
Stress-free mooring starts hours before the harbor entrance. If you arrive late, tired, and in building crosswind, the same maneuver that felt easy yesterday will feel like a practical exam. Plan to arrive with daylight, a fed crew, and time for a second attempt; I like a 30–60 minute arrival buffer just for briefing, fenders, and line staging.
A simple distance/ETA workflow is enough: charted nautical miles between waypoints × expected SOG, then add a buffer for harbor entry and mooring setup. If there’s current, don’t pretend it’s not there; it’s the difference between arriving at 17:30 versus arriving at 18:15 when the katabatic starts. Check the nautical miles for your planned route for quick route legs and realistic ETAs, especially when you’re comparing a buoy field outside versus a marina deeper inside.
Build a plan A/plan B/plan C before you’re within VHF range. Plan A might be a marina lazy-line berth; plan B a buoy field; plan C an anchorage outside, only if anchoring is permitted and you’re clear of seagrass protection zones and swim areas. Also consider ferry routes and surge-prone harbors—some places are calm at noon and miserable at midnight when traffic changes.
On the final approach, COLREGs still apply: safe speed and proper lookout in traffic, including small craft and swimmers that appear out of nowhere. A pre-arrival brief should include roles, hand signals, the abort plan, and basic checks like under-keel clearance and turning room. The crew should know what “stop,” “hold,” and “let go” mean before the boat is between two million-euro transoms.
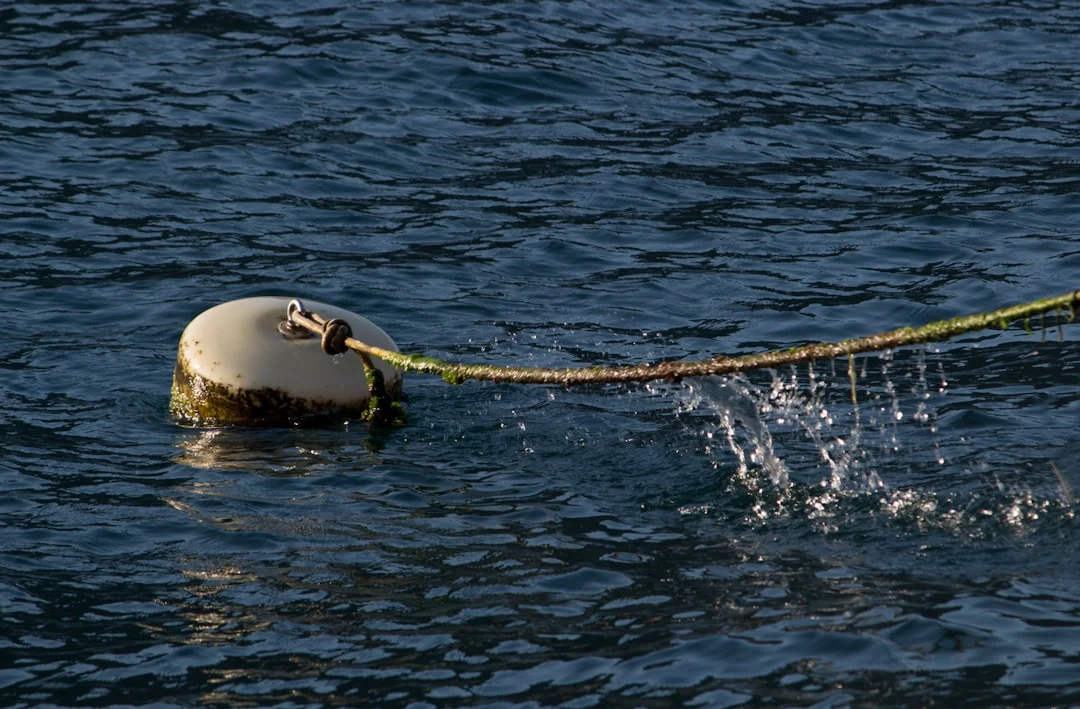
Photo by Milos Lopusina on Unsplash
Inspection, Failure Modes, and When to Refuse a Mooring
Quick On-Arrival Inspection: What You Can See and Feel
You can’t inspect the ground chain underwater on arrival, but you can still learn a lot in 20 seconds. Look at the pendant for UV damage, stiffness, glazing, and broken strands near the buoy attachment. Check the splice: if it’s opened up, lumpy, or clearly undersized, assume it’s weaker than it looks.
Grab hardware with the boat hook and look for seized swivels and shackles that are worn thin at contact points. If you can see chain near the buoy, note its size—many leisure moorings use about 10–16 mm chain near the buoy, with heavier ground chain around 16–22 mm depending on exposure and site rules. If the visible chain looks like jewelry, not ground tackle, take that as a hint.
Common Failures: UV, Corrosion, Seized Swivels, Undersized Chain
Common failures in Mediterranean moorings are predictable: UV-rotted pickup strops, chafe at the buoy eye, corroded shackles, and chain-on-chain sawing where links rub under load. Mixed metals underwater can accelerate corrosion, and swivels often seize, turning your “anti-twist” device into a fixed bending point. The failure you see is rarely the failure that starts; it starts where movement and abrasion happen quietly.
Also inspect your own side of the system. If your bow roller has sharp edges, if the fairlead angle is wrong, or if your cleat backing plate is suspect, you’re the weak link. This is where ISO 15084 matters: strong points should be designed for mooring loads, not just for tying up gently at a fuel dock.
Standards-Informed Best Practice (ABYC/ISO) for Strong Points
ABYC H-40 is a good mental checklist even if you don’t have it memorized: proper attachment points, appropriate line selection, and minimizing shock loads. Use cleats and samson posts that are installed and backed correctly, and avoid leading primary mooring loads to stanchions or pulpits, which are great at being bent and terrible at being strong points.
Refusal triggers should be clear. If the pendant is badly UV-damaged, if hardware is undersized or severely corroded, if you can’t rig 0.6–1.0 m of chafe protection at the bearing points, or if exposure is increasing beyond your comfort level, relocate. The safest refusal procedure is simple: keep the boat under control, do not “half attach,” motor clear of the field, and then decide on your plan B with time and room.
Maintenance cadence matters even on short stays. In surge, do a daily chafe check and re-position sleeves as needed, because lines move. Professional splicing costs about $15–$40 per eye splice, and replacing a few shackles/swivels at $8–$60 is cheap compared to repairs, fines, or the awkward dockside apology tour.
Troubleshooting Scenarios (What Actually Goes Wrong)
Missing pick-up line is the classic problem. If there’s only a ring or chain, use a rated mooring hook or pass your own line through the ring with a round turn and two half hitches, then re-lead to both bow cleats with chafe gear in place. If the ring is submerged and you’re tempted to reach down, remember that the bow is the worst place to do manual labor when the boat is still moving.
Short-handed pickup is mostly about staging and timing. Solo or with two aboard, pre-rig the 1.5–2.5 m strop so you can secure something quickly, even temporarily, then convert to a bridle once the boat is stable. If you can’t keep the boat at 0.5–1.5 knots with steerage while doing bow work, you’re trying to do two jobs at once; slow down your ambition and circle again.
If the pickup line dips under the bow in chop, change the hook angle and your body position. Hook it, lift, then immediately bring it outboard and aft a touch so it stays clear of the stem, and keep tension so it can’t sink. A rolling hitch can act as a temporary grab if you need to capture a line under load without committing to the final lead, but don’t confuse “temporary” with “good enough overnight.”
When the buoy is too close to neighbors, your best tool is patience. Hold station upwind/upcurrent at a safe distance, wait for space, then approach with a plan to abort early. If you’re guessing whether you fit, use a route planner to calculate the distance between ports earlier in the day to arrive when there’s light and options, not when every spot is taken and every skipper is stressed.
Emergency release planning is unglamorous and useful. Keep a knife accessible (not buried in a drawer), avoid knots you can’t untie under load, and rig so you can slip a line if needed. The goal is not to cut free; it’s to have the option so you don’t hesitate when conditions change fast.
Frequently Asked Questions
For a 45 ft monohull, should the mooring pennant be led through the bow roller or a closed fairlead, and how do you size chafe gear (0.6–1.0 m) for each lead?
Lead it wherever the line will move the least and bend the least under load, which depends on your hardware geometry and yaw angle. A bow roller is fine if it rotates freely and the lead is straight, but a closed fairlead can be better when it controls side loading and prevents the line riding off. In both cases, add 0.6–1.0 m of chafe gear at the exact bearing zone, then re-check after 30 minutes of surge because the “hot spot” often migrates.
What is the safest step-by-step method to pick up a mooring with a boat hook when the pick-up line is short and tends to dip under the bow in chop?
Approach into the dominant force at 0.5–1.5 knots, stop with a short reverse burst, and keep the buoy slightly to leeward of the stem. Hook the pickup line with the hook angled down, lift, and immediately bring the line up and outboard while maintaining tension so it can’t sink under the bow. Secure a 1.5–2.5 m strop quickly (cleat hitch), then convert to a proper bridle/snubber once the boat is stable.
How do you rig a two-leg bridle (4–8 m legs) with a 3–6 m snubber so both bow cleats share load equally without introducing saw-chafe on the stem fitting?
Use two equal-length legs (4–8 m) to port and starboard bow cleats, and join them to the mooring pendant with a shackle or a cow-hitched loop that centers naturally. Insert a 3–6 m snubber segment in the load path where it won’t rub on the stem fitting, then adjust leg lengths until both cleats take load evenly. Add 0.6–1.0 m chafe sleeves anywhere the bridle bears on fairleads, rollers, or cleat horns, and re-lead if you see any sawing motion.
In a Med-moor lazy-line berth, what helm/engine sequence prevents the ground line from drifting into the prop when you must use reverse to stop?
Keep steerage at 0.5–1.5 knots, reverse in under control, and use short reverse bursts to arrest momentum rather than long neutral coasts. As soon as the lazy line is picked up, keep it tensioned forward and make a crew callout—“line forward”—before any reverse engagement. If the line goes slack or angles aft, shift to neutral, regain control with forward thrust if needed, and sort the line before reversing again.
What quick checks indicate a permanent mooring is underspecified for your boat (chain ~10–16 mm at buoy, worn shackles/swivels, UV-damaged strops), and what is the safest refusal procedure?
Red flags include a pendant that’s stiff, faded, glazed, or strand-broken near the buoy, hardware that’s deeply grooved or seized, and chain near the buoy that appears undersized for the conditions (many moorings show 10–16 mm near the buoy, but it should still look substantial and well-maintained). If you can’t rig 0.6–1.0 m of chafe protection at the bearing points, or exposure/surge is building, refuse it. The safe refusal is to avoid partial attachment, motor clear under full control, then shift to plan B—another buoy, a marina berth, or anchoring only where permitted and safe.
About the Author
Related Articles
How to Fuel a Boat: Fuel Dock Etiquette & Safety
Learn how to fuel a boat safely with fuel dock etiquette, diesel vs gas tips, and spill prevention. Follow our step-by-step checklist before you pump.
By Breezada Team

Float Plan Template: What to Include & Update
Use this float plan template with examples, check-ins, and shore contact tips. Copy the form and update it before every trip—stay SAR-ready.
By Breezada Team
Used Sailboat Survey Checklist: Sea Trial Red Flags
Use this used sailboat survey checklist to spot sea trial red flags, estimate survey costs, and negotiate smarter. Download the checklist now.
By Breezada Team

Sailing in a Squall: Radar, Reefing, AIS & Lightning
Learn sailing in a squall line: radar & AIS tactics, smart reefing triggers, and lightning risk reduction. Get the squall drill checklist now.
By Breezada Team