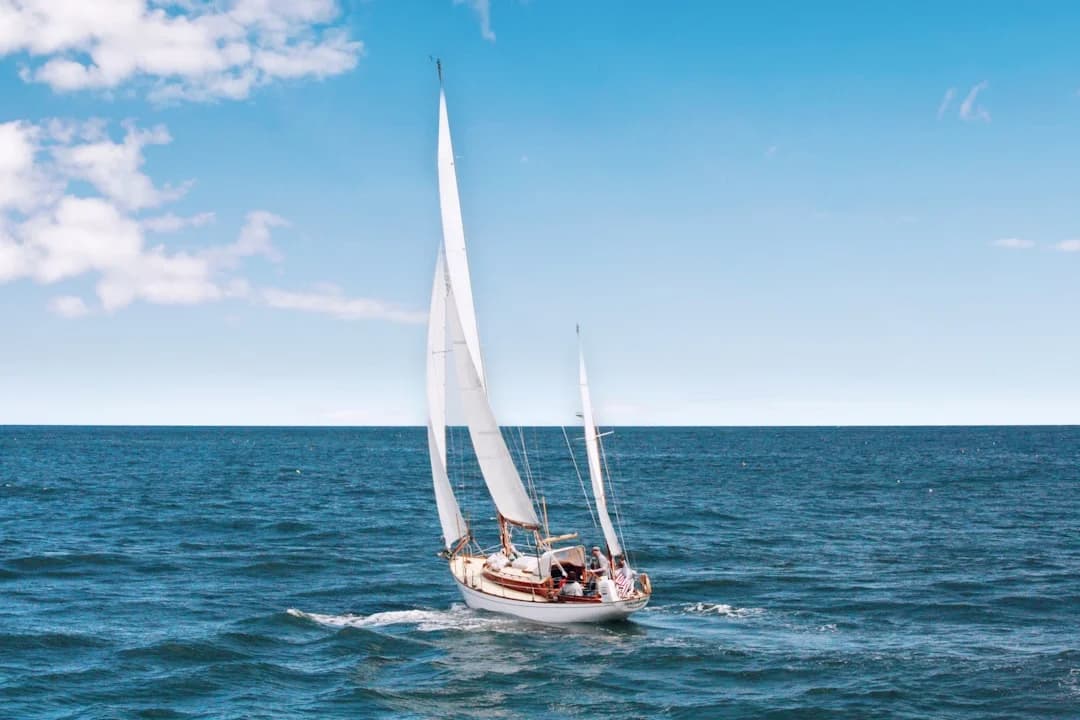
Sailboat Ran Aground: What to Do in the First Minutes, How to Kedge Off, and When to Call a Tow
Running aground happens to good skippers on good boats. It’s usually a chain of small errors—sounder offset wrong by 1–3 ft, a missed tide window of 2 ft, a moment of “that looks deep enough,” and then the boat stops like you hit a curb.
This is the decision-focused checklist I use and teach: stop making it worse, sort soft versus hard bottom, attempt self-rescue only when the risk is controlled, kedge correctly (with real scope math), and call for a tow early when the situation is trending toward damage or danger. Along the way, capture the data that will matter later—mechanically, legally, and for insurance.
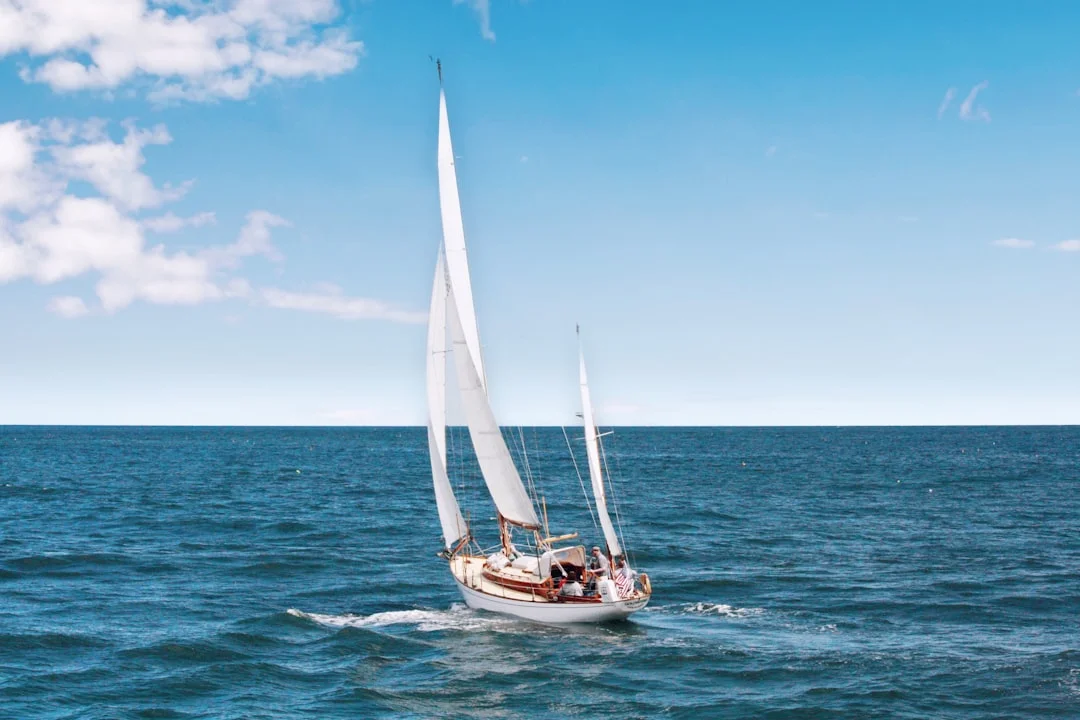
Photo by Kristel Hayes on Unsplash
Immediate Actions (First 60 Seconds to 5 Minutes): Stop the Damage
Secure propulsion and prevent deeper embedding
The first move is boring and important: shift to neutral within seconds. If you keep power on while hard aground, prop wash can excavate sand or mud and settle you deeper, or load the rudder against the bottom. On inboard diesels, “just a little more throttle” is how you turn a grounding into an overheat, because shallow/aerated water can starve the raw-water intake even at normal cruise 1800–2400 RPM.
Center the rudder and keep it there until you understand what’s touching. Hard-over helm while aground can lever the rudder into a very expensive shape, and it doesn’t take much—bottom contact at 2–3 knots can create severe localized loads. If you felt a sharp impact rather than a mushy stop, treat it as a hard grounding until proven otherwise.
Stabilize crew, traffic situation, and communications
Put the crew on jobs so nobody “helps” by randomly shifting weight, dropping sails, or gunning the engine. I assign four roles: helm (hands off the throttle), lookout/traffic, bilge/engine-space check, and comms/log. If you’re in or near a channel, you still have duties under the USCG Navigation Rules / Inland Rules (33 CFR 83)—avoid collision risk, make your situation clear, and don’t become a silent obstacle.
Get a call out early if you’re a hazard or you’re uncertain about damage. VHF Ch. 16 for urgent safety traffic, or your towing provider on their working channel once contacted. If you might need to signal assistance visually, remember USCG VDS expectations: a common compliant kit is 3 day + 3 night signals, and pyrotechnics must be unexpired to count; approved non-pyro options (orange flag + electric SOS light) can satisfy day/night if carried, per carriage rules commonly enforced under 33 CFR 175 and state regs.
Rapid flooding/fuel check and basic nav data capture
Do the fast “eyes, ears, nose” inspection: bilge level, engine pan, shaft log area, and around through-hulls. Sniff for fuel; if you smell diesel or gasoline, treat it as a systems emergency and follow ventilation and shutdown discipline consistent with ABYC H-33 (diesel) or H-24 (gasoline) practices. Check alarms and note whether the bilge pump is cycling, because “it’s fine” is not a measurement.
Then capture data before it changes: GPS position and time, depth reading, tide stage, and wind/current set. Take a photo of the plotter and sounder page so you don’t rely on memory later. If you’re figuring drift or whether you’re being set farther onto the shoal, record fixes 3–5 minutes apart and compare; check the nautical miles for your planned route is handy for quick distance/time math when you’re tired and irritated.
Practical tip: If someone says “Try reverse,” your response is “After we’ve checked for leaks and we know what we’re sitting on.” Boats are repairable; panic is not.

Photo by Karla Car on Unsplash
Assess the Grounding: Soft vs Hard Bottom and Escalation Triggers
Diagnose bottom type and the load path (keel vs rudder vs prop)
You’re trying to answer two questions: What am I stuck on? and What is taking the load? A soft grounding (sand/mud) usually feels like a gradual deceleration, sometimes with the boat “squatting.” A hard grounding (rock/coral) is the sharp stop, the bang, or the grind that makes your teeth click.
Now think about the geometry. A fin-keel production boat often draws 4.5–7.0 ft, while shoal-draft variants are commonly 3.5–5.0 ft; that keel is designed to carry vertical load, but your rudder and prop aren’t. If you’re heeled and the rudder is pinned, or you struck while turning, you can be loading the rudder stock or post—damage there likes to show up later as stiffness or new play.
Identify conditions that make self-rescue unsafe
Here’s the short “do-not-do” list: repeated high-power reverse, hard rudder angles, and cycling F/N/R while aground. That routine can dig a hole, chew up a prop, or hammer a shaft coupling, and it rarely works faster than a calm plan. If you get prop vibration, cavitation, or no movement with minimal thrust, stop and reassess.
Escalation triggers for calling help immediately are straightforward: hard bottom, surf or wave slap, worsening weather, nightfall, a medical issue, any leak, or if you’re in a channel creating collision risk. Add a practical trigger: if you can’t describe a safe extraction plan in one minute, you’re not “saving time” by improvising. You’re just paying for it later.
Depth sounder offsets, draft reality, and why groundings happen
Half the groundings I see start with the sounder lying by omission. If your depth sounder is set to “below transducer” instead of “below keel,” you can be 1–3 ft shallower than you think, depending on where the transducer sits. That’s the difference between a comfortable 7.0 ft and a keel-kiss at 5.5 ft.
Also confirm what the chart is showing: depths are referenced to chart datum, not “today’s tide at your bow.” If you’re planning shallow transits, use tide predictions and your true draft, then build margin for wave set-down and squat. Breezada’s sea distance calculator won’t fix a bad sounder offset, but it will help you sanity-check how far you drifted in 10 minutes while you were busy arguing with the throttle.
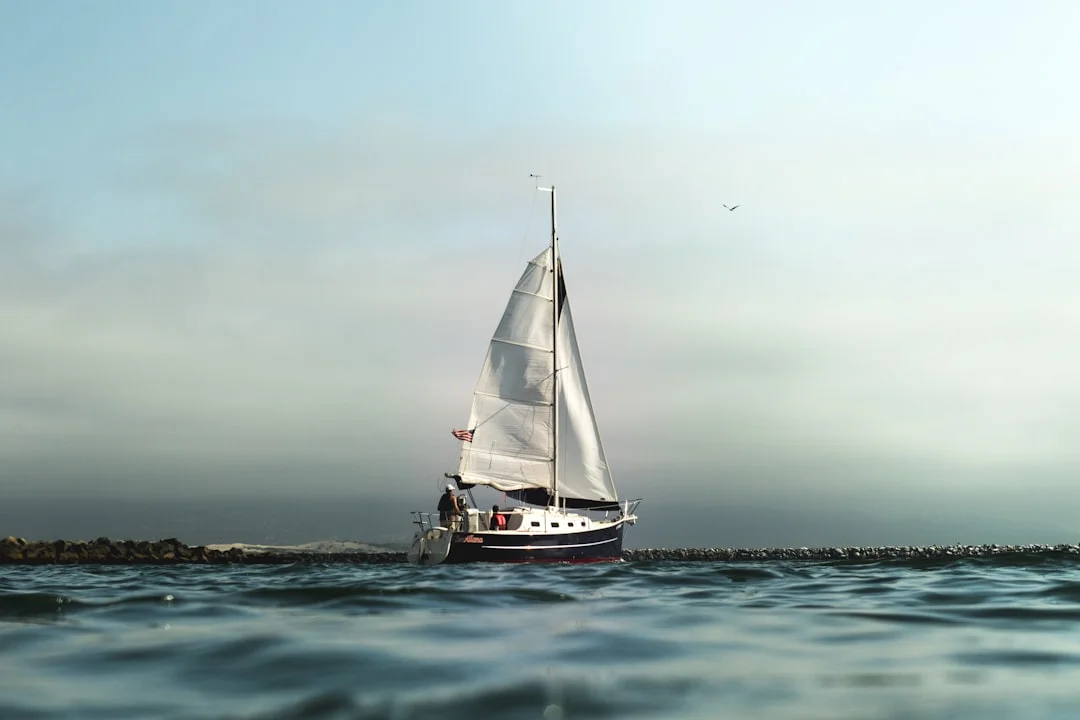
Photo by Jeremy Bishop on Unsplash
Safe Self-Rescue: Backing Off, Heeling, Lightening, and Waiting for Tide
Controlled backing-off attempts (when appropriate)
Backing off under engine is only appropriate when the bottom is soft, wave action is minimal, and you’re not being driven farther on. Use minimal, timed thrust—think 3–5 second bursts at idle to modest RPM—rudder centered, and stop the moment you feel vibration or see the stern digging. If the boat doesn’t respond after a couple of controlled attempts, more power usually equals more damage.
If you have room, try backing along your track, not sideways into thinner water. Confirm you’re not wrapped on something by checking for unusual heel, stern yaw, or “rubber band” snap-back when power comes off. If you suspect the prop or rudder is loaded, don’t “test it harder”; that’s a great way to turn a bent prop into a bent shaft.
Heeling to reduce draft without overloading the rig
Heeling works because even a modest angle can reduce effective draft by inches, sometimes a foot, depending on keel shape and where you’re grounded. Use crew weight first: move people to the high side, and keep them low and stable. Then use sail trim carefully—this is not the moment for heroic rig loads.
A controlled heel with the main (and maybe a scrap of headsail) can help, but avoid shock-loading standing rigging or yanking the boom around. You’re trying to create steady side force, not a gust-driven slam that loads the keel stub. If you’re in 15–20 knots and chop, the boat can pound onto the shoal as it heels—sometimes waiting for calmer conditions is the smarter “action.”
Lightening and tide strategy: when waiting works—and when it doesn’t
Lightening is moving weight, not dumping essentials. Shift crew, water jugs, spare chain, and heavy stores to the high side or into a dinghy shuttle, but keep safety gear, anchors, and communications aboard. If you can offload 200–400 lb from the wrong end of the boat, you’ll often see a real difference in how she sits.
Waiting for tide is often the cleanest solution if you’re stable and not being pushed farther in. Many coasts see 2–6 ft of tidal change, and if you need only 12–18 inches more clearance, a 2 ft rise can be the difference between stuck and free. Worked example: your draft is 6.0 ft, charted depth is 5.2 ft at datum; you need 0.8 ft plus a safety cushion, so you’re looking for roughly 1.5–2.0 ft of tide before you try again.
To judge whether waiting is safe, measure set and drift: take two GPS fixes 3–5 minutes apart and see if you’re creeping farther onto the shoal. Use plan your route using a sea distance calculator to convert that movement into a set rate, then decide if you’ll be worse in an hour than you are now.
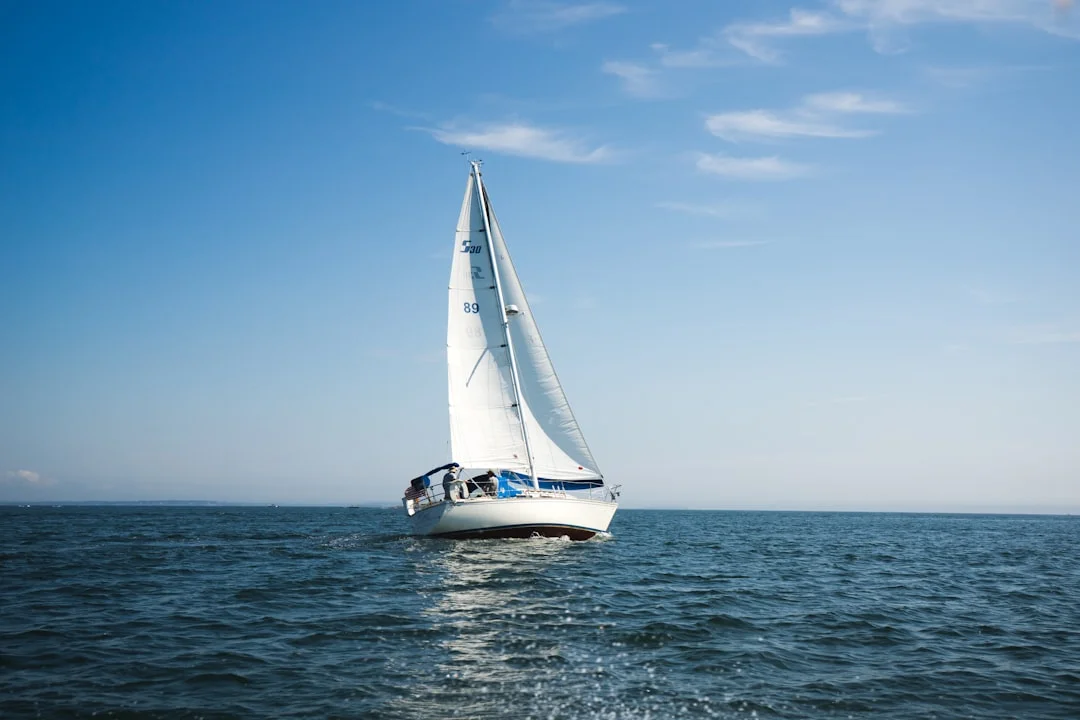
Photo by Evan Smogor on Unsplash
Kedging Off a Sailboat: Step-by-Step Setup, Scope, and Winching
Choose the kedge direction: upwind/up-current and deeper water
Kedging is controlled, quiet work—until it isn’t. Your goal is a steady pull toward deeper water, generally upwind/up-current, so the boat doesn’t surge and slack the line. Before you drop anything, decide the extraction vector and confirm depth increases in that direction using sounder sweeps or a dinghy sound check.
A practical set distance is 3–5 boat lengths upwind/up-current. On a 35 ft sailboat, that’s roughly 105–175 ft, which aligns nicely with real scope needs in 12–15 ft total depth. Don’t short-set the anchor “just ahead” because you’re impatient; a dragging anchor wastes time and can make the boat settle harder.
Scope math and rode realities (worked examples)
Scope is based on total depth: water depth plus bow height to the waterline. Typical kedging scope is 5:1 in calm conditions and 7:1 when wind/current is stronger, with 10:1 reserved for ugly scenarios. Example: 10 ft water + 3 ft bow height = 13 ft total; 5:1 ≈ 65 ft rode, 7:1 ≈ 91 ft.
Here’s the table I keep in my head when things get loud:
| Total depth (water + bow height) | 5:1 scope rode | 7:1 scope rode | 10:1 scope rode |
|---|---|---|---|
| 10 ft | 50 ft | 70 ft | 100 ft |
| 13 ft | 65 ft | 91 ft | 130 ft |
| 15 ft | 75 ft | 105 ft | 150 ft |
Rode length matters more than people admit. Many cruising boats carry 150–300 ft of rode; for shoal extraction in 5–8 ft depths, having at least 150 ft often lets you set the anchor in deeper water while still aground. If you only have 80–100 ft, you can still try, but your “bite” window is small and you’ll need good bottom and good technique.
Deploy by dinghy and recover with controlled winching
Moving the anchor is where people get hurt. Anchor plus chain can weigh 30–80+ lb depending on boat size and gear, and that’s before the rode decides to tangle around an ankle. Keep weight low in the tender, keep hands and feet clear of the rode, and don’t let the line run under the dinghy where it can trip or flip you.
Pay out rode as you go so it runs free and doesn’t bird-nest. Drop the anchor gently, set it by pulling steadily (not yanking), then return to the boat and take up tension with a primary winch or windlass/capstan. Use chafe gear where the rode touches bow rollers or fairleads, and coordinate any engine use at idle/neutral-first—prop wash can interfere with the set and excavate the bottom.
If the anchor drags repeatedly, stop “trying harder.” Switch tactics: wait for tide, lighten more, reset in a better direction, or call for a tow. Kedging is powerful, but it’s not magic, and shock-loading a line can rip hardware that wasn’t built to be a tow point under ABYC H-40 and ISO 15084 guidance.

Photo by Markos Mant on Unsplash
When to Call Sea Tow or TowBoatUS: Tow vs Salvage and Rigging Prep
Decision triggers: when towing is the safest option
Call early if the bottom is hard, there’s surf, traffic is tight, or the weather is building. Add nightfall and crew fatigue to that list; both make small problems turn into sloppy ones. If you have any leak—no matter how minor—get professional help moving you off before wave action turns “weeping” into “pumping.”
Memberships are worth it, but they aren’t magic paperwork. Typical annual towing plans run $100–$250/year, while a basic short tow without membership is often $250–$600+ depending on region and timing. A soft grounding extraction commonly lands in the $400–$1,500+ range if billed, especially if it involves waiting for water or multiple attempts.
How to avoid a simple tow turning into salvage
The word you care about is “salvage,” because it changes billing and sometimes the entire tone of the operation. Salvage is generally tied to peril, risk, and success-based compensation, and claims are often cited around 5%–20% of saved value (case-dependent and can be higher). You’re not arguing on the radio; you’re clarifying terms before lines are attached.
Use a short script: “Is this a tow or salvage? What rates apply? What’s the plan? Where will you attach? Who authorizes changes?” Ask for the agreement in writing or text if possible, and don’t let the situation drift into implied consent because nobody wanted to be awkward. Awkward is cheaper than litigation.
Here’s the clean comparison that keeps you out of trouble:
| Item | Tow (typical) | Salvage (typical) | Questions to ask before work begins |
|---|---|---|---|
| Trigger | Routine assistance, low risk | Peril/risk, hard grounding, heavy weather | “Tow or salvage?” “What’s the risk basis?” |
| Billing model | Hourly/flat/membership | Success-based, % of saved value | “Exact rate or %?” “Cap/estimate?” |
| Paperwork | Work order, simple authorization | Salvage contract, value discussion | “What am I signing?” “Who can change terms?” |
| Control of operation | Usually straightforward | Can escalate quickly | “What’s the extraction plan and attachment points?” |
Tow bridle basics and attachment do’s/don’ts
If you’re being towed or pulled off, rig a bridle. For 30–40 ft sailboats, 5/8 in (16 mm) nylon is common practice, and nylon stretch helps reduce shock loads. A bridle also reduces yaw and keeps the tow centered, which makes the operator’s job easier and your deck hardware less miserable.
Attach to proper strong points—backed bow cleats or designed tow points—consistent with ABYC H-40 and ISO 15084 intent. Avoid lifelines, stanchions, and anything “convenient” that isn’t through-bolted and backed for serious load. Add chafe protection at chocks and fairleads, keep crew out of bights, and treat every tensioned line like it’s waiting to punish somebody for being casual.

Photo by Ian Keefe on Unsplash
Post-Refloat Damage Checks: Keel, Rudder, Prop/Shaft, and Systems
Immediate afloat checks (first 30 minutes)
Once you’re floating again, don’t celebrate yet. Assume damage until you’ve inspected: bilge level, keel stub area, mast step region (where applicable), and the rudder post for new weeping or cracking. Grounding loads travel, and water intrusion can show up slowly over 15–60 minutes as bedding shifts.
Run bilge pumps and watch discharge. A common electric bilge pump rating is 1100 GPH, but that’s marketing flow at near-zero head; real flow drops hard with 3–6 ft of lift, elbows, and corrugated hose. Many boats use 1-1/8 in (28–29 mm) discharge hose; smooth-bore routing and clean runs matter, and ABYC H-22 is the standard worth following when you’re relying on pumps instead of hope.
Underway checks (first hours) and when to limit RPM
If you motor after refloat, do it like you’re carrying a cracked egg. New vibration, noise, or reduced thrust suggests prop damage, shaft bend, or cutless bearing issues. Keep RPM conservative—well below your usual cruise 1800–2400 RPM—until you’re confident there’s no drivetrain misalignment or prop strike damage.
Steering is your other early warning system. Check for increased play, binding, or a helm that loads unevenly in one direction; those can indicate rudder bearing damage or a twisted stock. Repeat leak checks for the next 2–6 hours, then again under sail when loads change, because delayed leaks after a 2–3 knot hard contact are a real thing.
Haul-out priorities and what a yard/surveyor will measure
A short haul is cheap compared to guessing. Typical haul-out is $10–$20/ft, while a short haul/haul-and-hang is often $12–$30/ft; a surveyor commonly runs $500–$1,500 depending on scope. If you suspect keel issues, keel bolt inspection/torque checks can be $300–$1,200+, and rudder bearing work ranges from $300–$2,000+.
Props and shafts are where “looks fine” can still be wrong. Prop repair is often $150–$500, new props $400–$1,500+, shaft straightening $200–$600, or replacement $800–$2,500+. Many yards will check shaft runout with a dial indicator measured in thousandths of an inch, and they’ll also look at prop tip clearance—often around 10% of prop diameter as a vibration-reduction rule of thumb.
Documentation, Insurance, and Prevention: Settings, Habits, and Gear
What to document for a grounding insurance claim
If insurance gets involved, your best friend is a clean timeline. Record GPS coordinates, time of first contact, tide prediction for that station, wind/current estimate, and screenshots/photos of chart and sounder pages. Add photos/video of the seabed if visible, the bilge level, any cracks/weeping, and any assistance rendered.
Keep every receipt and invoice, itemized. If someone tows you, record operator name, vessel name, and—critically—your authorization terms (tow vs salvage). Insurance expects prompt notification, reasonable steps to minimize further damage, and preserved evidence, which is hard to do after you’ve “cleaned up” the scene and thrown away the broken bits.
Post-incident communications and invoices
When you call for help, log what was said and when. If conditions are deteriorating, state that clearly; it helps explain why you authorized assistance quickly. If a responder changes the plan on scene, ask again whether the job is still a tow and what the rates are—politely, firmly, and before the lines go tight.
Don’t forget your own boat data: draft, keel type, and sounder offset setting at the time. That’s not about blame; it’s about reconstructing why it happened so you can prevent the sequel. If you were route-planning, save the track and compute distances between key points; calculate the distance between ports is handy for turning tracks into numbers that match your log.
Prevention: depth management, alarms, and passage planning
Set your sounder offset to “below keel” by entering the transducer-to-keel distance, often 1–3 ft. Then set a shallow-water alarm that reflects real under-keel clearance, not optimism. Mini example: if your fin keel draft is 6.5 ft and charted depth is 7.0 ft at datum, you’ve got 0.5 ft before tide/current/waves; that’s not a cushion, it’s a rounding error.
On passages into thin water, identify controlling depths and establish turn-around points. Reduce speed early; squat and steering lag increase in shallow water, and it’s easier to stop a boat at 4 knots than at 7. Keep a dedicated lookout in good light, cross-check chart datum and tide corrections, and update charts and local notices—because the bottom doesn’t care what last year’s plotter said.
Frequently Asked Questions
How do I calculate kedge anchor scope using total depth (water + bow height), and how much rode do I need to achieve 7:1 if I’m aground in 8 ft with a 3 ft bow height?
Total depth is 8 ft water + 3 ft bow height = 11 ft. For 7:1 scope, you need 11 × 7 = 77 ft of rode actually deployed from the bow to the anchor, plus a little extra for lead angle and chafe setup. In practice, I’d plan on 85–100 ft out so you can reset if the first set is poor.
What symptoms indicate propeller or shaft damage after grounding, and what limits should I place on RPM until a dial-indicator runout check is performed?
New vibration is the big one, especially if it appears at a specific RPM band and wasn’t there before. Also watch for reduced thrust, unusual noise, stuffing box/shaft seal heating, or a change in engine load at your normal cruise 1800–2400 RPM. Until a yard checks shaft runout with a dial indicator (often looking at thousandths of an inch), keep RPM conservative and avoid sustained high power; idle-to-moderate power only, and stop if vibration increases.
How should a tow bridle be rigged on a 35–40 ft sailboat (line diameter, chafe protection, attachment points) to comply with strong-point best practices (ABYC H-40 / ISO 15084)?
Use a nylon bridle, typically 5/8 in (16 mm) for a 35–40 ft boat, sized and attached to proper, backed strong points (commonly the primary bow cleats if they’re through-bolted and backed). Lead each leg through fairleads/chocks with chafe gear, and bring them to a centered towing point (eye/splice or robust knot) ahead of the bow. Avoid lifelines, stanchions, and other hardware not intended as a tow point, consistent with the intent of ABYC H-40 and ISO 15084.
At what point does a towing response become ‘salvage’ instead of a ‘tow,’ and what exact questions should I ask before work begins to confirm billing terms and authorization?
It trends into salvage when there’s meaningful peril or risk (hard grounding, surf, worsening weather, significant hazard), and compensation may become success-based rather than hourly or membership. Before work begins, ask: “Is this tow or salvage?” “What rates apply—hourly, flat, or percentage?” “What’s the plan and attachment points?” “Who can authorize changes?” and “What exactly am I signing?” Get it in writing or text if possible.
After a hard grounding at 2–3 knots, what specific areas should I monitor for delayed leaks (keel stub, keel bolts, rudder post, through-hulls), and for how many hours should checks be repeated?
Monitor the keel stub/hull joint for weeping, the bilge around keel bolts for new moisture or rust staining, the rudder post and steering compartment for drips, and all nearby through-hulls and hose clamps for seepage. Check immediately after refloat, then every 15–30 minutes for the first 2 hours, and at least hourly out to 6 hours, then again under sail when hull and rig loads change. If anything worsens, treat it as an urgent problem and plan a short haul.
If you want a simple mental flow after a grounding: Neutral first, assess soft vs hard, attempt controlled self-rescue only when conditions allow, kedge with correct scope and safe handling, call for professional tow early when risks rise, then inspect and document like you’ll need to explain it to a surveyor. That last part is less fun, but it’s cheaper than guessing.
About the Author
Related Articles
How to Dock in a Slip: Finger Piers, Wind & Current
Learn how to dock in a slip with finger piers—bow-in or stern-in—handling wind, current, and prop walk. Get the step-by-step plan now.
By Breezada Team
San Francisco Bay Sailing: Winds, Tides & Hazards Guide
Plan safer San Francisco Bay sailing with wind patterns, tides, currents, fog and key hazards. Use this guide to pick a route and go sail today.
By Breezada Team
Sailboat Engine Won't Start: Diagnostic Flowchart
Troubleshoot a sailboat engine that won't start with a step-by-step flowchart for batteries, starter, fuel, air, glow plugs & alarms. Fix it now.
By Breezada Team
Sailboat Bottom Paint Guide: Types, Costs & Prep
Learn sailboat bottom paint types, costs, and prep steps—plus how often to repaint. Get the right antifouling plan for your boat today.
By Breezada Team