Dock a Sailboat in Crosswind: Lines, Angles, Errors
Docking a sailboat in a crosswind is mostly about accepting an ugly truth: at 0.5–1.0 knots in the last boat-length, the wind often has more authority than your rudder. That’s not a character flaw; it’s physics plus windage. The goal is to arrive with a plan that prioritizes a first controlling line (usually midship or a spring), uses angles and short power bursts for control, and includes a clean abort before you’re committed.
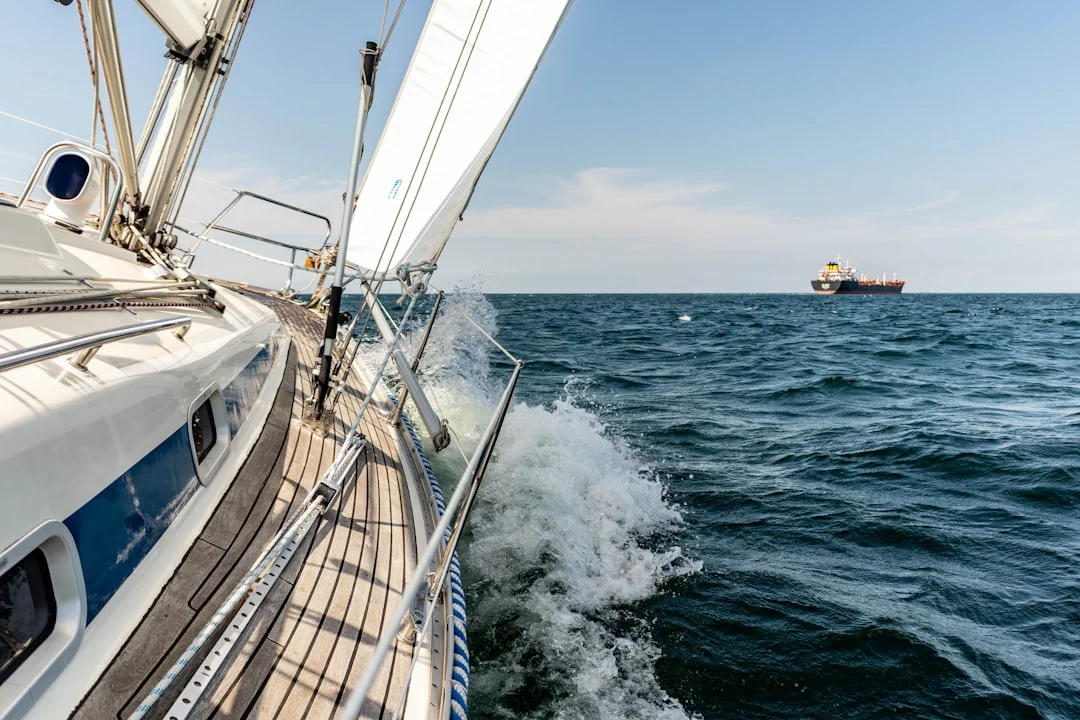
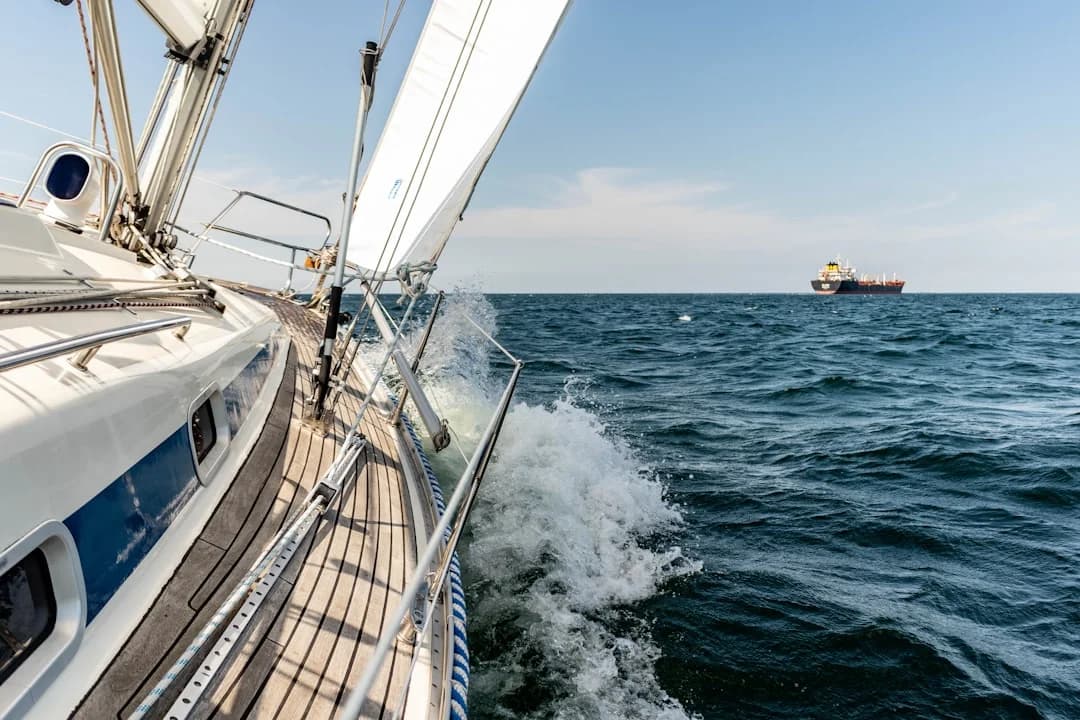
Photo by Michael Held on Unsplash
Crosswind docking fundamentals: why gusts win at low speed
Windage, leeway, and why 0.5–1.0 knots is a different game
In the last boat-length you should be creeping in at about 0.5–1.0 knots (roughly 0.25–0.5 m/s), because kinetic energy at the dock is expensive and embarrassing. The problem is that at those speeds, the rudder may not have enough water flow to bite, especially on a 35–45 ft cruiser with a tall freeboard and a dodger acting like a billboard. That’s why “more rudder” often does nothing except make you feel busy.
Wind force also scales brutally. The square-law matters here: 20 knots is about 4× the force of 10 knots on the same profile area, so the “worked fine yesterday at 10–12” approach can fail hard at 18–22 knots. On many 30–40 ft monohulls, a realistic “no drama” threshold for average crews is around 12–15 knots; above 18–20, you start leaning on spring lines, tug assistance, or patience.
Pivot point shifts: ahead vs astern
In forward gear, the boat’s pivot point sits closer to the bow, and the stern tends to follow in a more polite arc. In reverse, the pivot point shifts forward and the stern becomes the loud end of the boat, swinging wider with less warning. That’s why backing maneuvers in a crosswind feel like you’re trying to park a shopping cart on ice.
This pivot-point shift changes your mental model. In reverse, you “steer” with prop wash, prop walk, and timing more than with rudder angle alone. If you wait until the stern is already sliding downwind by 2–3 ft, you often need more throttle than you wanted, and now you’ve added speed you can’t easily subtract.
Prop walk basics and when it helps (or hurts)
Most single-screw sailboats with a right-hand (clockwise) prop will walk the stern to port in reverse, at least initially. The exact amount varies with prop aperture, shaft angle, keel shape, and how much prop wash hits the rudder, so test it in open water at idle, then at a modest bump above idle. Once you understand it, prop walk becomes a predictable lateral tool rather than a surprise.
The catch is that prop walk can fight your wind plan if you choose the wrong docking side or wrong approach. A good skipper uses it like a bias correction: if wind is pushing the stern downwind, you can sometimes combine prop walk plus a 1–3 second burst to “kick” the stern where you need it. If it’s pushing the wrong way, accept it early and plan a spring-line finish instead of muscling the whole boat into place.
Practical tip: If your crosswind plan requires sustained high RPM within a boat-length of the dock, you’re already behind the boat. Reset outside, then come back with a spring-line or a better angle.

Photo by Karla Car on Unsplash
Pre-docking setup: lines, fenders, roles, and an abort plan
Rig the first controlling line before you enter the fairway
Before you turn into a tight marina fairway—often only 1.5–2.5× LOA wide—rig the line that will actually stop the drift. For crosswind docking, that’s frequently a midship line or a spring line, not the traditional “bow line first because that’s what we always do.” Pre-lead it outside the lifelines, clear of winches, with no overrides, and with the bitter end ready to drop over a cleat in one move.
Line length matters when cleats are poorly placed or when you need a strong lead angle. A common spring length is 1.0–1.5× LOA; a 36 ft boat is well-served by 40–55 ft lines, and I like having at least one dedicated ~1.5× LOA “problem solver.” For diameter, common practice is 3/8 in (10 mm) for 25–30 ft, 1/2 in (12 mm) for 30–40 ft, and 5/8 in (16 mm) for 40–55 ft, with nylon for stretch.
Fender placement for crosswind: height, spacing, and a ‘piling plan’
In crosswind, set fenders for the worst case: you’ll touch a bit hard and then slide. For a 35–40 ft sailboat, 8×20 in to 10×26 in cylindrical fenders are typical, and in wind I want 3–5 out on the docking side, plus a spare ready to deploy. Use the rule-of-thumb of about 1 inch of fender diameter per 4–5 ft of LOA, then size up if the dock is rough or the neighbors have rub rails from the Jurassic era.
Adjust height to what you’ll actually hit. High-freeboard cruisers often contact higher on pilings and finger piers, while low-freeboard racers can sneak under weird dock edges and get scarred in creative places. If you’re dealing with pilings, add a ball fender or a large spherical fender forward where the first ugly contact usually happens.
Crew brief, comms, and safe body positioning
Assign roles before you’re committed: helmsman, primary line handler (first controlling line), fender/boat hook, and a spotter calling distance and closure. Keep the language simple: “spring on,” “neutral,” “burst,” “abort,” and “hold.” If you’re using handheld comms, a basic marine VHF handheld ($80–$250) can reduce shouting, but only if you keep the chatter short.
Safety is not negotiable in a gusty docking. Crew stays inside lifelines, no hands or feet between boat and dock, and no “hero fending” with a shoulder because someone watched a movie once. Use fenders and a boat hook, and if the gap is widening while someone is thinking about jumping, you abort—because jumping across a growing 2–3 ft gap is how ankles become marina folklore.
The abort plan (decide it before you need it)
Your abort is not “we’ll see.” Pick a go-around route that avoids dead-ends, and know where you can pause to reset without blocking traffic. Triggers include: approach speed above your 0.5–1.0 knot target, loss of steerage, a gust shoving you off by more than 1–2 ft before the first line is ready, or crew not set with lines and fenders.
This is also where checking the nautical miles for your planned route earns its keep—especially if you’re planning arrival timing to avoid the afternoon thermal peak. A ten-mile timing error can easily mean docking at 20 knots instead of 12, and that’s the difference between a routine landing and a spring-line wrestling match.

Photo by Markos Mant on Unsplash
Alongside docking in crosswind: blowing on vs blowing off
Blowing on: controlled contact, then secure fast
When the wind is blowing you onto the dock, you can use it—carefully. Approach at about 20–40° into the wind, keeping your speed down to 0.5–1.0 knots in the last boat-length. The goal is a gentle fendered touch, not a bounce; once you bounce off, you often come back faster than you intended.
As soon as you have contact, get your first controlling line on within a few seconds. In blowing-on conditions, a midship line to a cleat is often quickest, then you add a spring to stop fore-and-aft motion, then bow and stern as breast lines. If you can’t get a line on before you’ve slid 3–6 ft down the dock, you were either too fast, too shallow on angle, or too slow getting the line handler positioned.
Blowing off: arrest drift with a spring before you separate
Blowing off is where people learn humility, because you can be “perfectly lined up” and still get shoved away like the dock is offended. Here, the first controlling line should stop separation immediately, which usually means a spring or midship line gets priority over a bow line. You’re racing the clock: ideally the first line is on before separation exceeds 1–2 ft, because beyond that the line handler is now leaning, reaching, or contemplating bad life choices.
Approach with a slightly higher crab—still in that 20–40° window—and plan to land the midships area near the cleat you want. If the dock cleat is awkwardly placed, this is where that 1.5× LOA spring line pays for itself in one afternoon.
Thrust management: bursts for authority, not speed
The trick with power is that you’re not trying to “drive in.” You’re trying to create short moments of control. Use 1–3 second bursts to load the rudder and overcome gusts, then go back to neutral to avoid building speed you can’t bleed off quickly.
Teach your crew one non-negotiable line-handling rule: no single wrap “hand braking” on a cleat under gust loads. Do a proper cleat hitch—one full turn plus figure-eights—because a sudden 18–22 knot gust can spike load fast. If you need to ease under load, do it with turns on a cleat or winch, not with fingers that you’d like to keep.
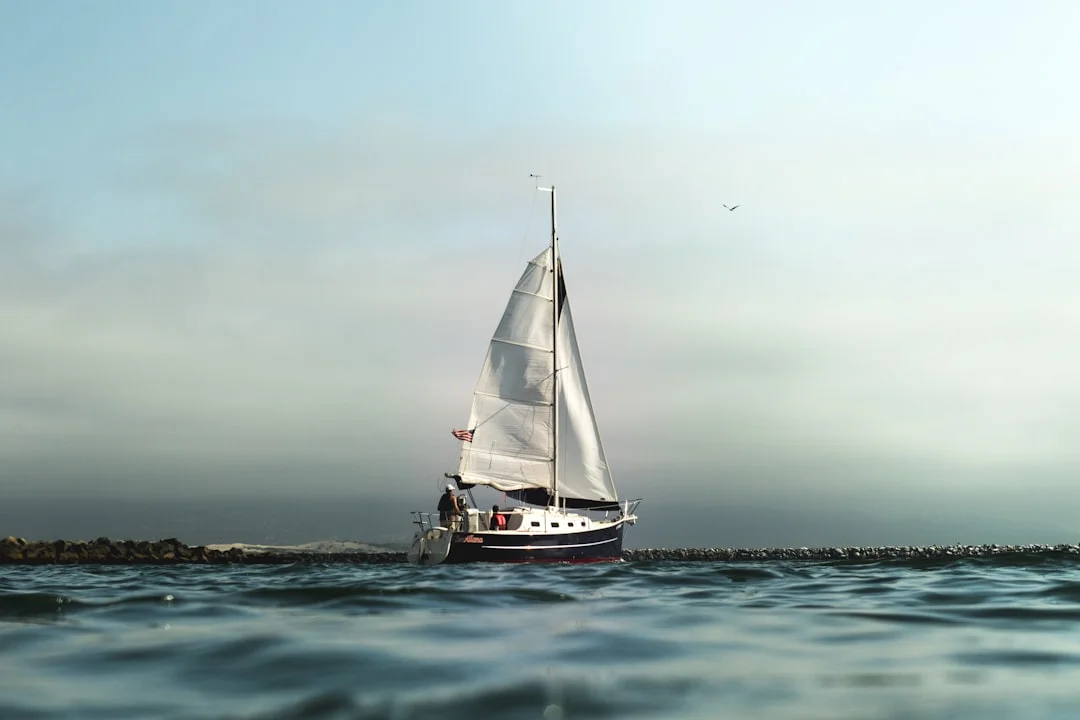
Photo by Jeremy Bishop on Unsplash
Docking in a slip: bow-in and stern-in with prop walk
Fairway setup: align early, manage drift, preserve an escape lane
Slips amplify crosswind mistakes because the walls are closer and the penalty is usually gelcoat. Center up in the fairway early, then create a controlled offset so you have room to crab into the wind without crossing the neighbor’s bow pulpit. In many marinas the fairway is only 1.5–2.5× LOA, so you don’t get many seconds to fix a bad angle.
Keep an escape lane. If you enter the fairway already committed to a slip with no room to back out, you’ve removed your best safety tool. A good docking is often a “non-event” because the skipper had the discipline to pause outside, watch gust cycles for 30–60 seconds, then go in on a lull.
Bow-in: stop the sideways slide before you commit
For bow-in, come in with a 20–40° crab into the wind and aim to arrive slow enough that you can stop with a gentle reverse without a prop-wash panic. Shift to neutral early to reduce prop wash surprises, then use 1–3 second bumps to maintain steerage. If you find yourself carrying speed because you’re afraid of losing steering, you’re skipping the burst technique and replacing it with hope.
The key cue is sideways set rate. If the wind is moving you laterally faster than you can correct without adding significant speed—say you’re sliding 1–2 ft in a couple seconds at the slip mouth—abort early. Reset outside the fairway, because inside the slip you’ll just compound the problem with less room and more fiberglass.
Stern-in: use prop walk intentionally (or plan around it)
Stern-in is where prop walk matters most. With a typical right-hand prop, reverse tends to walk the stern to port, especially at the start of a reverse burst. Use that: choose an approach where that port walk helps align you with the slip instead of fighting both wind and prop.
Because the pivot point is forward in reverse, the stern responds dramatically to throttle. Use a short reverse burst to kick the stern where you want it, then neutral, then another burst—don’t hold steady reverse and watch the stern keep walking past your target. If the wind is blowing the stern downwind, your timing matters more than your horsepower, and your best move may be to stop, pull out, and try again with a slightly different starting position.
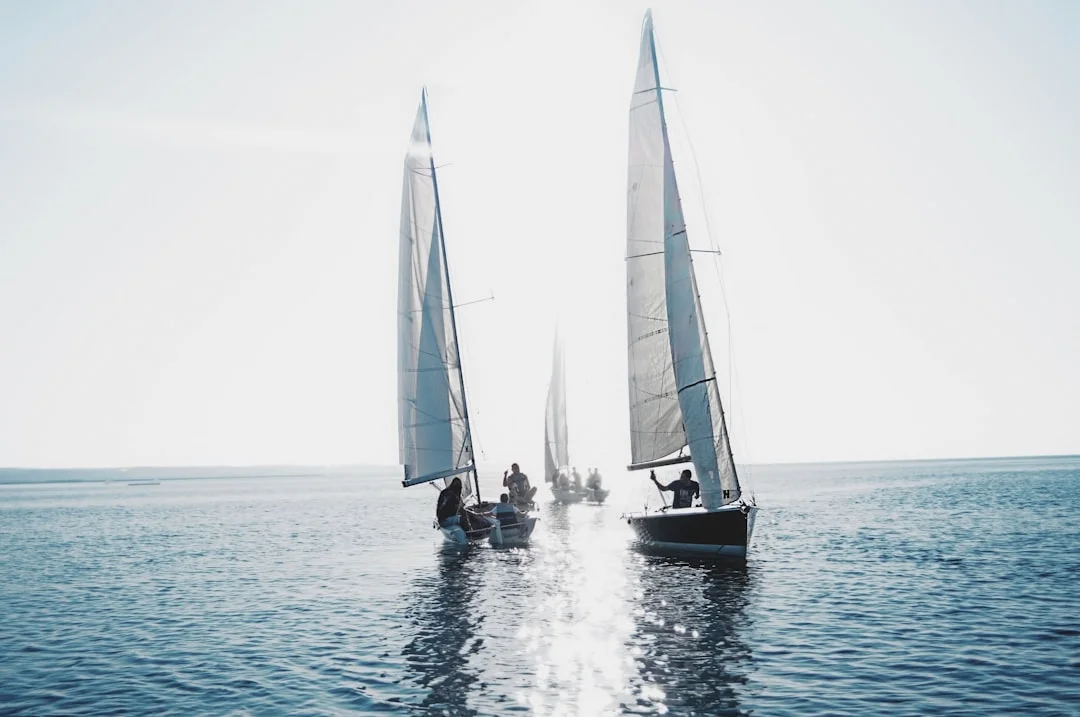
Photo by Lazarescu Alexandra on Unsplash
Spring lines masterclass: spring on/off and controlled pivots
Forward vs aft spring: what each prevents and when to choose
Spring lines are force multipliers: they let you trade engine thrust for controlled movement without building speed. A forward spring typically runs from a boat cleat forward (often near midship or bow) to a dock cleat forward, preventing the boat from moving ahead and letting you pivot the stern in. An aft spring runs from a boat cleat aft to a dock cleat aft, preventing the boat from moving astern and letting you pivot the bow in.
Length is not optional here. Use 1.0–1.5× LOA as your baseline, and carry at least one long spring around 1.5× LOA for awkward cleat spacing or when you need a better lead angle. For a 36 ft boat that’s typically 40–55 ft, and longer is rarely regretted in wind.
Exact leads: cleat-to-cleat setups that work under load
A spring must lead cleanly, with no sharp edges and no weird fairlead angles. Lead it through a proper chock or fairlead, not across a stanchion base or a toe-rail corner that will saw through nylon in a gusty 20-knot afternoon. If you’re going to “work” a spring line under engine load, chafe gear is cheap insurance.
Your goal is a lead angle that actually creates control. Too shallow and the boat just surges; too steep and you overload the line and cleat without gaining useful lateral bite. In practice, if the line is nearly parallel to the dock and you still can’t stop the boat creeping, move to a different dock cleat or use that longer spring to change geometry.
Using engine power against a spring line (without breaking gear)
Springing on is the controlled way to dock when the wind is blowing you off. Get one spring on fast—within a few seconds—then use idle to low RPM against it with the rudder turned toward the dock. The spring stops fore/aft motion, the rudder deflects prop wash, and the boat “walks” sideways in a controlled way until you can add breast lines.
This is where strong points matter. ABYC H-40 and ISO 15084 exist for a reason: cleats and backing plates must handle real loads, not just look shiny. If you’ve ever watched a poorly backed cleat flex under spring load, you’ll understand why “just give it more throttle” is the wrong answer; you’re not only moving the boat, you’re stress-testing your deck hardware.
Springing off when the wind pins you on
Departing can be harder than arriving when the wind pins you on the dock. A spring line lets you pivot the boat out: rig a spring so the boat can’t move forward (or astern, depending on your plan), then use gentle engine thrust and rudder to push the bow or stern out. Again, think idle to low RPM, not a heroic blast that shock-loads the cleat.
If the boat won’t pivot without a lot of throttle, your spring lead is probably wrong, your line is too short, or you’re fighting prop walk and wind simultaneously. Fix geometry first, power second. Seamanship is mostly geometry with occasional engine noises.

Photo by Daniel Stenholm on Unsplash
Solo or short-handed crosswind docking: midship line method
Pre-rig for one-person control: the ‘first controlling line’ as midship
Short-handed docking in wind is less about bravery and more about reducing steps. Pre-rig a midship line so you can drop a loop over a cleat without leaving the helm for long, and set 3–5 fenders before you enter the fairway. Your target is still 0.5–1.0 knots near the dock, and your first controlling line needs to be on within seconds, before separation grows beyond 1–2 ft.
If your boat lacks a proper midship cleat, consider adding one. The install cost is typically $150–$600 in DIY parts (cleats, backing plates, fasteners) or $400–$1,200 installed, and it pays back the first time a gust hits mid-maneuver. A midship strong point also makes springing on/off more controlled because you’re closer to the pivot.
Boat hook and step-off timing: minimize gap time
Use a 6–10 ft telescoping boat hook ($25–$120) to buy a second or two, not to perform miracles. The safe sequence is: touch gently on fenders, hold position briefly, drop the midship loop, then use engine against that line to pin the boat while you tidy up. If the dock is higher, slick, or the gap is widening, do not step off; stay on the boat and abort.
A good solo docking has one decisive moment, not three half-commitments. If you miss the cleat, don’t lunge for it like it owes you money. Go to neutral, back away cleanly, circle, and come again.
When to ask for dock help—and how to brief them
Dock help is useful if you brief them like you would a new crew member. Tell them exactly what you want: “Please take this loop and drop it on that cleat—don’t pull the boat.” Random helpers love pulling, and in a crosswind they’ll often pull the bow away and make everything worse.
If you’re planning a longer trip with multiple marinas, use a quick port-to-port distance check to tighten your arrival windows and avoid showing up at peak gust time. It won’t change the weather, but it can change whether you dock in 12 knots or 20, which is a very different sport.
Common crosswind docking mistakes and how to fix them
Too fast, too slow, or wrong angle: diagnose the symptom
Too fast is obvious: you arrive with momentum, then everyone scrambles and something hits harder than it should. Too slow is sneakier: you lose steerage at below ~0.5 knots, the boat crabs sideways, and “more rudder” does nothing because there’s no flow. The fix is the burst technique—1–3 seconds of throttle to regain authority, then neutral to avoid speed buildup.
Angle mistakes are the next big one. Too parallel and the wind blows you off before anyone can place a line; too steep and you make a proud fiberglass noise. Start with 20–40° into the wind, then adjust: stronger wind pushes you toward 35–40°, lighter wind toward 20–25°, assuming you still control closing speed.
Wrong first line: why bow/stern-first often fails in gusts
The wrong first line is usually a bow line placed out of habit. In a crosswind, the first line must stop the motion that’s hurting you right now—usually lateral separation or sliding—so a midship line or spring is often the answer. If you secure a bow line first while the stern blows off, you’ve created a pivot you didn’t ask for, and now you’re swinging the stern into your neighbor’s anchor roller.
Also: teach proper cleat hitches. A single wrap and “I’ll hold it” fails when a gust spikes load, especially at 18–22 knots when the wind has roughly 4× the force it had at 10. Use a full turn and figure-eights, and if you need friction, use the cleat—not your hands.
Fender and limb errors: preventing damage and injuries
Late fenders are common because people focus on the dock instead of preparation. Put fenders out early, at the right height, and assume you’ll slide, not just tap. For 35–40 ft boats, have at least 3–5 cylindrical fenders deployed in wind, plus a spare within arm’s reach.
The limb error is the one that hurts: hands and feet are not fenders. Keep crew inside lifelines and use boat hooks and fenders to manage contact. If someone is about to step off while the gap is widening beyond 1–2 ft, that’s an abort cue, not a motivational speech moment.
Abort criteria and a clean go-around procedure
Indecision causes most dock damage. Your abort triggers should include: approach speed above target, loss of steerage, drift rate exceeding correction ability, blocked fairway, or crew not ready. The USCG Navigation Rules (COLREGS/33 CFR 83) still apply in a marina: maintain safe speed, proper lookout, and don’t fixate on the dock while a powerboat is doing 12 knots in the fairway like it’s late for something important.
A clean go-around is simple: go to neutral, clear any line that’s not safely set, back or power out with space, re-center in the fairway, and reset outside. If you’re arriving on a schedule, consider estimating your fuel needs based on the voyage distance earlier in planning so you’re not forcing a landing at the wrong time. The dock will still be there in ten minutes; your stanchions would like to be there too.
Gear, costs, and standards that reduce crosswind risk
High-ROI gear upgrades: longer springs, bigger fenders, snubbers
Windy docking punishes weak gear and short lines. A minimal kit that actually changes outcomes includes: one extra-long spring (~1.5× LOA), proper diameter nylon dock lines, 3–5 correctly sized fenders, and at least one snubber if you’re forced to use lower-stretch lines. Nylon double braid or three-strand is still the right default because stretch reduces shock loads; Dyneema is great for many things, but as a primary dock line it’s too stiff unless paired with snubbers.
Here’s what I see pay for itself most often: bigger fenders and longer springs. Gelcoat repair and stanchion re-bedding quickly become four-figure “savings opportunities,” while fenders and lines are usually a few hundred bucks total. Spending $15–$60 on a snubber looks cheap the first time a gust hits while you’re springing on.
| Item | Typical use case in crosswind docking | Typical price (USD) |
|---|---|---|
| Nylon double-braid dock line (1/2 in x 35–50 ft) | Primary breast lines; good stretch for gusts | $35–$90 each |
| Nylon three-strand dock line (1/2 in x 35–50 ft) | Budget-friendly; excellent elasticity | $25–$60 each |
| Dedicated pre-spliced spring line (5/8 in x 50–60 ft for 40–50 ft boats) | Springing on/off; awkward cleat spacing; high load scenarios | $70–$160 each |
| Snubber / line shock absorber | Reduces peak loads; useful with stiffer lines | $15–$60 |
| Cylindrical fender (8x20 in to 10x26 in) | Sliding contact; primary protection for 35–40 ft boats | $25–$90 each |
| Fender covers | Reduces gelcoat scuffs during long rubs | $15–$45 each |
| Boat hook (6–10 ft telescoping) | Loop placement; controlled push-off without limbs | $25–$120 |
| Marine VHF handheld | Clear comms in wind/noise | $80–$250 |
| Docking lesson (2–4 hours) | Fixes habits fast; tailored to your prop walk and boat | $250–$900 |
Strong points and shore power: standards-based safety notes
If you plan to work spring lines under engine load, your cleats and backing plates must be up to it. ABYC H-40 and ISO 15084 are the relevant references for mooring strong points, and they’re worth reading if you’ve never seen what a ripped-out cleat looks like. If you have canvas up, ABYC H-41 is a good reminder that loose dodgers, biminis, and enclosures increase windage and docking drama; secure them before you enter the fairway.
After you finally get lines on, don’t create an electrical problem to celebrate. ABYC E-11 covers shore power practices like strain relief, keeping connections dry, and routing cords so they don’t chafe or fall in. Windy arrivals are when people rush shore power, and “I’ll just plug it in quick” is how cords end up under tension or in the water.
Frequently Asked Questions
For a 36 ft monohull in 18–22 kn crosswind, which is the safest first controlling line (midship, forward spring, or aft spring) and what cleat lead angle keeps the boat from surging?
In 18–22 knots, the safest first controlling line is usually the one you can place fastest that immediately stops separation: a midship line if you can drop it on in one move, or a spring line if blowing off is the main threat. To reduce surging, avoid a spring lead that’s nearly parallel to the dock; use enough angle that the line actually checks fore/aft motion while you work the engine at idle. If the boat keeps creeping 2–3 ft after the line is set, change to a different dock cleat or use a longer spring to improve geometry.
How do you calculate a practical approach angle (20–40°) to a finger pier based on wind speed and available fairway width (e.g., 1.5× LOA), and what cues tell you the angle is too shallow?
I don’t calculate it with math at the helm; I bracket it with constraints. In a narrow fairway around 1.5× LOA, start nearer 20–30° so you don’t run out of room, then increase toward 35–40° as wind builds above 15–18 knots if you’re getting blown off. Your cues for too shallow are: you can’t hold your track without increasing throttle, the boat separates 1–2 ft before the first line can be placed, and the bow keeps falling off despite full rudder because there’s not enough flow.
When backing into a slip with a right-hand prop, how do you combine prop walk (stern to port) with a brief throttle burst to keep the stern from being blown downwind?
Assume initial reverse prop walk will kick your stern to port, then plan your setup so that kick helps you align rather than increasing the downwind slide. Use a 1–3 second reverse burst to create the stern kick, then neutral to stop the walk from overshooting, repeating in short cycles. If wind is still shoving the stern downwind faster than you can correct without building speed, abort outside the slip mouth and reset your starting position.
What RPM/throttle technique prevents spring-line shock loading when ‘springing on’ (engine against spring), and how do nylon stretch and snubbers change peak loads?
Use idle to low RPM and build load gradually—think controlled pressure, not a sustained blast. Nylon’s elasticity helps absorb gust spikes and throttle transitions, reducing peak loads on cleats and chocks, while a snubber ($15–$60) adds extra damping if you’re forced to use stiffer lines. If you hear hardware creaking or see the cleat base flex, you’re using too much power or your lead is wrong; fix geometry before adding throttle.
How should fender diameter and placement change for a high-freeboard cruiser vs a low-freeboard racer to account for different windage and contact points on pilings?
A high-freeboard cruiser typically needs fenders set a bit higher because it contacts pilings and dock edges higher up, and it benefits from larger fenders because windage loads are higher. A low-freeboard racer often needs fenders lower and closer together to protect against odd dock angles that can catch topsides below the rub rail. In both cases, follow the sizing rule—about 1 inch diameter per 4–5 ft LOA—then add at least 3–5 fenders in wind, plus a ball fender when pilings are in play.
About the Author
Related Articles

Sailing in a Squall: Radar, Reefing, AIS & Lightning
Learn sailing in a squall line: radar & AIS tactics, smart reefing triggers, and lightning risk reduction. Get the squall drill checklist now.
By Breezada Team
Marine Fire Extinguisher Requirements & Engine-Room Safety
Meet marine fire extinguisher requirements and protect your engine room. Learn USCG/ABYC guidance, sizing, placement, and checklists—read now.
By Breezada Team
Sail Size Calculator Guide: Main, Jib & Genoa Fit
Use a sail size calculator to size mainsail, jib & genoa with P/E/I/J and LP. Avoid rating surprises—get the right fit. Read the guide now.
By Breezada Team
How to Dock in a Slip: Finger Piers, Wind & Current
Learn how to dock in a slip with finger piers—bow-in or stern-in—handling wind, current, and prop walk. Get the step-by-step plan now.
By Breezada Team