How to Dock a Sailboat: Step-by-Step for Every Situation
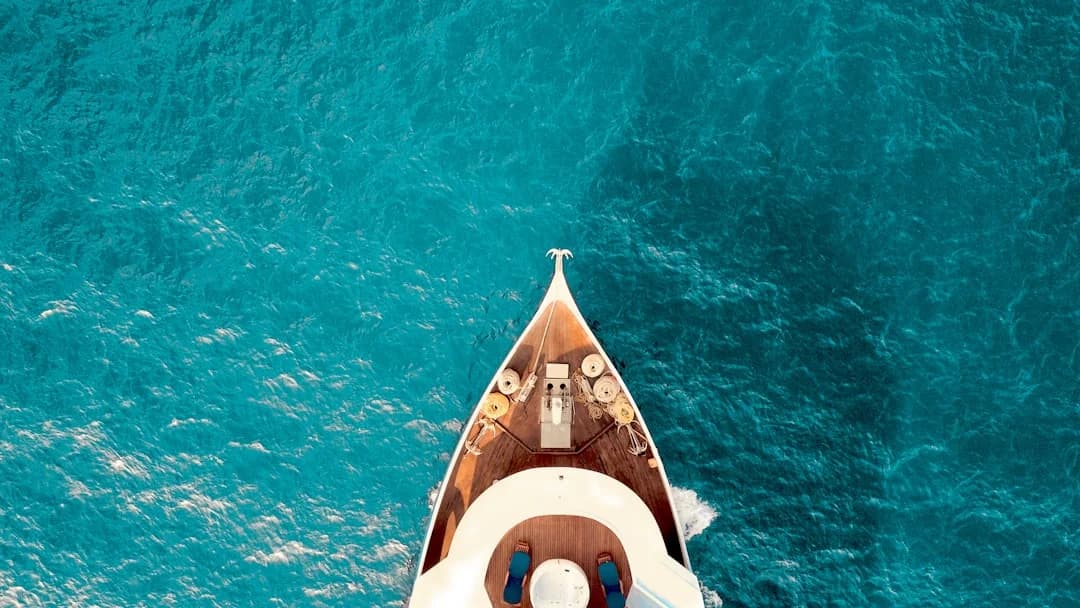
Docking a sailboat is the maneuver that separates confident skippers from nervous ones — and the one that draws the most spectators on the dock. The good news: it's a learnable skill, not an innate talent. Whether you're sliding into a tight marina slip, Med mooring stern-to in Croatia, or tying up alongside a fuel dock in 20 knots of crosswind, the fundamentals stay the same. Slow down, plan ahead, and respect the wind.

Photo by Ian Keefe on Unsplash
This guide breaks down how to dock a sailboat in every common scenario you'll encounter — from the basic side-tie to the infamous Mediterranean stern-to. Each section includes the step-by-step sequence, crew coordination, and the adjustments you'll need when wind or current complicates things.
Assess Conditions Before You Commit
Every successful docking starts before you enter the marina. While you're still in open water — ideally 200–300 meters out — you need to answer four questions:
Where is the wind coming from, and how strong is it? Wind is the single biggest factor. A 5-knot breeze barely matters. At 15 knots, it dictates your entire approach angle. Above 20 knots, you may need to reconsider your berth choice entirely.
Is there current? In tidal harbors, current can push your bow or stern sideways just as effectively as wind. Check the state of the tide and look at how other boats are sitting on their lines.
What does the berth look like? Is it a side-tie alongside a dock? A finger berth with pilings? A Med mooring with a lazy line on the bottom? Each demands a different approach.
What's my escape route? If the approach goes wrong at any point, where do you motor away to? Never enter a situation where you can't abort cleanly. The best skippers I've sailed with always have a Plan B before they start Plan A.
If you're arriving at an unfamiliar marina and need to figure out distances or plan your approach leg, you can calculate the remaining distance with Breezada's sea distance calculator to confirm your ETA and fuel margin.
Prepare the Boat and Brief the Crew
Once you've assessed conditions, it's time to get the boat ready. This should happen before you enter the marina fairway — not while you're threading between rows of expensive yachts.
Lines and Fenders
- Rig fenders on the side you'll dock against. Three is the minimum for boats up to 40 feet — one at the widest beam, one forward, one aft. On a 45-footer or larger, add a fourth.
- Prepare four dock lines: bow line, stern line, and two spring lines (forward spring and aft spring). Coil each line so it's ready to throw or step ashore with, free of tangles.
- Lead lines outside everything — shrouds, stanchions, lifelines. A dock line that fouls on a stanchion during the final approach will ruin your day.
Crew Briefing
Tell your crew exactly what's going to happen. Shouting instructions at the last second doesn't work — partly because of engine noise, partly because adrenaline makes people forget. A 30-second briefing covers:
- Which side you're docking on
- Who handles the bow line, who handles the stern line
- Whether they should step ashore (always step, never jump)
- What to do if it goes wrong: "If I say 'abort,' let go of everything and get back on the boat"
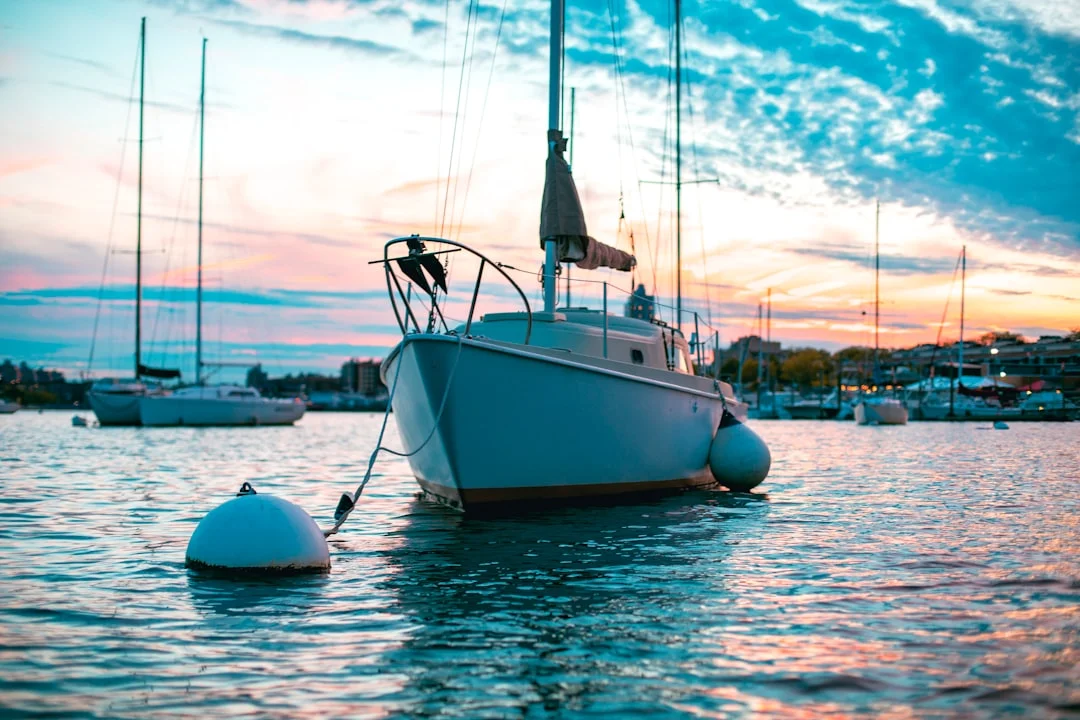
Photo by Johnny killroy on Unsplash
Side-Tie Docking: The Foundation
The side-tie — coming alongside a dock or quay wall — is the most fundamental docking maneuver. Master this first, and everything else builds on it.
Step-by-Step: Calm Conditions
Approach at a shallow angle — roughly 15–20 degrees to the dock face. Steeper than that and your bow hits the dock; too shallow and you can't get close enough.
Control your speed. You want bare steerage — just enough momentum to maintain rudder authority. In most sailboats, this is around 1–2 knots. When in doubt, slower is better. Boats don't have brakes.
Shift to neutral when you're about one boat-length away. Let momentum carry you in.
A brief burst of reverse stops forward motion just as you arrive parallel to the dock. On boats with a right-hand prop, reverse will kick the stern to port — anticipate this and adjust your approach angle accordingly.
Bow line first, then stern. The bow line person steps ashore and secures to a cleat. Once the bow is fixed, the stern swings in naturally, and the stern line person follows.
Add spring lines to prevent the boat from surging forward or back. The forward spring (led from amidships aft to the dock) is the most critical — it stops the boat creeping forward when wind or current pushes from behind.
The Prop Walk Factor
Every sailboat with a fixed propeller has prop walk — the tendency for the stern to swing sideways when the engine is in reverse. Most boats walk the stern to port in reverse (right-hand propeller). This isn't a flaw; it's a tool.
If your boat walks to port in reverse, dock on the port side whenever possible. When you engage reverse to stop, prop walk pulls your stern neatly toward the dock. Docking on the starboard side fights prop walk, requiring compensation with extra rudder angle.
Knowing your boat's prop walk direction — and using it rather than fighting it — is what separates a textbook docking from a wrestling match.
Slip Docking: Bow-In and Stern-In
Marina slips with finger piers are common in the US, Northern Europe, and parts of Asia. You'll either drive in bow-first or back in stern-first.
Bow-In Approach
This is the easier option and what most cruisers default to:
- Line up with the slip centerline from about 3–4 boat lengths away.
- Idle forward at minimum speed. Have crew ready with lines on both sides — one person on port, one on starboard.
- Use short bursts of reverse to slow down as you enter the slip. Your bow should stop about 30 cm (1 foot) from the dock head.
- Secure to the finger pier cleats with midship lines first, then bow and stern.
The disadvantage of bow-in: boarding and disembarking happens at the stern, which may be overhanging open water between the finger piers. It also makes shore power and water hookups harder to reach.
Stern-In Approach
Backing in is harder but often more practical for living aboard or taking on provisions:
- Pass the slip, then stop one boat-length past it.
- Engage reverse and steer the stern toward the slip opening. Remember prop walk — it'll push the stern in one direction, so position yourself accordingly.
- Go slow. In reverse, most sailboats have poor rudder authority. Short bursts of power give you more control than continuous throttle.
- Use the finger pier as a guide rail. A crew member can fend off gently if needed — never with hands, always with a fender or boat hook.
- Secure stern lines first, then pull forward on the bow line to snug up.
If you're chartering and unfamiliar with how different hull shapes handle in reverse, our monohull vs catamaran comparison covers the key handling differences — including how catamarans can use twin engines to pivot into a slip with no rudder input at all.
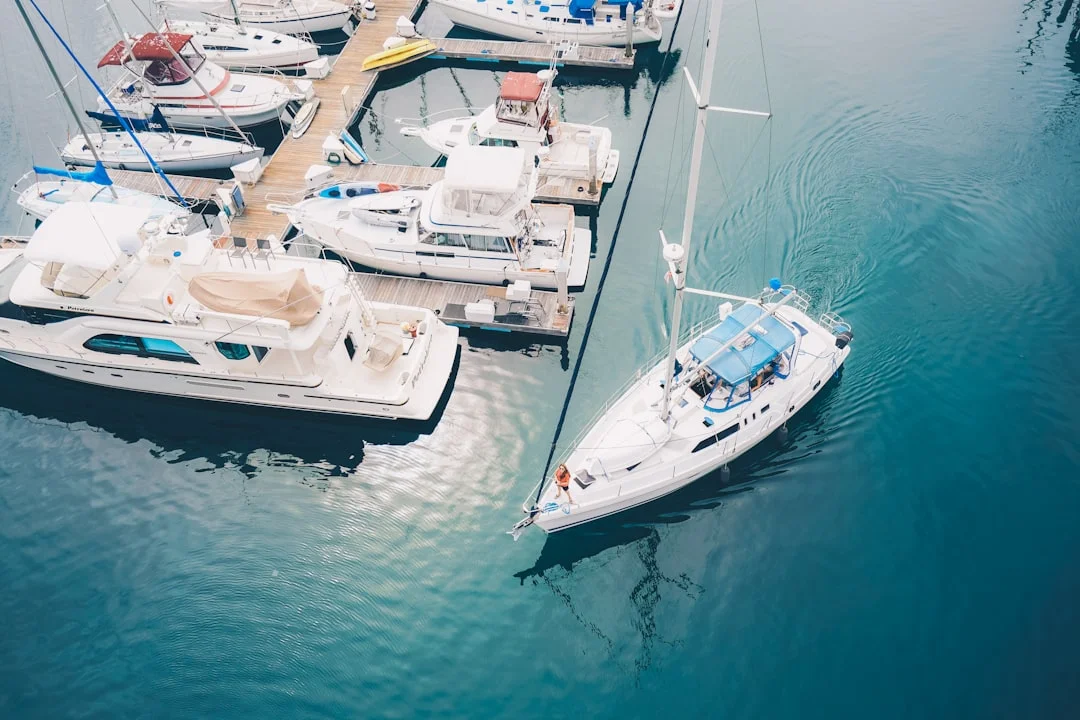
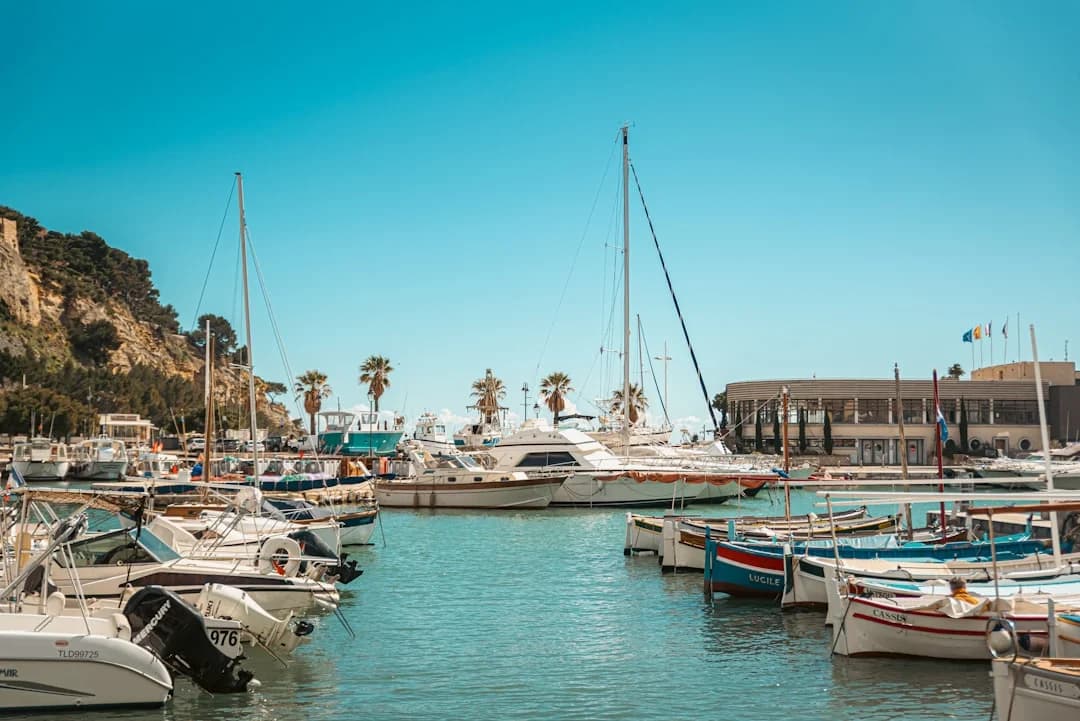
Photo by Eric Ward on Unsplash
Mediterranean Mooring: Stern-To with a Lazy Line
If you're sailing anywhere in the Med — Greece, Croatia, Turkey, southern France, Spain — you'll encounter Med mooring. It's the standard approach in most Mediterranean marinas, and it intimidates newcomers more than any other maneuver. Rightfully so. You're backing a 40-foot boat into a gap between two other boats, often with a crosswind, while picking up a slimy line from the seabed.
How It Works
Instead of tying alongside a dock, boats park perpendicular to the quay wall, stern facing the dock. The bow is held by either:
- A lazy line — a permanent mooring line running from the quay to a heavy chain on the seabed, or
- Your own anchor, dropped on approach and paid out as you reverse in
Most modern marinas use lazy lines. Anchoring stern-to is increasingly rare but still common in smaller harbors and anchorages.
Step-by-Step: Lazy Line Med Moor
Identify your assigned berth and the lazy line position. The marina staff or a marinero on the dock will usually point you to the right spot.
Approach the quay at a right angle, heading toward it bow-first at very slow speed. Stop about 2–3 boat lengths out.
Turn the boat 180 degrees (or simply engage reverse if you approached from the side). You need your stern pointing at the quay, with your bow facing open water.
Reverse slowly toward the quay. Have two crew at the stern with fenders hung on both quarters. Two stern lines should be ready — one port, one starboard.
A crew member at the bow picks up the lazy line as it comes taut from the seabed. This often requires a boat hook. The line will be heavy and possibly covered in marine growth — gloves are essential.
Stern crew step ashore (or hand lines to the marinero) and secure stern lines to cleats on the quay wall. Cross the stern lines for stability — port stern line to starboard cleat, starboard to port.
Tension the bow line (lazy line) to hold the bow off. Adjust until the stern is about 50 cm (20 inches) from the quay — close enough to step ashore, far enough to protect your transom from surge.
When planning a Med sailing trip, you can verify distances between waypoints to time your arrivals for slack wind in the early afternoon — the best conditions for a stress-free Med moor.
Photo by Pawel Kadysz on Unsplash
Docking in Wind: The Real Test
Calm-weather docking is practice. Wind docking is the exam. Here's how to handle the three most common wind scenarios.
Onshore Wind (Blowing You Toward the Dock)
This is the easiest wind condition, oddly enough. The wind does half the work — it pushes you onto the dock. The risk is arriving too fast.
- Approach at a steeper angle than normal — up to 30–40 degrees — because the wind will flatten your angle as you get close.
- Use less throttle. The wind provides momentum you don't need to add.
- Get lines ashore quickly. Once the wind pins you against the dock, you're not going anywhere.
- Double up on fenders. The wind will hold you against the dock, grinding your topsides.
Offshore Wind (Blowing You Away from the Dock)
This is harder. The wind is actively trying to prevent you from reaching the dock.
- Approach at a very shallow angle — almost parallel to the dock.
- Maintain more speed than you normally would. You need momentum to overcome the wind pushing you off.
- Get the bow line ashore first — this is critical. Once the bow is secured, you can use the engine (forward gear with the helm turned toward the dock) to swing the stern in against the wind.
- The forward spring line is your best friend. Secure it early. Then put the engine in forward with the helm turned toward the dock. The spring prevents forward movement while the engine pushes the stern in. This is called "springing in" — it works even in surprisingly strong wind.
Crosswind
A crosswind — blowing along the dock face — requires you to compensate for lateral drift throughout your approach.
- Aim your bow upwind of where you want to end up. The wind will push you sideways during the approach, so crab into it.
- Final approach speed matters. Too fast and you overshoot; too slow and the wind pushes you past your berth.
- Secure the upwind line first — whichever end of the boat is upwind, that line goes on first. The wind will then swing the rest of the boat toward the dock.
Common Docking Mistakes
I've watched — and made — every one of these. They're worth listing because they're all avoidable.
| Mistake | Why It Happens | The Fix |
|---|---|---|
| Coming in too fast | Anxiety makes people add throttle | Practice in open water: find your boat's minimum steerage speed |
| Crew jumping to the dock | Urgency, poor briefing | Brief crew: always step, never jump. If the gap is too wide, abort |
| No fenders rigged | Forgot, or conditions changed | Rig fenders before entering the marina, every single time |
| Forgetting prop walk | Inexperience with the specific boat | Spend 10 minutes practicing reverse in open water before your first docking |
| Not using spring lines | Laziness — "two lines is fine" | Spring lines prevent the most damage. Always use them |
| Approaching downwind at speed | Following the wind without compensating | Turn into the wind early, approach with the wind on the bow if possible |
If you're working toward a bareboat certification, docking proficiency is a core requirement. Our guide to sailing certifications (ASA, RYA & ICC) explains what each program expects.
Practice Drills That Actually Help
Reading about docking is useful. Doing it badly ten times is more useful. Here are three drills that accelerate the learning curve:
1. The Fender Drill. Drop a fender in open water. Practice coming alongside it at minimum speed, stopping with your midship cleat right next to it. Repeat from both sides. This teaches speed control and prop walk management without any risk of damage.
2. The Figure-Eight in Reverse. Find a quiet anchorage and practice reversing in figure-eight patterns. This builds confidence in rudder response and prop walk behavior at reverse throttle — exactly the skills you need for stern-in docking and Med mooring.
3. The Spring Line Exercise. Tie up at a quiet dock. Practice using only a forward spring line and the engine to hold the boat against the dock. Put the engine in forward with the helm turned toward the dock. Feel how the spring line arrests forward motion while the engine pushes the stern in. This one technique has saved more dockings than any other.
A Note on Boat Size and Draft
Everything above applies to boats in the 30–50 foot range, which covers the vast majority of cruising sailboats and charter yachts. If you're docking something larger — say, a 55-foot center-cockpit ketch — the principles are identical, but you'll need more space, more time, and more crew. Momentum increases with displacement, and stopping distance grows accordingly. A 50,000-pound boat at 2 knots carries real energy.
Draft matters too. In tidal harbors, check your depth against the chart datum and current tide height before committing to a berth. Running aground 30 meters from the dock isn't technically a docking failure, but it feels like one. This is especially true in volcanic harbors like those in the Canary Islands, where underwater rock shelves can rise abruptly close to shore.
Frequently Asked Questions
How do you dock a sailboat single-handed?
Single-handed docking is achievable but requires extra preparation. Rig all lines and fenders before entering the marina. Lead the midship spring line to the cockpit so you can step ashore with it from the helm position. Secure the spring line first, then use the engine against it to hold the boat while you walk forward and aft to attach bow and stern lines. Choose a berth with an onshore wind if possible — it pins the boat to the dock and gives you time. Many experienced single-handers prefer side-ties over slip berths for exactly this reason.
What speed should you approach a dock?
The rule of thumb: never approach a dock faster than you're willing to hit it. In practical terms, this means 1–2 knots for most approaches, dropping to near-zero at the moment of contact. In strong onshore wind, you may approach even slower and let the wind carry you the last meter. In offshore wind, you'll need slightly more speed to maintain control, but "slightly more" means 2.5 knots — not 4.
Should you dock bow-in or stern-in?
It depends on the marina layout, your boat's handling characteristics, and local practice. In the Mediterranean, stern-to is standard. In the US and Northern Europe, bow-in is more common for finger slips. Stern-in gives better dock access for boarding, shore power, and loading provisions. Bow-in is easier to execute. If you have a choice and you're not confident backing in, go bow-first — there's no shame in it.
How do you dock in strong wind?
The key is using the wind rather than fighting it. If possible, choose a berth where the wind pushes you onto the dock (onshore wind). Approach at a steeper angle and let the wind flatten you against the dock. If you must dock with an offshore wind, secure a spring line as early as possible, then use the engine to spring the stern in. Above 25 knots of sustained wind, consider waiting for conditions to moderate or asking for marina assistance — most marinas have inflatable RIBs that can help position boats in difficult conditions.
What are spring lines and why do they matter for docking?
Spring lines run diagonally from the boat to the dock — forward spring leads aft from the bow area to a dock cleat behind the boat, and aft spring leads forward from the stern area. They prevent the boat from surging forward or backward along the dock face. More importantly, a forward spring line combined with forward engine thrust is the most powerful tool for controlling your boat at the dock. It keeps the boat from moving forward while the propeller wash pushes the stern toward the dock. In windy conditions, spring lines are often the difference between a controlled docking and a drifting, chaotic one.
Is docking a catamaran different from docking a monohull?
Significantly. Catamarans with twin engines can use differential thrust — one engine forward, one in reverse — to pivot the boat on its own axis. This makes tight-quarter maneuvering much easier once you learn the technique. However, catamarans are wider, which means narrower margins in slip berths, and they present more windage due to their bridgedeck and cabin structure. They also lack prop walk, which removes one variable but also removes a useful tool that monohull sailors learn to exploit.
About the Author
Related Articles

Sailing Greece Itinerary: Cyclades & Saronic (7–14d)
Plan the perfect sailing Greece itinerary with 7–14 day routes through the Cyclades & Saronic. Get the day-by-day plan and start booking now.
By Breezada Team
Best Yacht Charter Destinations by Month Guide
Plan the perfect trip with the best yacht charter destinations by month. Find where to go each season and start booking your charter today.
By Breezada Team
Mediterranean Marina Fees 2026: Italy, Greece & Croatia
Compare Mediterranean marina fees 2026 for Italy, Greece and Croatia. Plan your route and budget—read the latest guide now.
By Breezada Team

Croatia Sailing Itinerary: Split to Dubrovnik (7 Days)
Follow this 7-day Croatia sailing itinerary from Split to Dubrovnik—route, stops, tips, and map. Plan your trip and start sailing today!
By Breezada Team