How to Tie Sailing Knots: The 10 Most Useful
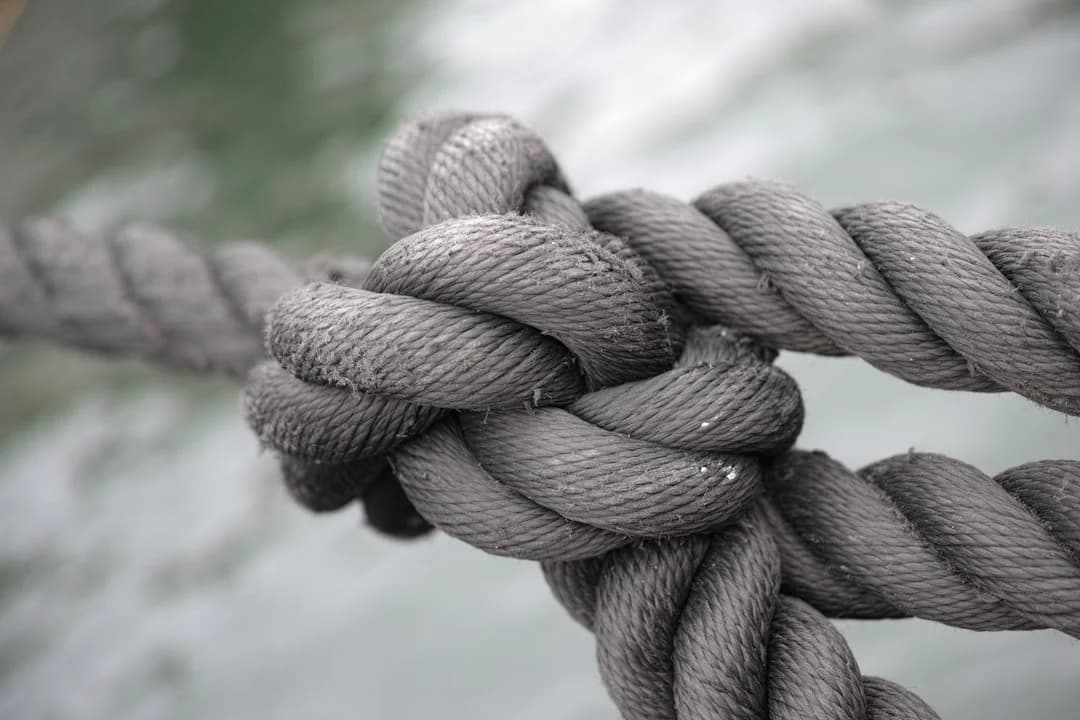
Every sailor needs a reliable set of knots. Not dozens — just the right ones, practised until they become muscle memory. In over fifteen years of offshore sailing, I've found that ten knots cover roughly 95% of what you'll ever need on a boat. Master these, and you'll handle dock lines, sheet adjustments, anchor rodes, and emergency repairs with confidence.
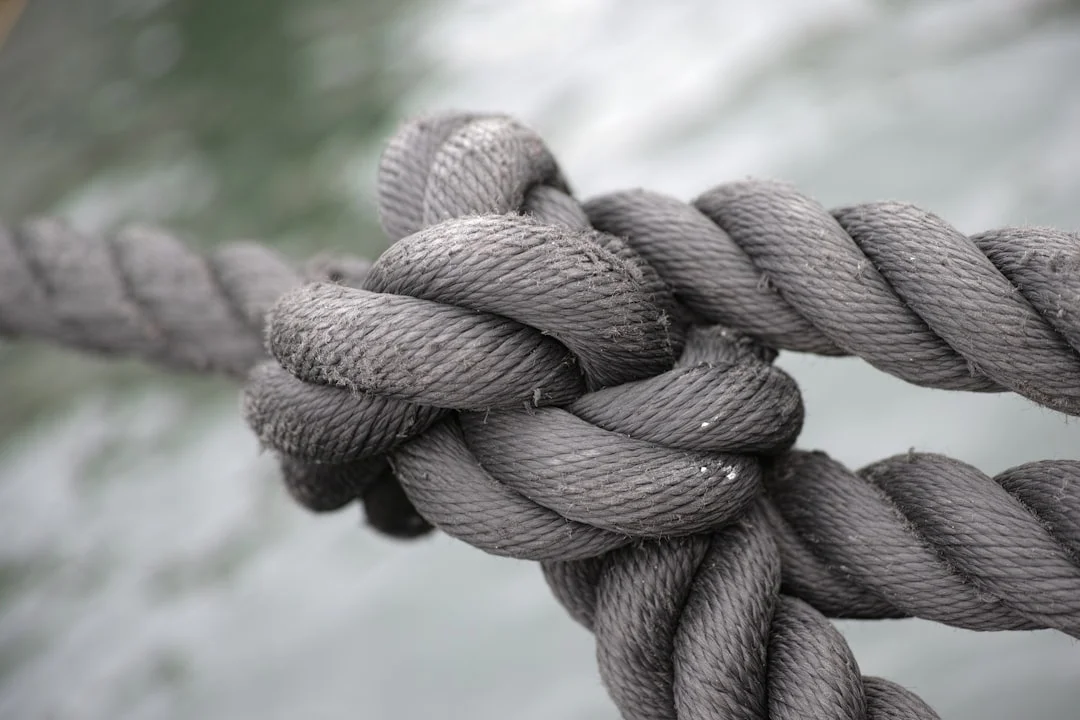
Photo by engin akyurt on Unsplash
Why Sailing Knots Matter More Than You Think
A knot that slips under load can mean a lost dinghy, a runaway halyard, or — in the worst case — a person overboard. Conversely, a knot that jams when you need to release it quickly is nearly as dangerous. The best sailing knots share three qualities: they hold under load, they untie cleanly when you want them to, and they're fast to tie — even with cold, wet hands at 0300 in a rain squall.
Before we get into the specific knots, a quick note on terminology. Sailors refer to the standing part (the main length of rope under tension), the working end (the free end you're tying with), and a bight (a loop formed without crossing the ends). These terms show up in the instructions below.
If you're still getting your bearings on basic sailing skills, our practical beginner's guide to sailing covers the fundamentals before you graduate to ropework.
The 10 Most Useful Sailing Knots
1. Bowline — The King of Knots
Use it for: Creating a fixed loop that won't slip or jam.
The bowline is the single most important knot in sailing. It creates a secure, non-slipping loop at the end of a line, and no matter how hard you load it, it unties cleanly afterward. Sailors use it for attaching sheets to the clew of a headsail, securing a mooring line to a ring, tying a line around a piling, and a hundred other jobs.
How to tie it:
- Form a small loop in the standing part — the "rabbit hole"
- Pass the working end up through the loop (the rabbit comes out of the hole)
- Go around behind the standing part (the rabbit goes around the tree)
- Pass the working end back down through the loop (the rabbit goes back in the hole)
- Tighten by pulling the working end and standing part simultaneously
Pro tip: Learn to tie this one-handed. When you're hanging onto a heaving foredeck with one hand and trying to secure a jib sheet with the other, the one-handed bowline goes from party trick to survival skill. Practice the motion: wrap the rope around your hand, twist your wrist to form the loop, then thread the end through. It should take under three seconds.
2. Cleat Hitch — The Docking Essential
Use it for: Securing a dock line to a horn cleat.
You'll tie this knot every single time you dock — which, depending on how much you sail, could be hundreds of times a season. A sloppy cleat hitch is the mark of a novice. A clean one takes about four seconds and holds a 40-foot boat against the current.
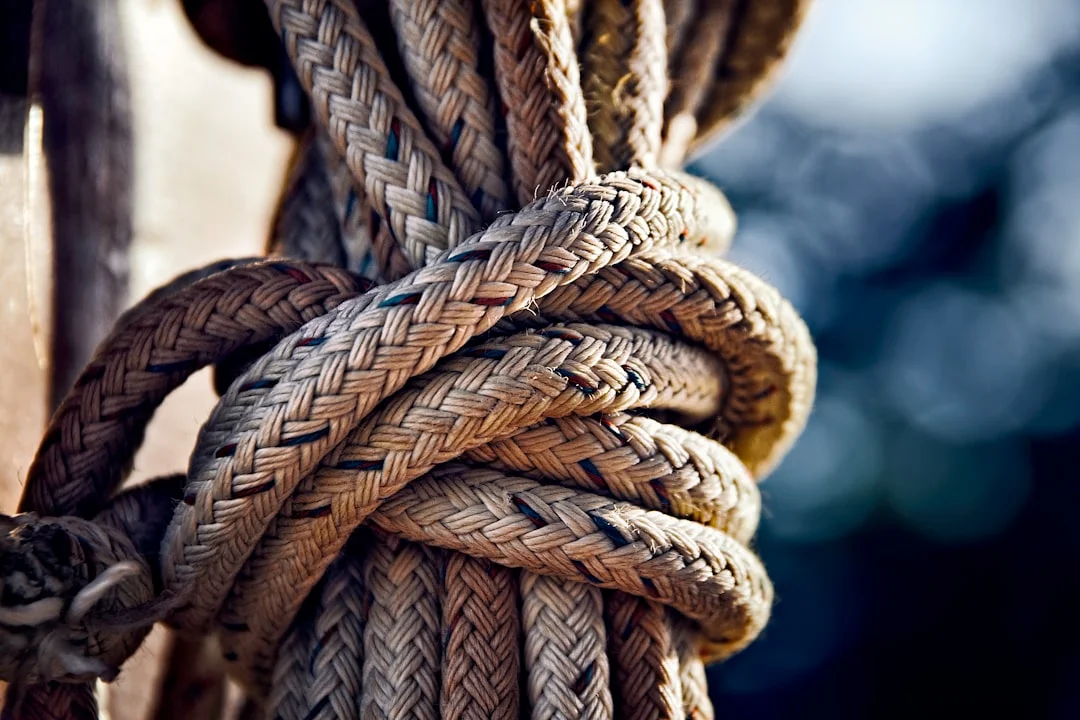
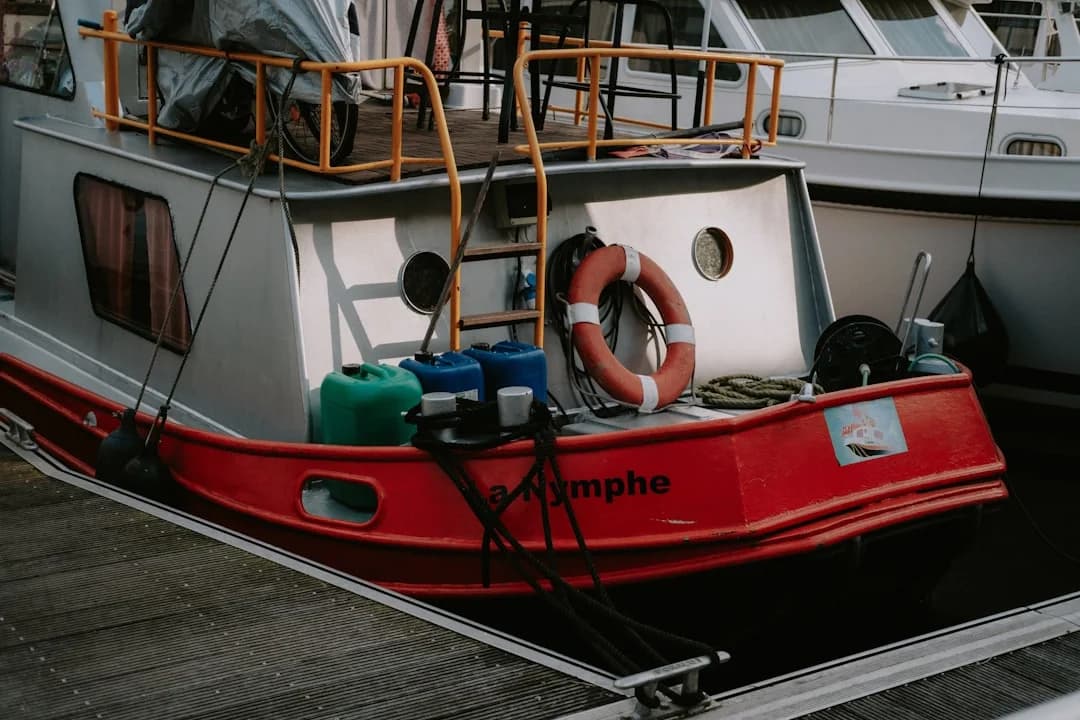
Photo by Robert Zunikoff on Unsplash
How to tie it:
- Take a full turn around the base of the cleat (the far horn first)
- Make a figure-eight pattern over the horns — one crossover, then another
- Finish with a locking hitch: twist the line into a loop and slip it over the horn
- The locking hitch should face the load direction
Common mistake: Piling on too many figure-eights. One full turn, two crosses, and one locking hitch is sufficient. More than that creates a mess that's hard to release in a hurry — and releasing dock lines in a hurry is something you'll need to do more often than you'd think.
3. Clove Hitch — The Quick Temporary Fastener
Use it for: Temporary attachment to a post, rail, or ring.
The clove hitch is the duct tape of sailing knots — it's fast, it works, and you shouldn't rely on it for anything permanent. It's brilliant for temporarily securing a fender to a lifeline, hanging coils on a rail, or tying off to a piling while you rig a proper mooring line. Under sustained load, especially at an angle, it can work itself loose. Use it knowing its limitations.
How to tie it:
- Take a turn around the object
- Cross over the standing part and take a second turn
- Tuck the working end under the second turn
- Pull tight
Upgrade: Add a half-hitch below the clove hitch and it becomes significantly more secure. I use this combination on fender lines — quick to tie, reliable enough for an afternoon at the marina, easy to adjust if the fender needs repositioning.
4. Figure-Eight Knot — The Stopper
Use it for: Preventing a line from running through a block or fairlead.
This is the simplest knot on the list and one you'll use constantly. A figure-eight at the end of your jib sheets prevents them from escaping through the blocks during a tack. Without it, you're climbing up to the mast to re-thread — not fun in a seaway.
How to tie it:
- Make a loop by passing the working end over the standing part
- Continue around behind the standing part
- Pass the working end through the loop from front to back
- Pull tight
The figure-eight is preferred over a simple overhand knot because it's larger (harder to pull through a small opening) and easier to untie after being loaded. Every sheet and control line on your boat should have one.
5. Reef Knot (Square Knot) — The Sail Tamer
Use it for: Tying two ends of the same line — specifically, reef points on a mainsail.
The reef knot has a very specific purpose: bundling a reefed sail. It's symmetrical, lies flat against the sail, and unties easily when you shake out the reef. Despite its ubiquity in scouting manuals, it's a poor choice for joining two separate lines — it can capsize under uneven load and come apart.
How to tie it:
- Right over left, then left over right (or the reverse — just be consistent)
- Both working ends should exit on the same side of the knot
- If one end exits on the opposite side, you've tied a granny knot — untie and start over
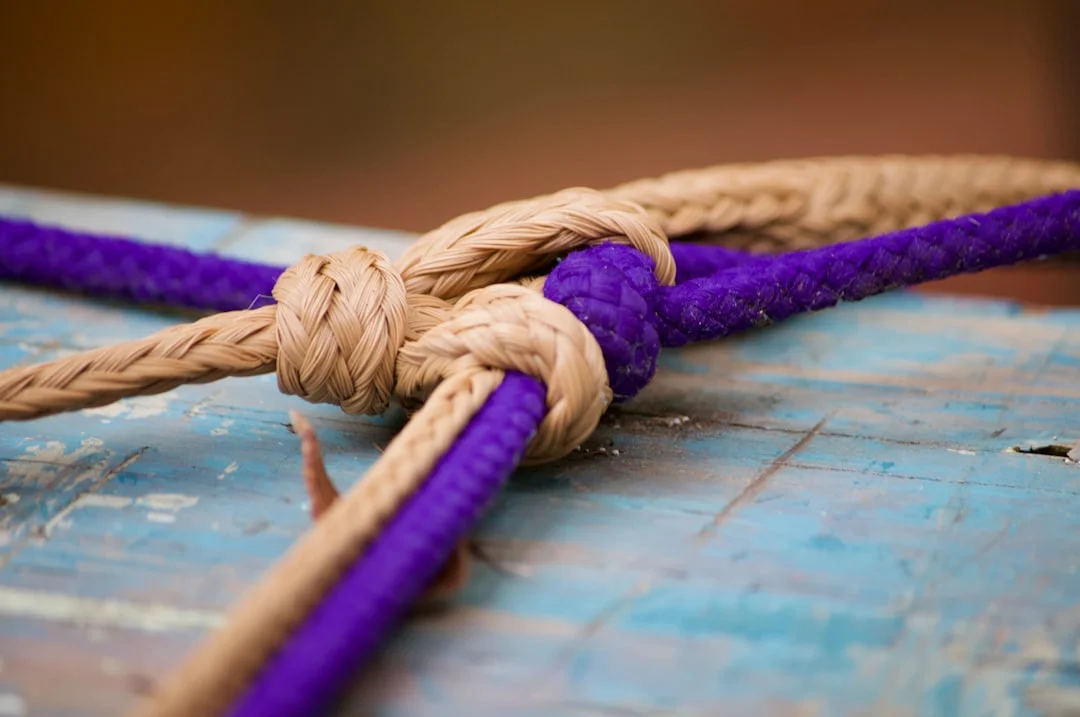
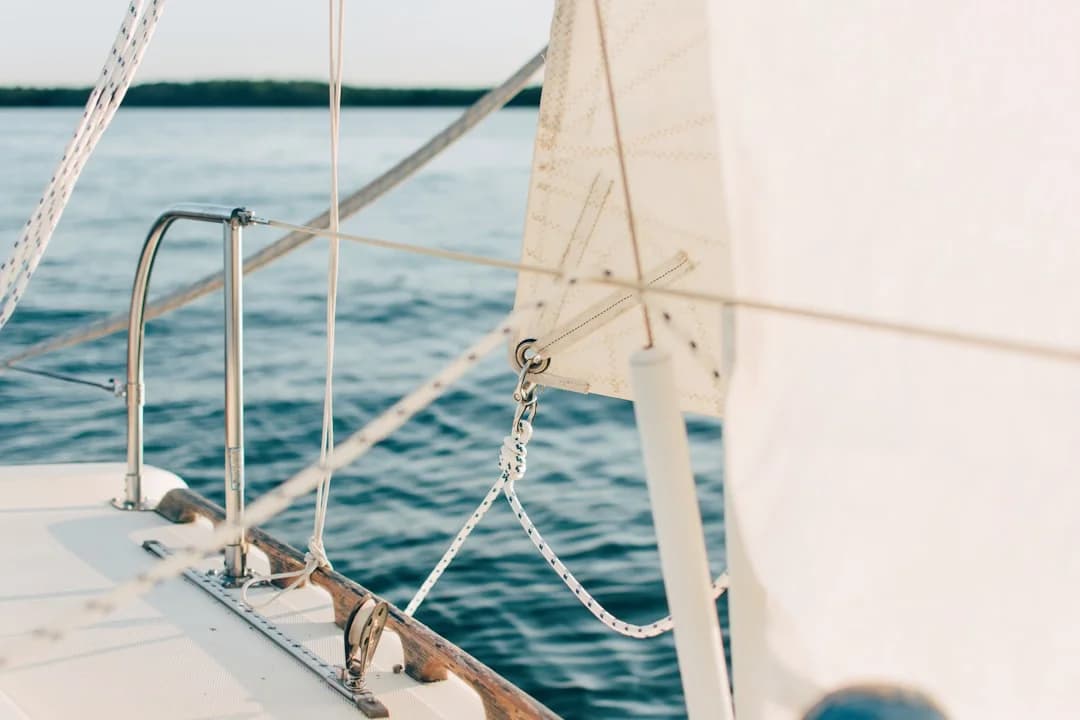
Photo by Dan Dennis on Unsplash
The granny knot trap: A granny knot looks almost identical to a reef knot but slips under load and jams when you try to untie it — the worst of both worlds. Check your work: in a proper reef knot, the two loops are symmetrical, and you can "break" it by pushing the ends toward the knot center.
6. Sheet Bend — The Line Joiner
Use it for: Joining two lines of different diameters.
When you need to tie your 12mm dock line to the 16mm mooring pendant, the sheet bend is your knot. It works reliably even when the two ropes are different sizes — something a reef knot can't handle. For lines of very different diameters or slippery modern braid, use a double sheet bend (just take an extra turn around the bight).
How to tie it:
- Form a bight in the thicker line
- Pass the thinner line up through the bight from below
- Go around behind both parts of the bight
- Tuck the working end under itself (but over the bight)
- The working ends should exit on the same side of the knot
7. Round Turn and Two Half-Hitches — The All-Purpose Tie-Off
Use it for: Securing a line to a ring, post, rail, or through an eye.
This is the workhorse knot for attaching a rope to an object. It's more secure than a clove hitch and handles load from any direction. I use it for tying a dinghy painter to a dock ring, securing a line to a tow point, or fastening fender lines when I want something more permanent.
How to tie it:
- Take a full round turn around the object (the rope goes completely around, with the working end crossing over the standing part)
- Tie two half-hitches around the standing part below the turn
- Pull snug
The round turn absorbs the initial shock load, and the two half-hitches lock everything in place. It's easy to tie, easy to inspect, and easy to untie.
8. Anchor Bend (Fisherman's Bend) — The Anchor Line Knot
Use it for: Attaching a line to an anchor ring or shackle.
If you're using rope for your anchor rode (common on boats under 30 feet, or as a chain-to-rope splice connection), the anchor bend is purpose-built for the job. It's essentially a round turn with the first half-hitch passed through the turn, making it less likely to work loose under the constant directional changes an anchor line experiences.
How to tie it:
- Take two turns through the anchor ring
- Pass the working end around the standing part and through the first turn
- Add a half-hitch below for security
- Consider seizing (lashing) the working end to the standing part for permanent applications
For longer passages, you can calculate the distance between your waypoints to plan your anchorages — knowing the nautical miles helps determine how many anchor stops to budget.
9. Rolling Hitch — The Grip Knot
Use it for: Attaching a line to another line or to a spar where lengthwise pull is expected.
The rolling hitch grips along a rope or pole and resists sliding when pulled parallel to the object. It's invaluable for rigging a snubber on a loaded anchor chain, taking the load off a jammed winch, or improvising a purchase when you need to relieve tension on a line.
How to tie it:
- Take two turns around the object, spiraling in the direction of the load
- Cross over both turns and take a third turn on the opposite side
- Tuck the working end under the crossover
- The knot grips when you pull toward the doubled turns, and releases when you pull the other way
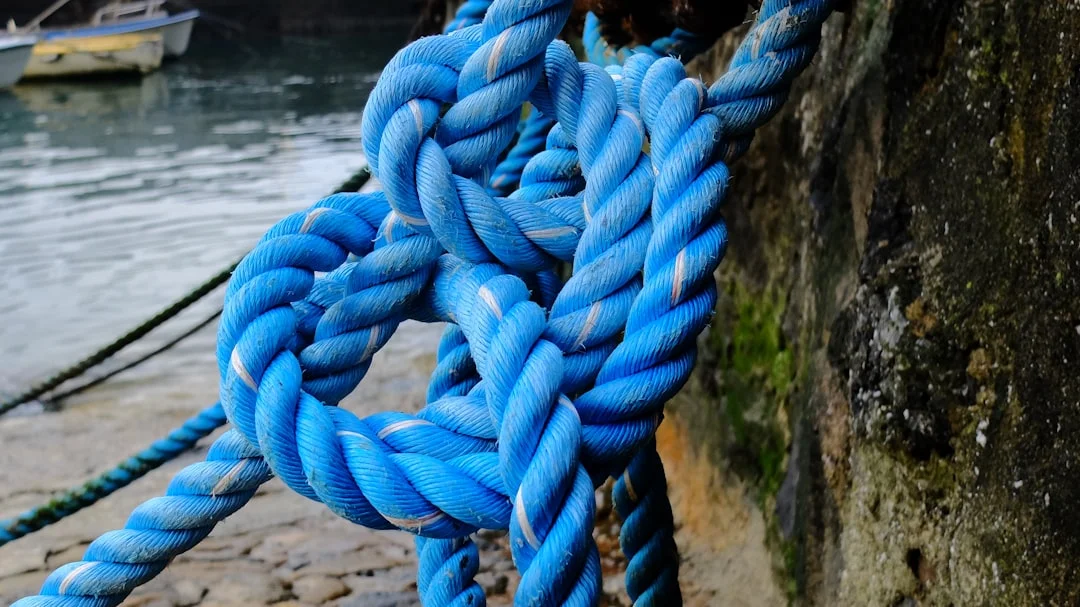
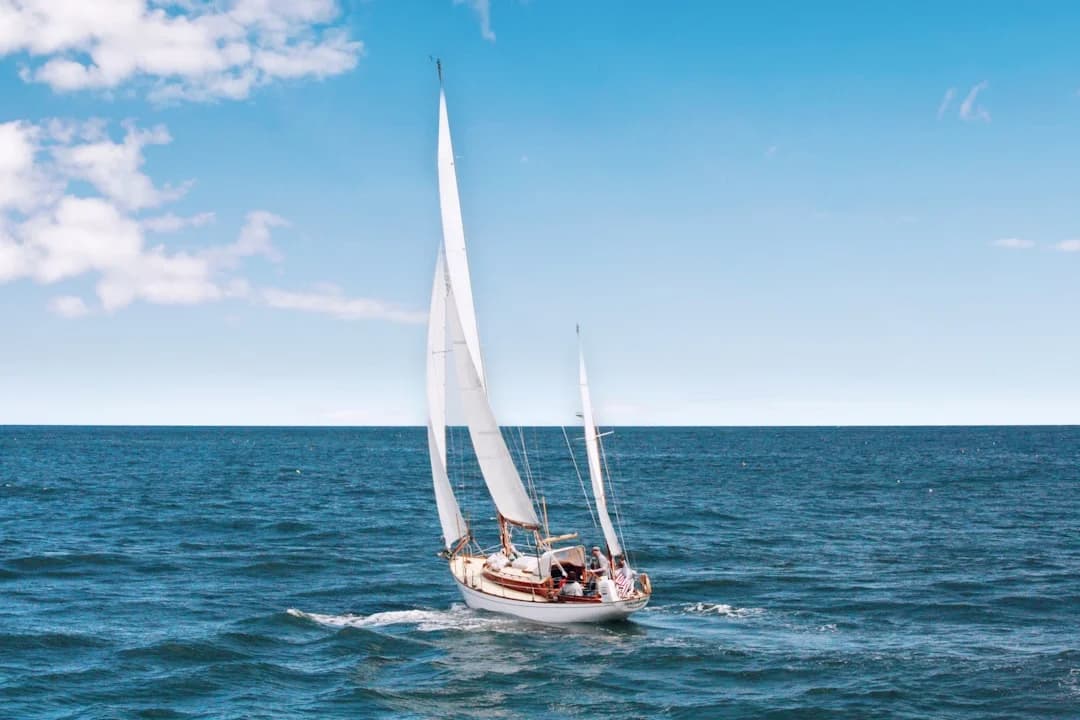
Photo by Miguel A Amutio on Unsplash
Real-world scenario: Your jib sheet overrides on the winch and you can't ease it. Tie a rolling hitch on the loaded part of the sheet with a separate line, lead that line to another winch, and grind in. The rolling hitch takes the load, the original jam goes slack, and you can clear it. This trick has saved more than a few racing boats from round-the-buoy disasters.
10. Trucker's Hitch — The Tension Multiplier
Use it for: Creating mechanical advantage to pull a line extremely tight.
Technically more of a system than a single knot, the trucker's hitch uses a loop in the standing part as a crude pulley, giving you roughly 3:1 mechanical advantage. It's brilliant for lashing down a dinghy on deck, securing gear in the cockpit before an offshore passage — a line item on any serious ocean passage planning checklist — or tightening a jackline.
How to tie it:
- Tie one end to a fixed point
- Form a loop in the standing part (use a slip knot or alpine butterfly)
- Pass the working end around or through your second attachment point
- Lead the working end back up through the loop
- Pull down — the loop acts as a pulley, doubling your force
- Secure with two half-hitches
Quick Reference: Which Knot When?
| Situation | Best Knot | Why |
|---|---|---|
| Attaching a sheet to a sail | Bowline | Fixed loop, easy to untie |
| Tying to a dock cleat | Cleat hitch | Fast, secure, clean release |
| Temporary hold on a rail | Clove hitch | Quick, adjustable |
| End of a sheet/halyard | Figure-eight | Prevents escape through block |
| Reefing the mainsail | Reef knot | Flat, quick release |
| Joining two different lines | Sheet bend | Works with unequal diameters |
| Tying to a ring or post | Round turn + 2 half-hitches | All-direction security |
| Anchor rode attachment | Anchor bend | Resists working loose |
| Releasing a jammed line | Rolling hitch | Grips under parallel load |
| Lashing deck gear tight | Trucker's hitch | Mechanical advantage |
Rope Types and How They Affect Your Knots
Not all rope behaves the same way under a knot. Modern sailing uses three main types:
Three-strand twisted (nylon or polyester): Traditional, slightly rough texture. Knots hold well. Most forgiving for beginners. Common for dock lines and anchor rodes.
Double-braid: A braided core inside a braided cover. Smoother than three-strand, which means some knots — particularly the sheet bend and rolling hitch — need extra turns for grip. Standard for sheets and halyards.
Dyneema/Spectra (high-modulus polyethylene): Extremely strong, extremely slippery. Most traditional knots slip on this material. Use splices instead of knots whenever possible, or resort to specialized knots like the Zeppelin bend.
A practical rule: if a knot feels like it's slipping during a test pull on dock, it will absolutely slip at sea. Add an extra half-hitch, use a double version of the knot, or switch to a splice.
Practice Tips That Actually Work
Reading about knots is like reading about swimming — useful but not sufficient. Here's how to build real proficiency:
Carry a practice line. Keep a 1-meter length of 8mm braid in your pocket, on your desk, in your car. Tie knots while watching TV, waiting in line, sitting in meetings. Sounds obsessive. Works perfectly.
Practice in the dark. Put a blindfold on, or wait until nighttime and don't turn on the light. Many critical knot-tying moments on a boat happen in poor visibility. If your hands can't tie a bowline without visual confirmation, you haven't practised enough.
Test every knot under load. After tying each knot, pull hard on it. Then untie it. A knot that holds under a casual tug but fails under real load is worse than no knot — it gives you false confidence.
Learn the failure modes. Intentionally tie a granny knot and see how it behaves differently from a reef knot. Load a clove hitch at a bad angle and watch it walk. Understanding how knots fail is as valuable as knowing how to tie them correctly.
If you're planning to sail upwind — where good ropework becomes especially critical for quick tack manoeuvres — our guide on how to sail against the wind covers the technique in detail.
When to Use Splices Instead of Knots
A well-made splice retains 90-95% of a rope's breaking strength. Most knots retain only 40-75%. For permanent or high-load applications — halyard-to-shackle connections, lifeline attachments, anchor rode joins — a splice is always preferable.
The three essential splices for sailors:
- Eye splice: Creates a permanent loop (replaces a bowline for standing rigging)
- Short splice: Joins two ropes end-to-end (thickens the line, won't run through blocks)
- Long splice: Joins two ropes without increasing diameter (runs through blocks, but weaker)
Learning to splice takes more time than knots — a few hours of instruction and practice — but it's a skill that elevates your seamanship significantly. Most charter companies won't require it, but if you're doing any bluewater passage-making, it's worth the investment.
You can use Breezada's sea distance calculator to plan your passages and determine where you'll need permanent rigging setups versus temporary knots — longer offshore routes warrant spliced connections on critical lines.
Common Mistakes and How to Avoid Them
Crossing turns in the wrong direction. The rolling hitch and clove hitch both rely on turns wrapping in a specific direction relative to the load. Get it backward and the knot slides instead of gripping.
Not leaving enough tail. After tying any knot, leave at least 15 cm (6 inches) of working end protruding. Tails that are too short can pull through under load, especially with slippery modern ropes.
Overcomplicating things. Knowing 10 knots well beats knowing 50 knots poorly. Resist the urge to use exotic knots when a simple bowline or round turn will do the job.
Ignoring chafe. A perfectly tied knot will still fail if the rope is chafing against a fairlead, cleat edge, or anchor roller. Check your lines regularly and add chafe protection (hose, leather, or commercial chafe guards) where rope meets metal.
Frequently Asked Questions
What is the most important knot to learn for sailing?
The bowline is universally considered the most important sailing knot. It creates a secure, fixed loop that holds under any load and unties cleanly afterward. If you only learn one knot before stepping on a boat, make it the bowline. It covers the widest range of situations — attaching sheets to sails, securing mooring lines, rigging safety tethers — and once you can tie it one-handed, you'll reach for it instinctively.
How many knots does a beginner sailor actually need to know?
For day sailing and basic coastal cruising, five knots will cover most situations: the bowline, cleat hitch, figure-eight, clove hitch, and round turn with two half-hitches. As you progress to overnight anchoring and offshore work, add the reef knot, sheet bend, anchor bend, rolling hitch, and trucker's hitch. The full set of ten knots described in this guide is comprehensive enough for most sailing careers.
Do sailing knots work with all types of rope?
Most traditional sailing knots work reliably with three-strand twisted and double-braid rope. However, high-performance materials like Dyneema and Spectra are too slippery for standard knots — use splices instead. When using any knot on smooth modern braid, test it under load before trusting it. If a knot slips during testing, add extra turns (e.g., double sheet bend instead of single) or switch to a different fastening method.
What is the difference between a knot, a bend, and a hitch?
In nautical terminology, a knot is tied in a single rope (like a bowline or figure-eight), a bend joins two ropes together (like a sheet bend), and a hitch attaches a rope to an object (like a cleat hitch or clove hitch). These categories aren't always strict — sailors use "knot" as a general term — but understanding the distinction helps when learning or communicating about ropework.
How can I practice sailing knots at home?
Keep a 1-meter piece of 8-10mm braided rope accessible — on your desk, in your pocket, next to the couch. Practice tying each knot repeatedly until the motions feel automatic. Challenge yourself to tie your top five knots blindfolded, which simulates the low-visibility conditions you'll face on a night watch. Test each knot under load by wrapping the rope around a table leg or doorknob and pulling hard, then check that it unties cleanly.
Why do some knots work better on boats than on land?
Sailing knots evolved to handle conditions specific to marine environments: constant dynamic loading from waves, wet and slippery lines, need for quick release in emergencies, and varying load angles as the boat moves. Land-based knots like the shoelace bow or square knot aren't designed for these stresses. Sailing knots prioritize reliable holding under shifting loads, resistance to shaking loose from vibration, and the ability to untie after being heavily loaded — all critical at sea.
About the Author
Related Articles
Best Boat Heater: Diesel vs Propane vs Electric
Compare diesel, propane, and electric heat to find the best boat heater for liveaboards. See pros, cons, and choose your setup today.
By Breezada Team
Sailboat Rigging Inspection: Checklist & Intervals
Use this sailboat rigging inspection checklist and service intervals to spot issues early. Read now and download the checklist before your next sail.
By Breezada Team
Best Sailboat for Beginners: Size, Type & Budget
Find the best sailboat for beginners by size, type, and budget. Compare top options and choose your first boat with confidence—read now.
By Breezada Team

Tahiti to Bora Bora Itinerary: 7–10 Days Sailing Plan
Plan the perfect Tahiti to Bora Bora itinerary for 7–10 days by sail. Get route tips, stops, and timing—read now and start planning!
By Breezada Team